21
GB
/ 54
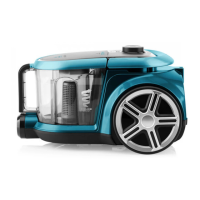
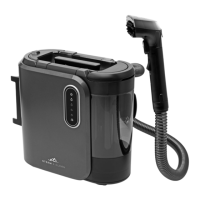
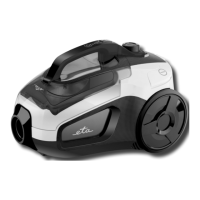
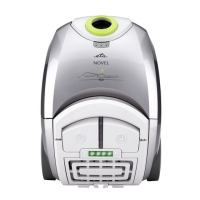
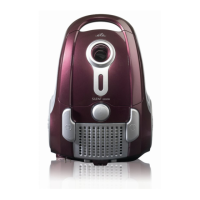
II. EQUIPMENT AND ACCESSORY OF ETA VACUUM CLEANERS - LINE x471 (pic. 1)
A – vacuum cleaner
A1 – suction space lid A10 – cassette (grid)
A2 – lid arrest closure A11 – suction micro lter
A3 – suction opening A12 – safety lock
A4 – START/STOP button A13 – lter holder
A5 – supply cord winding button A14 – dust lter
A6 – el. motor regulation A15 – back cover (grid)
A7 – suction power indication A16 – exhaust HEPA micro lter
A8 – lter fullness indication A17 – supply cord
A9 – handle A18 – parking opening (protrusion)
B – accessory
B1 – oor nozzle B3 – suction tubes
B2 – suction hose with handle
C – accessory
C1 – cushion nozzle C4 – TURBO nozzle (only ETA2471)
C2 – joint brush C5 – parket nozzle (only ETA1471, ETA2471)
C3 – slit nozzle
D – adapter for UniBag (number 11), (only ETA 1471)
d1 – filter head blocking lock
III. PREPARING THE VACUUM CLEANER
Hose
– Connect the hose B2 to the vacuum cleaner by inserting the end piece to the suction
vent A3 to the maximum position (Fig. 4). You will hear a clicking sound.
– Disconnect the hose by pressing the button on the end piece and pull the hose out
slightly.
Telescopic tube
– You can connect the tube B3 with the hose handle B2 by slight pushing the handle to the
tube (Fig. 3).
– You can disconnect the tube by slight pulling of the handle out of the tube.
– The telescopic tube allows setting the suitable length according to your figure. Press the
lock pin in the direction of the arrow and pull out or push in the required length of the tube
(Fig. 5). When you release the lock pin, the tube length is xed. In pulling out, keep the
tube in the safe distance from your face as the tube is very long.
Floor nozzle, TURBO nozzle
– When connecting and disconnecting accessory (B1, C4, C5) proceed in a similar way as
with a nozzle (pic. 2). Slit / cushion nozzle, joint brush
– When connecting and disconnecting accessory (C1, C2) proceed in a similar way as with
a nozzle (pic. 2).


 To Next Page