13
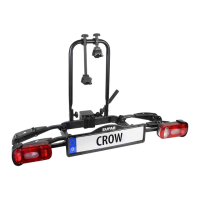
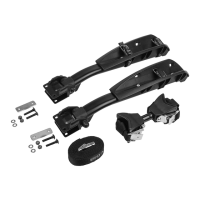
Figure 7: Mounting the retaining clips
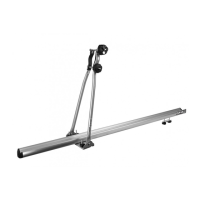
Figure 9: Tightening the wheel rail
Step 5:
Step 7:
Step 6:
Fasten the brackets for the lamp holders to the outside
of the frame extension using the screws and spacers
(mounting material position 5 in the overview) (left
and right).
The rounding of the holder clamp must point
downwards.
Fasten the wheel rail with the lock bolts, washers and nuts
(installation material position 5 in the overview). After
tightening the nuts, place the protective caps on the
nuts (left and right).
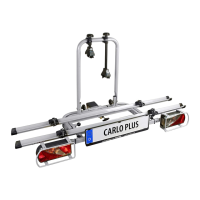
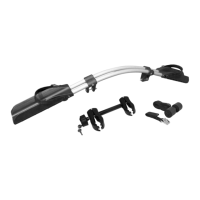
Place the wheel rails with the hinge on the frame
extension. Make sure that the nut with the protective
cap of the hinge points backwards (left and right).
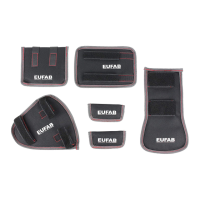
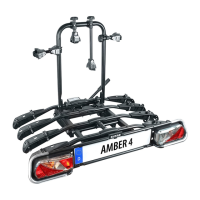
Figure 10: 3 x short tensioning strap
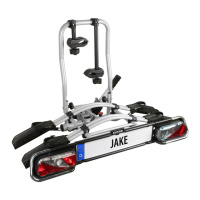
Figure 11: Mounting the tensioning straps
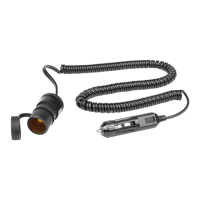
Laying electrical cables
Mounting the short tensioning strap
Lay the cables along the tube of the base frame. The
cables may not be bent, stretched or crushed, e.g.
in the vicinity of the folding mechanism. Secure the
cables with the supplied cable ties (Position 6 in the
overview). When you are nished, trim any excess
material from the cable ties using cutting pliers.
Insert the short tensioning strap from the inside to
the outside below the bike holder and then from the
outside to the inside through the slots of the bike
holder (Figure 11). For the rear wheel of the bicycle,
use the centre slot of the wheel holder, for the front
wheel, use the two outer slots (two tensioning straps to
prevent the front wheel from turning).
Fig. 5
Nut with protective cap to the rear
Fig. 6
Fig. 7
Figure 8: Mounting the wheel rail
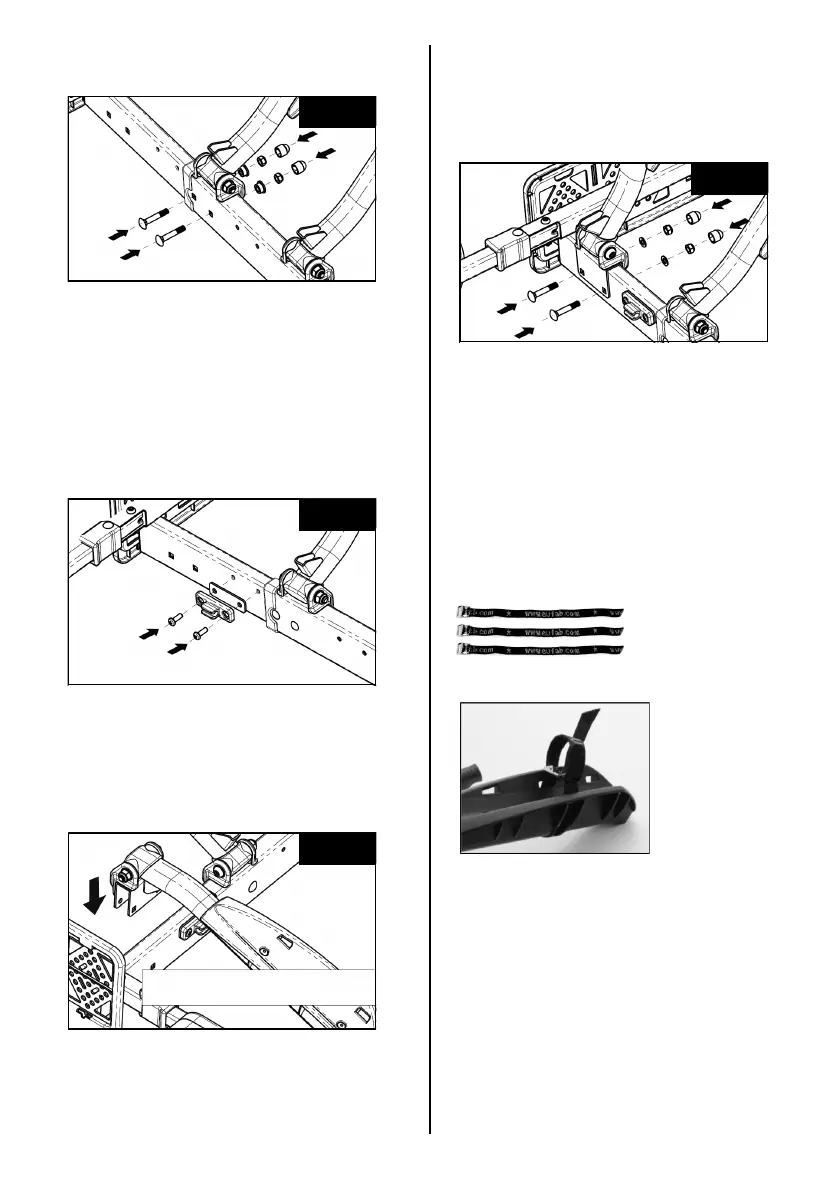
Figure 6: Inserting the retaining screws
Step 4:
Replace the retaining screws (left and right).
Fig. 4