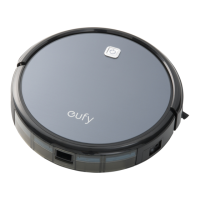
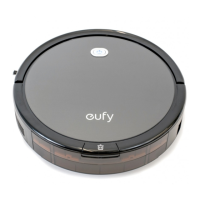
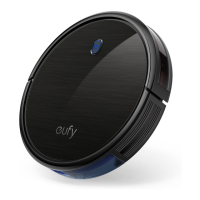
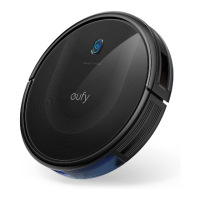
12 13
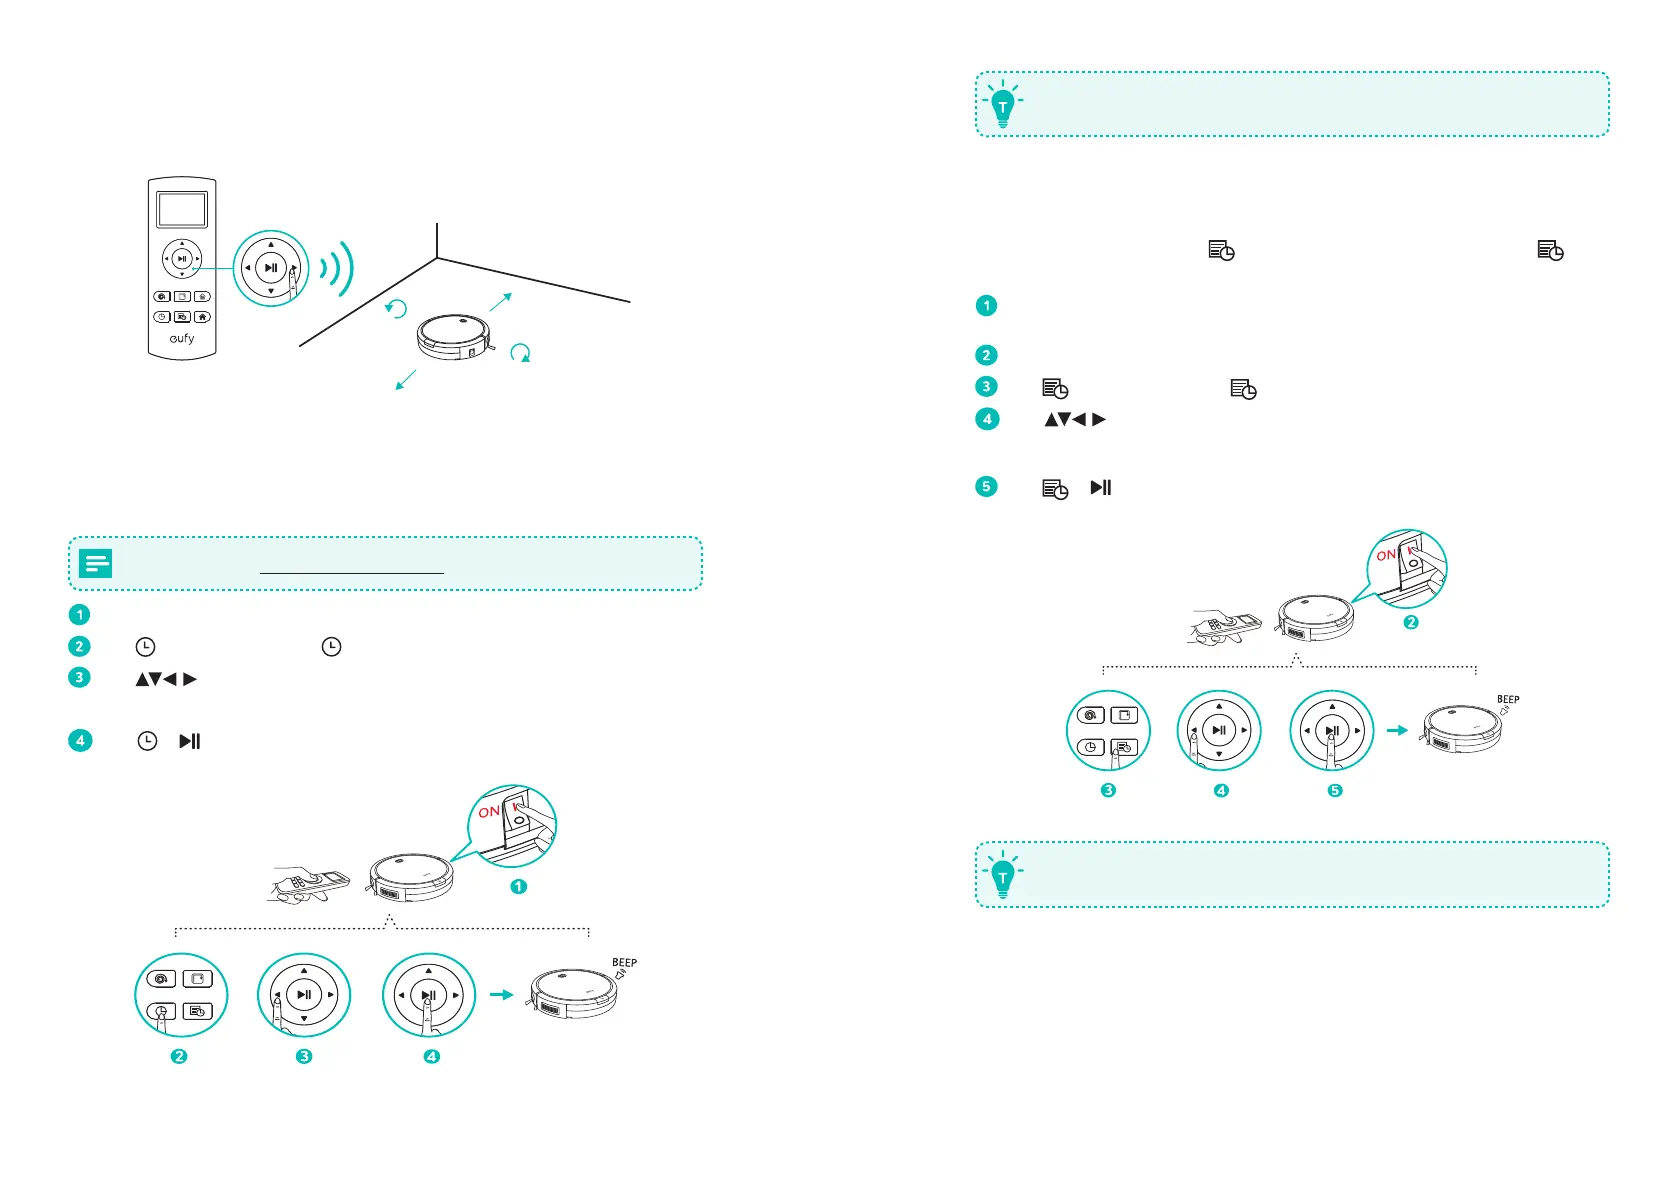
To ensure the time is set successfully, make sure RoboVac is turned on. You will hear
a beep when the time has been set.
2. Set a Scheduled Cleaning
You can schedule RoboVac to start cleaning at a specified time. To cancel a previously
scheduled cleaning, press and hold
for 3 seconds until RoboVac beeps twice and
disappears.
Before setting a scheduled cleaning, make sure the time has been set correctly to your
local time; refer to the previous section “Set Time” for how to set time.
Make sure the main power switch on the side of RoboVac is turned on.
Press on the remote control. will blink on the display.
Press to set the “hour” and “minute”.
Note: Make sure AM/PM is set correctly.
Press or to save the setting. RoboVac will BEEP ONCE to indicate the schedule
has been set.
To ensure the schedule is set successfully, make sure RoboVac is turned on. You
will hear a beep when the schedule has been set.
5. Manual cleaning
You can direct RoboVac to clean a particular area by using the directional buttons on the
remote control.
Move backward
Move forward
Turn left
Turn right
Set Time and Schedule Cleaning
1. Set Time
Make sure the time is set correctly to your local time before setting a scheduled cleaning.
Make sure the main power switch on the side of RoboVac is turned on.
Press on the remote control. will blink on the display.
Press to set the “hour” and “minute”.
Note: Make sure AM/PM is set correctly.
Press or to save the setting. RoboVac will BEEP ONCE to indicate the time has
been set.