Always assemble your tent at home before use to ensure all parts are
in good order and you understand how to erect your tent!
1. Select a site that is level with proper drainage in the event
of a heavy rain. Remove all sharp or protruding objects that
could cause damage to the tent floor.
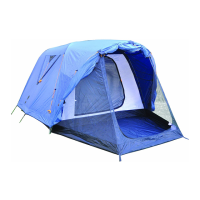
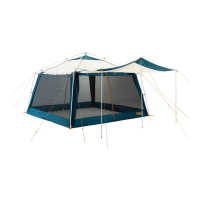
2. Spread out the tent body in desired location. Note the
‘front’ of the tent body will be the end that has double pins
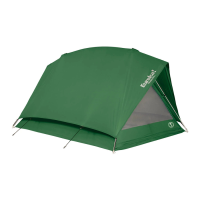
at corner ring and pin locations. (We recommend use of a
protective ‘footprint’ or groundsheet as shown in image 1
which provides added floor protection)
3. Build two main frame poles making sure to fully insert
ferrule connections. Slide poles, always
pushing poles and never pulling, through
pole sleeves located on the top of the tent
body until they are both fully inserted and
forming an X pattern on the tent body.
(image 1)
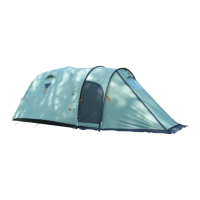
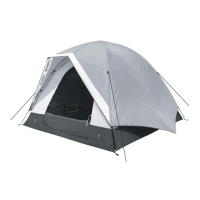
4. Starting at one corner insert the corner
pin into the base of the pole. (image 2)
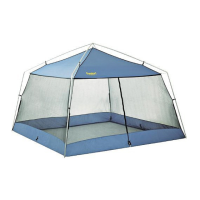
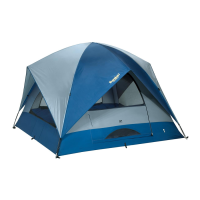
5. Move to the opposite end of the same
pole. Push the pole towards the opposite
corner to flex the pole and create a hoop.
When able, insert this corner pin into the
pole end. To help fully flex the pole you
can grab onto the end of the pole sleeve
and pull the sleeve towards you while
pushing the pole into the sleeve (image
3). When completed the tent body will
have one completed hoop but still in flat
position (image 4).
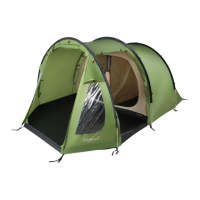
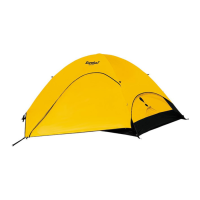
6. Repeat this step with the second pole,
inserting one pin into the pole end and
then moving to the other end, flexing the pole and making
the pin insertion. It is during this last stage when the inner
tent will take stand up shape as you flex the second pole.
When the inner tent is erected attach
tent clips to poles. Your inner tent will
now be fully assembled (image 5).
7. You can now stake the erected inner tent
by inserting stakes at each corner using the
web loops as provided (image 6). As you
stake the tent down stretch the floor to full
size.
8. Using the vestibule pole, longest of remain-
ing two poles, assemble as described and
slide through the pole sleeve located on
the roof part of the mesh vestibule. Flex
and insert corner pins into the ends of the
pole. (See image 7) Attach tent clips to
pole. Stretch out the front corners of the
vestibule and stake out as shown in
image 8
9. Spread out the fly sheet on the ground with
the underside facing up. Assemble the fly
pole. Locate the two pole pockets, see
image 9, on the underside of the fly sheet
and insert the pole ends into these pockets.
You will need to flex the pole slightly to
make this happen. Attach the three Velcro
fly to pole fasteners located along the seam
that is in line with the fly pole. See image
10.
10. Now lift and invert the fly sheet and position the fly on to
the tent. Orient the vestibule end, has window, over the
large mesh vestibule. When all steps are completed it will
be draped loosely over the entire tent. There are now im-
portant fly to tent attachments required. These attach-
ments are important in the event of stormy
weather.
11. At each prebent shoulder you will find Vel-
cro as part of the pole sleeve. Line up the
corresponding Velcro on the underside of the fly sheet and
1.
2.
33.
4.
5.
6.
7.
8.
9.
10.
11.
ASSEMBLY INSTRUCTIONS for Bon Echo Tour 500/600
Component List:
• Tent body (inner tent) - Fly sheet with guy
lines attached
• Frame consists of 2 pre-bent main poles,
1 vestibule pole, 1 fly pole
• Steel stakes