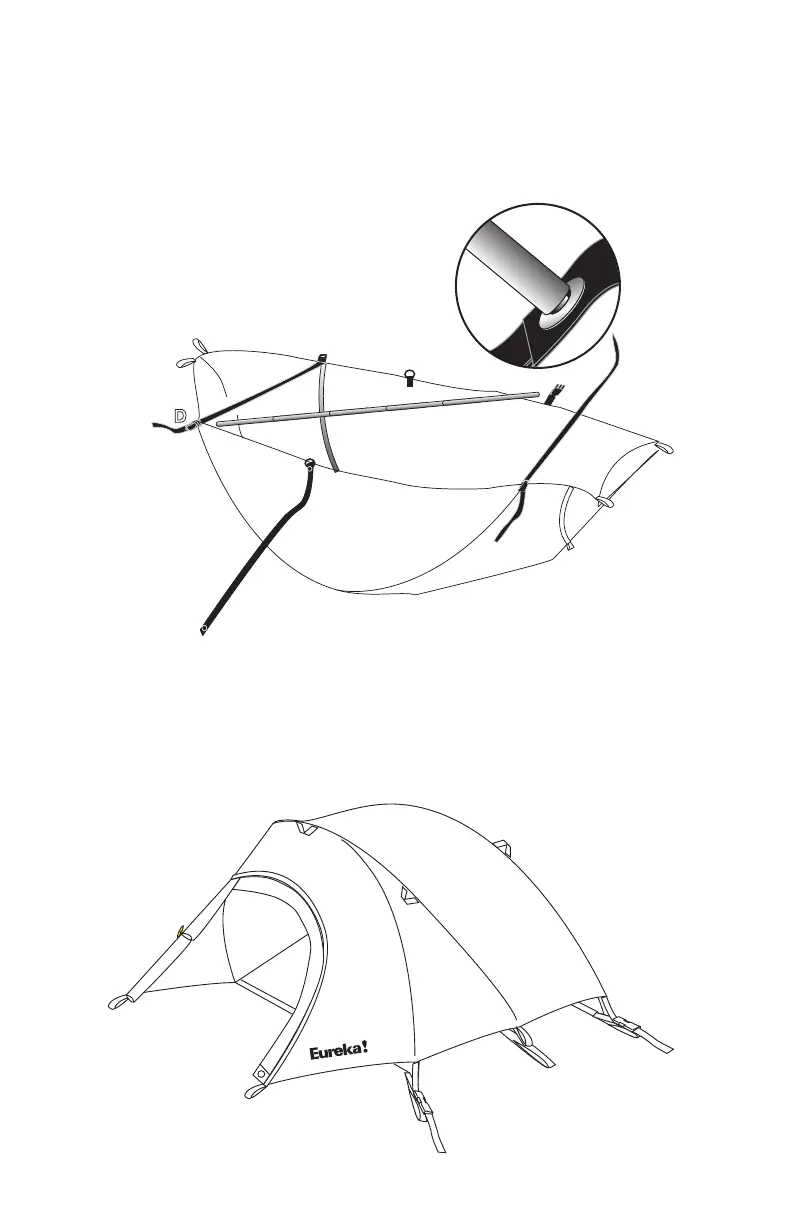
Insert post into
grommet
6. Attach the other buckle of the RPW connected at B to the
buckle at corner C. Push the pole from A toward B (post already
inserted). Place the free post into the grommet at A.
7. Attach the second RPW, connected at D to the buckle at A.
Push the pole from corner C toward D and place the pole's post
into the grommet at C.
8. Snap the loose end of the middle RPW to the ring on the rain
y at E. Push the third pole toward F and place the pole's post into
the grommet at E.
9. Turn the rain y over and stake down the corners and the
vestibules. Use the center snaps in the RPWs to adjust the rain
y’s height. Restake the corners and/or the vestibule stake loops if
needed.