Do you have a question about the Eureka Hex Screen House and is the answer not in the manual?
Unpack, separate, and identify all tent components and poles before assembly.
Slide rafter sections onto hub arms, ensuring spring clips engage slots.
Insert poles into corner rings and rafter elbows to erect the free-standing frame.
Clip the tent fabric to the frame poles, starting with top clips, then side clips.
Steps to disassemble the screen house, including unzipping, unstaking, and packing.
Details on repair or replacement for manufacturing or material defects.
Instructions for returning products for warranty claims or contacting customer service.
Explains how the warranty provides specific legal rights that may vary by state.
Keep flame and heat sources away; fabric meets flammability requirements.
Use guylines with parachute cord for shelter security in windy conditions.
Minimize UV damage by limiting direct sunlight exposure to the fabric.
Clean with mild soap and water; dry completely. Avoid detergents and machines.
Do not misuse or alter the product; doing so voids warranty and absolves liability.
Adhere to seven general principles of outdoor ethics for responsible use.
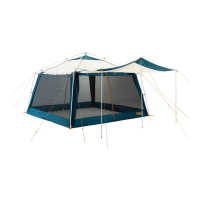
| Model | Hex Screen House |
|---|---|
| Type | Screen House |
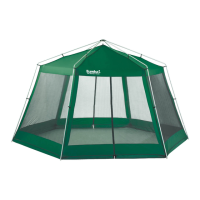
| Shape | Hexagonal |
| Carry Bag | Yes |
| Setup | Freestanding |
| Seasonality | 3-Season |
| Peak Height | 7 ft |
| Frame Material | Steel |
| Canopy Material | Polyester |
| Floor Material | Not applicable (screen house) |
| Mesh Type | No-see-um mesh |