ASSEMBLY INSTRUCTIONS
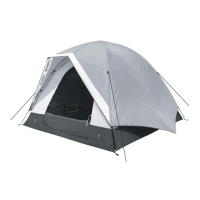
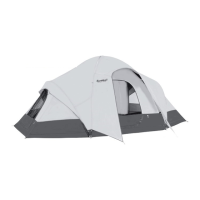
MIDORI 3 TENT:
Reach under the y at the
sides and rear. Attach the
dog bone web to the
pullout ring.
What's in the box:
1 Tent Body, 2 Tent Poles, 1 Tent Fly, 1 Fly Strut
1 Carry Bag, 1 Pole Bag, 1 Stake Bag/ Stakes
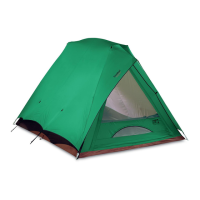
Lay out the tent body.
Assemble the poles and attach to the webs diagonally across
the tent body.
Clip the tent body to the poles.
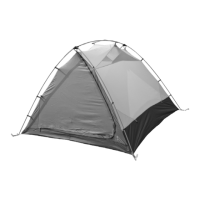
Stake down the loops at the
corners. Work on the
diagonal to square the tent
as you go.
Raise the poles. Attach to the tent
where they cross.
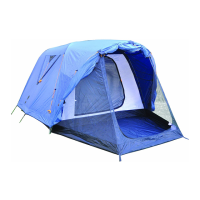
Drape the y over the tent so that
the yellow webs meet.
Reach under the y and wrap the Velcro
tabs around the poles.
Attach the web
buckles from the y
to the tent.
Pull open each y vent and
raise the stays.
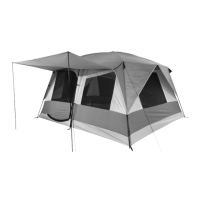
Pull out the vestibule triangle.
Push up/back the strut. Stake
the webs, then the guyline.
Should look like this inside
when done.
JOHNSON OUTDOORS GEAR 6.12
Stake out the y.