29
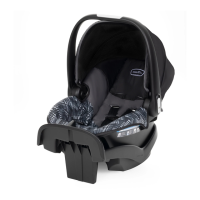
1. Secure the convenience base to the
vehicle seat.
Convenience base is securely installed with lower
anchor connector assembly system (shown)
(p. 23-24).
OR
Convenience base is securely installed with vehicle
seat belt (p. 25).
IMPORTANT: A properly secured convenience base
does NOT move more than 2.5 cm (1 in.) from
side-to-side or from front-to-back at the lower
anchor connector assembly/vehicle belt path.
Locking clip is installed, if necessary (p. 43).
If necessary, a towel/small blanket is rolled up and
placed beneath the front edge of the base for
additional leveling (p. 27).
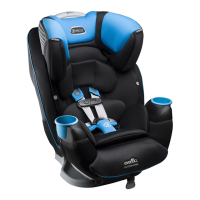
2. Secure the child in the carrier (p. 36)
Harness straps MUST start as close as possible to,
but NEVER above, the child’s shoulders (p. 39).
Both buckle tongues are fastened (p. 36).
Chest clip is securely fastened and at armpit level
(p. 37).
Harness straps are snug against the child and you
should not be able to pinch the harness (p. 37).
Crotch strap is snug against the child but NOT
under the child’s bottom (p. 41).
3. Check your work.
Convenience base is adjusted so that level line is
level with ground (p. 27).
The convenience base does NOT move more
than 2.5 cm (1 in.) from side-to-side or from
front-to-back at the lower anchor connector
assembly/vehicle belt path.
The handle is in Position 1 (Canadian OR U.S.
models) or Position 4 (U.S. models ONLY)
(p. 28).
Child’s head MUST be at least 2.5cm (1 in.) below the
top of the carrier.
Installation Checklist – With the Convenience Base
29
Installation Checklist
WARNING!
DEATH or SERIOUS
INJURY can occur.