6 7
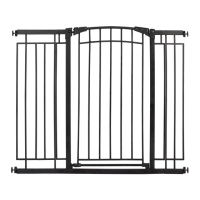
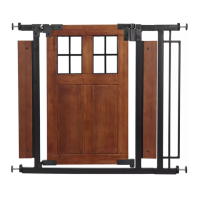
Gate Installation
Gate Operation
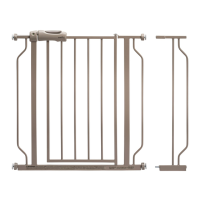
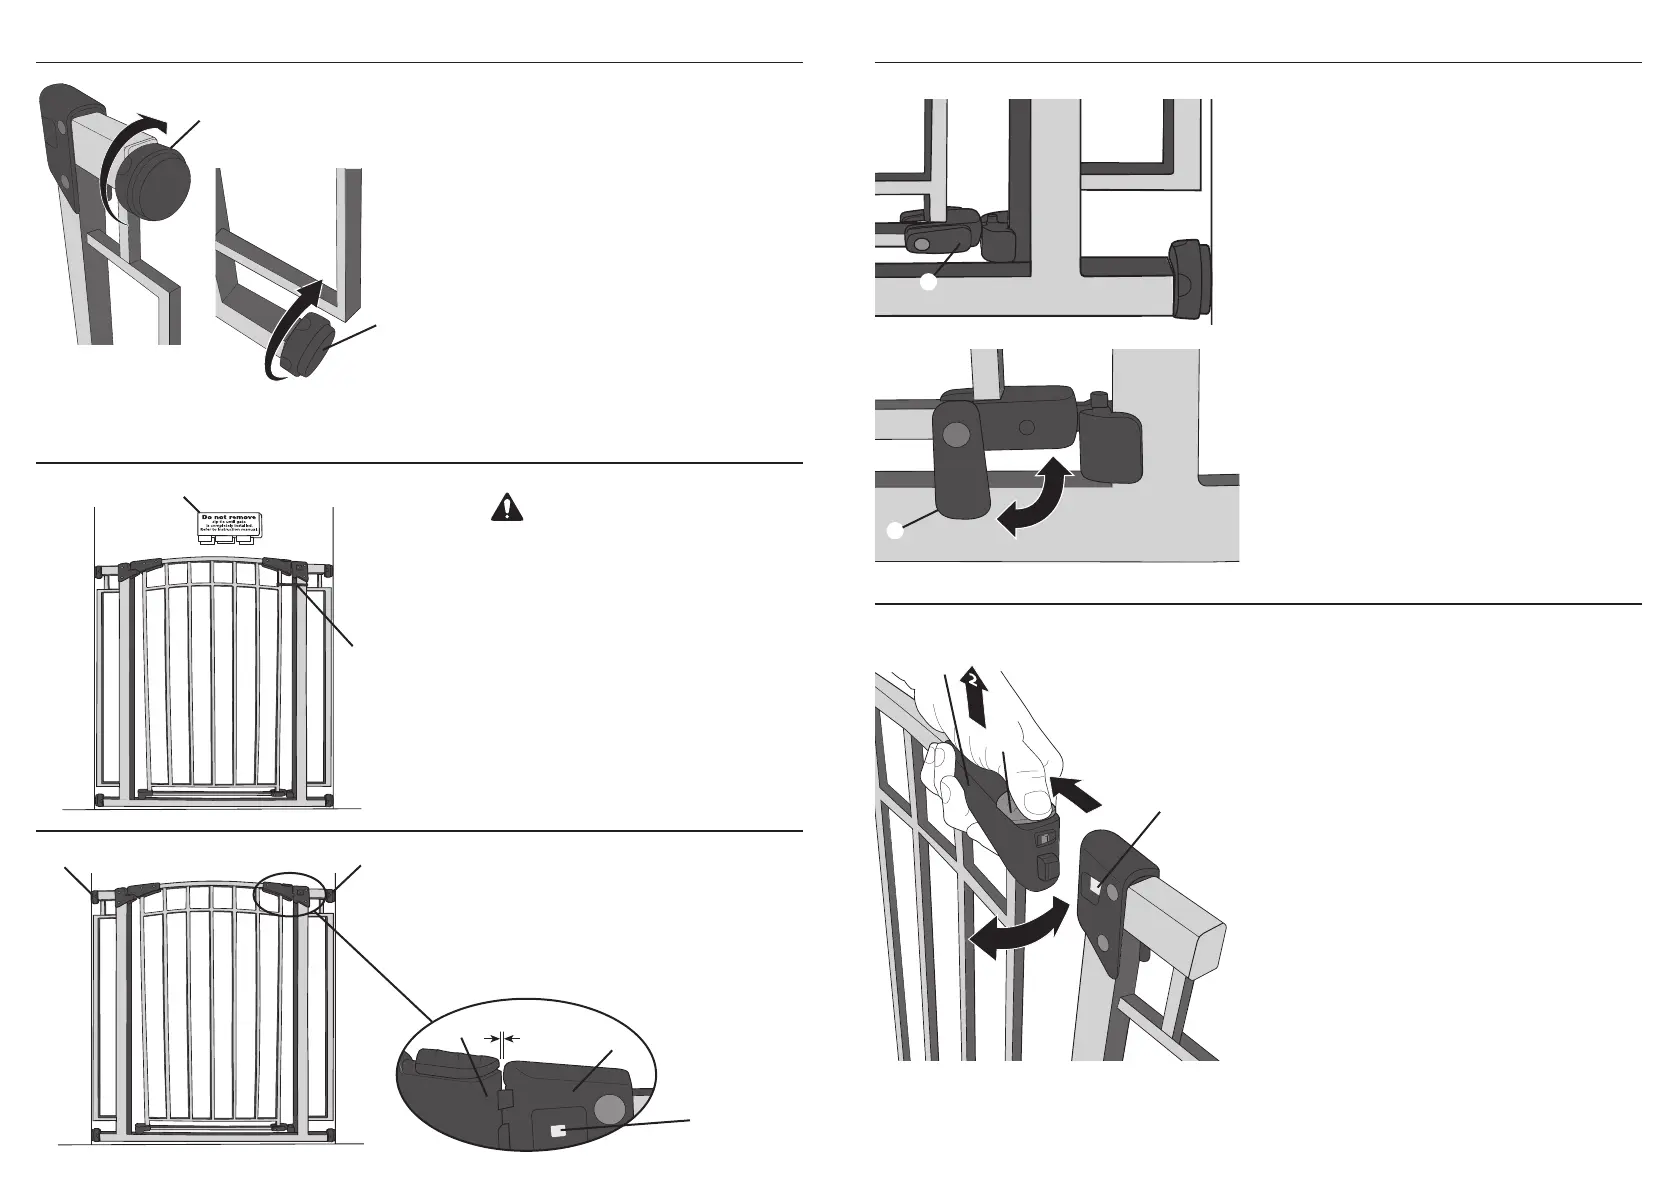
14. To open gate, slide and hold release
button
M
. Lift up on gate handle
J
and swing gate open.
15. To close gate, gently push gate closed.
16. When indicator
N
is green, gate is
latched. When indicator is red, gate is
NOT latched.
1
3
11.
Adjust both upper bumpers
D
until
the gap between the handle
J
and
latch
K
is 1/8 in. (3.2 mm).
12. Inspect the gate. Make sure it swings
freely and latches securely.
Full Green
Indicator N.
10. With your gate securely in place,
remove the cardboard cover, then cut
and discard the plastic tie.
BEFORE removing the CARDBOARD
COVER and cutting the PLASTIC TIE,
ENSURE the gate is securely in place or
serious injury may result.
WARNING
Cardboard Cover
Plastic Tie
13. When using at the top or bottom of
stairs, pivot the swing stop
L
down to
the locked position on the opposite
side of the gate from the stairs. This
will prevent opening the gate into the
stairway. In all other locations, pivot the
swing stop down to the locked position
on the side of the gate that the child
occupies.
D
J
K
D
8. Turn both upper adjustment bumpers
D
and both lower adjustment
bumpers
D
, as shown, until all four
contact the door frame or mounting
caps.
Check that the gate is still straight up
and down then turn each bumper two
more full rotations or until tight.
9. Test to make sure the gate frame
assembly is secure by firmly shaking it.
If it moves, it needs to be re-installed.
Repeat steps 8 – 9.
D
D
L
L
M
J
N
1/8 in.
(3.2 mm)