Do you have a question about the EVGA nForce 122-CK-NF68-XX and is the answer not in the manual?
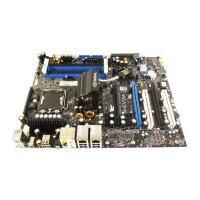
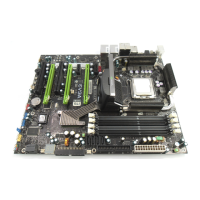
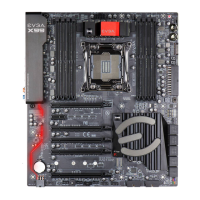
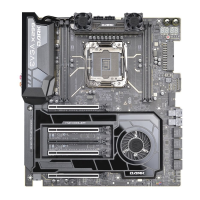
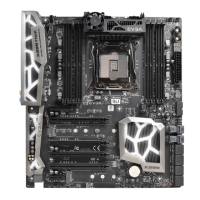
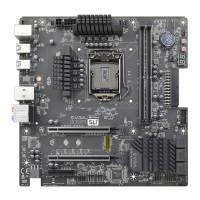
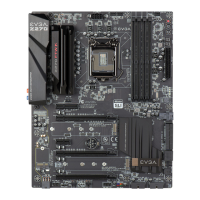
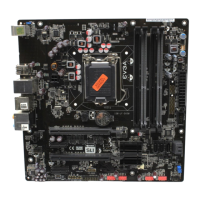
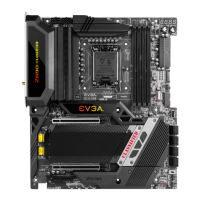
General overview of the motherboard's capabilities.
Highlights features tailored for high-performance users.
Unleashing hardware potential through advanced settings.
Pushing the limits of the front side bus for higher performance.
Utilizing high-speed memory for peak system performance.
Suite of tools for advanced system tuning.
Revolutionary platform for scaling graphics performance.
Safeguarding digital media and RAID support.
Effortlessly set up drives for data protection and speed.
Identifies disk failures for easier recovery.
Change RAID setups in a one-step process.
Supports multi-disk arrays for OS loading.
Faster RAID with multiple SATA drives.
Lists essential components not included in the motherboard package.
Explains the purpose and scope of the motherboard kit contents.
Essential precautions for safe hardware handling and installation.
Steps to get the motherboard ready for installation.
Procedure for safely installing the processor.
Guidance on connecting and mounting the CPU cooling fan.
Steps for properly installing RAM modules.
Steps for physically mounting the motherboard in the chassis.
How to install the rear panel I/O shield.
Fastening the motherboard securely to the chassis.
Guide to connecting power, data, and internal headers.
Connecting the main ATX and auxiliary power supplies.
Connecting front panel, USB, audio, and other internal components.
Description of PCI and PCI Express slots available.
Configuration options via motherboard jumpers.
How to clear the CMOS settings.
Procedure to access the BIOS setup utility.
Explanation of the BIOS main menu structure.
Basic system configuration settings like date and time.
Advanced system features and boot sequence settings.
Setting the order of bootable devices.
Enabling or disabling the CPU's internal cache.
Skipping certain boot tests to speed up startup.
Optimizing system performance and clock settings.
Adjusting frequency settings, multipliers, and spread spectrum.
Setting SLI-Ready memory, FSB, and memory timings.
Adjusting memory timings for optimal performance.
Settings for CPU features like thermal control.
Adjusting core and component voltages.
Configuring onboard devices like IDE, SATA, USB, etc.
Enabling and configuring RAID arrays.
Configuring onboard USB ports and support.
Configuring power saving and wake-up features.
Managing Plug-and-Play and PCI configurations.
Defining automatic or manual resource allocation.
Assigning IRQ resources.
Monitoring system status like temperature and fan speed.
Adjusting fan speeds based on temperature or manually.
Real-time system status monitoring application.
Performance tuning and system management utility.
Viewing system status and performing stability tests.
NVIDIA MediaShield RAID Manager for storage configuration.
Configuring NVIDIA network features like FirstPacket.
Essential drivers for motherboard functionality.
Drivers for the onboard audio chipset.
Required for graphics and multimedia applications.
Performance tuning and system management utility.
PDF reader included on the driver CD.
Software for managing RAID arrays.
Configuration for NVIDIA's network acceleration features.
Requirements and considerations for an SLI setup.
Identifying necessary hardware and OS for SLI.
Procedure for installing graphics cards and SLI connectors.
Installing drivers and enabling SLI functionality.
Activating NVIDIA SLI through the control panel.
| Model | EVGA nForce 122-CK-NF68-XX |
|---|---|
| CPU Socket Type | LGA 775 |
| Chipset | NVIDIA nForce 680i SLI |
| Memory Slots | 4 |
| Maximum Memory Supported | 8GB |
| PCI Express 2.0 x16 | 2 |
| PCI Express x1 | 2 |
| PCI Slots | 2 |
| SATA 3Gb/s | 6 |
| Audio Chipset | Realtek ALC885 |
| LAN Chipset | Dual Marvell 88E1116 |
| Max LAN Speed | 10/100/1000 Mbps |
| eSATA | 1 |
| S/PDIF Out | Yes |
| Audio Ports | 6 |
| Form Factor | ATX |
| Dimensions (W x L) | 12.0" x 9.6" |
| PATA | 1 |
| Memory Standard | DDR2 |
| SATA RAID | 0/1/5 |
| USB 1.1/2.0 | 8 |
| Power Pin | 24-pin |
| Expansion Slots | 2 x PCIe x16, 2 x PCIe x1, 2 x PCI |