EVO42
15
www.evolutionsteel.com
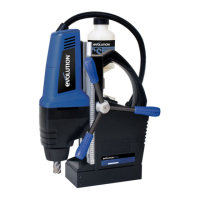
• OperatetheRed switch (Fig. 4) situated at the rear of the
machine to energise the magnet.
• CheckthatthemachineisrmlyattachedtotheMildSteelplate.
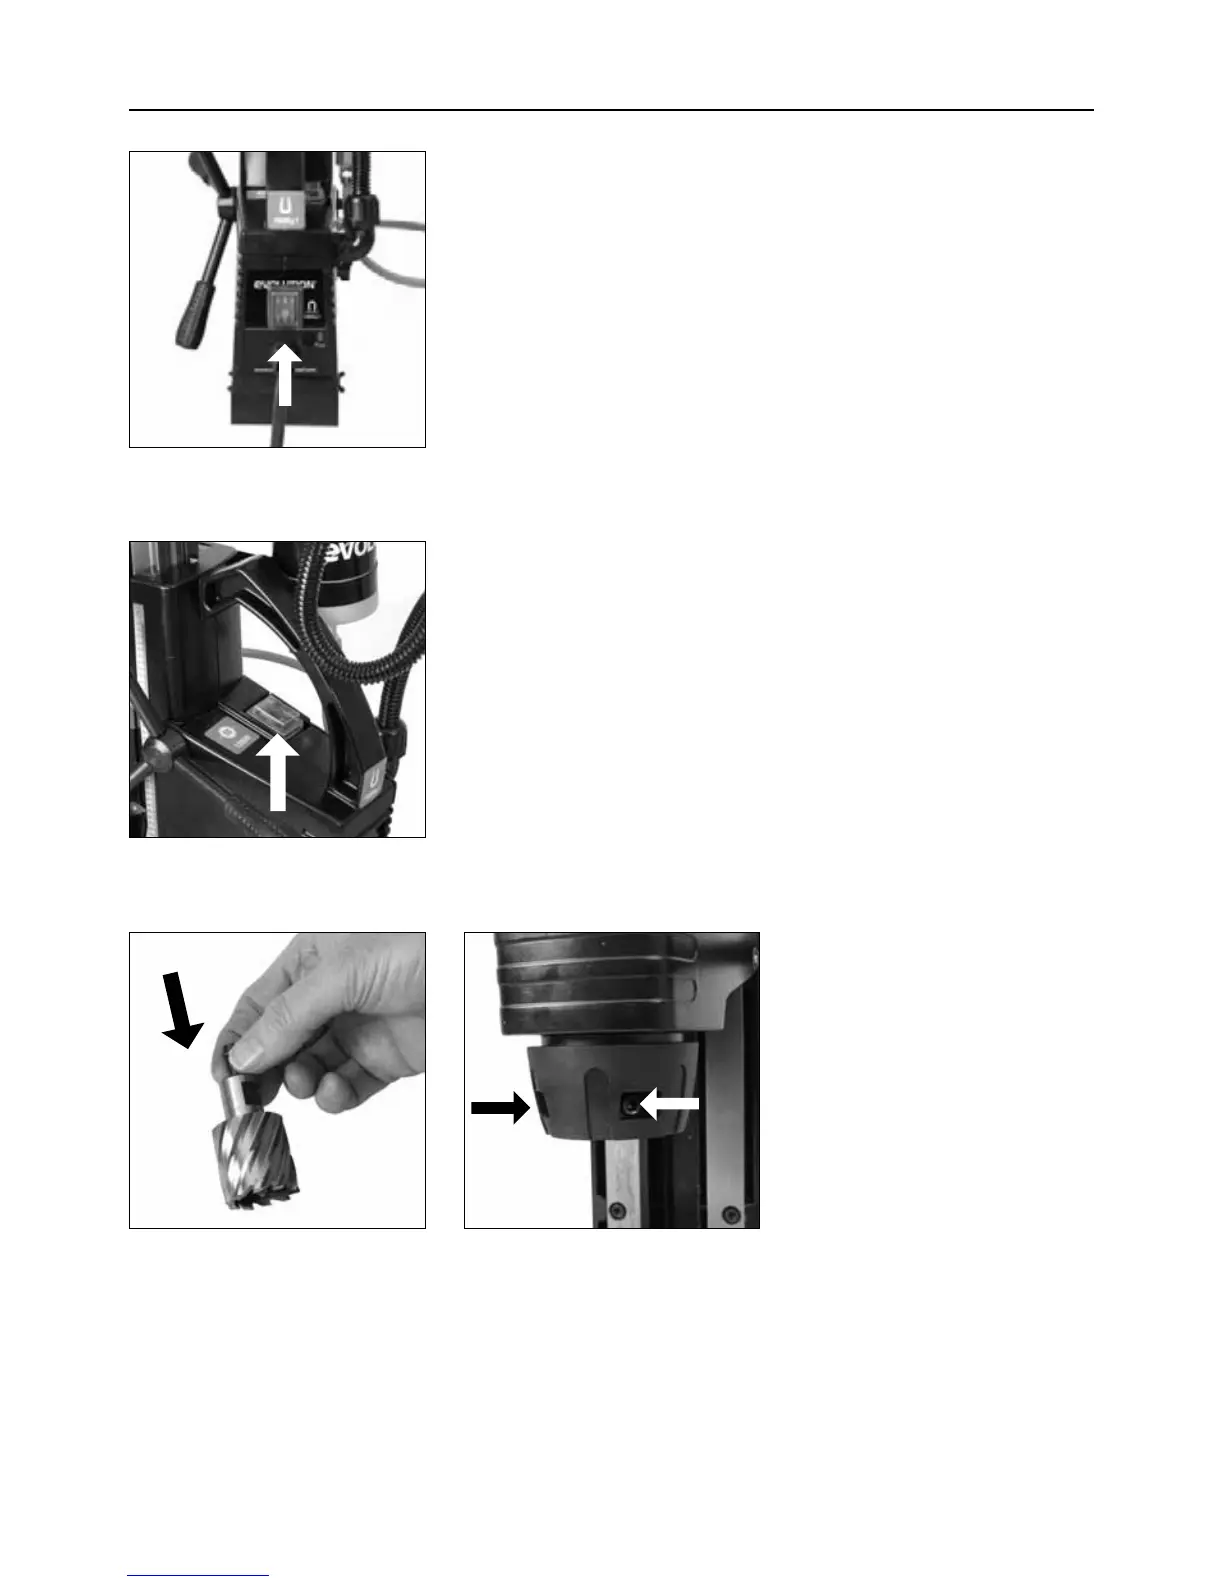
• OperatetheBlack motor switch located on
the top of the machine. (Fig. 5)
• Allowthemotortorunforafewsecondstocheckforany
unusual noise or vibration.
• Donotusethemachineifanyvibrationorunusualnoisesare
detected or if magnetic adhesion is questionable. Have the
machine serviced by a qualified person, or if under guarantee
refer to the guarantee agreement.
• Turn‘OFF’themachinewhenalltestinghasbeencompleted.
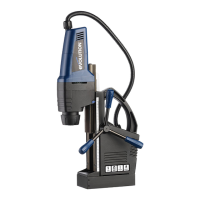
INSTALLING A CUTTER
Selectacuttersuitablefortheoperationtobeperformed.Check
the cutter to ensure that it is sharp and is not damaged in any way.
• Insertthepilotpinintothecutterensuringthat
it slides smoothly. (Fig.6)
• Raisethecuttingheadtoitshighestposition.
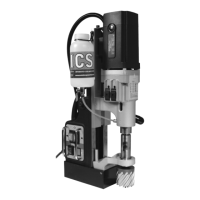
• Checkthatthecuttersecuringgrubscrewslocatedinthe
spindle are not protruding into the spindle bore. (Fig.7)
• Alignthetwoatsonthecuttershaftwith
the grub screws in the spindle.
• Starttotightenoneofthegrubscrewsandatthesametimeslightly
rotate the cutter backwards and forwards until the grub screw is fully
tightened. This will ensure that the grub screw is located squarely
onto the flat preventing the cutter from becoming loose.
• Tightentheremaininggrubscrew.
Fig. 4
Fig. 5
Fig. 6 Fig. 6