INSTALLATION PRECAUTIONS
Before you install the amplifier, invesgate your car's layout very carefully. Take special care
when you work near the gas tank, fuel lines, hydraulic lines and electrical wiring. Before making
or breaking power connecons in your system, disconnect the vehicle baery. Confirm that
your head unit or other equipment is turned off while connecng the input jacks and speaker
terminals. If you need to replace the power fuse, replace it only with a fuse idencal to that
suggested by this manual. Using a fuse of a different type or rang may result in damage to your
audio system or your amplifier which is not covered by warranty .
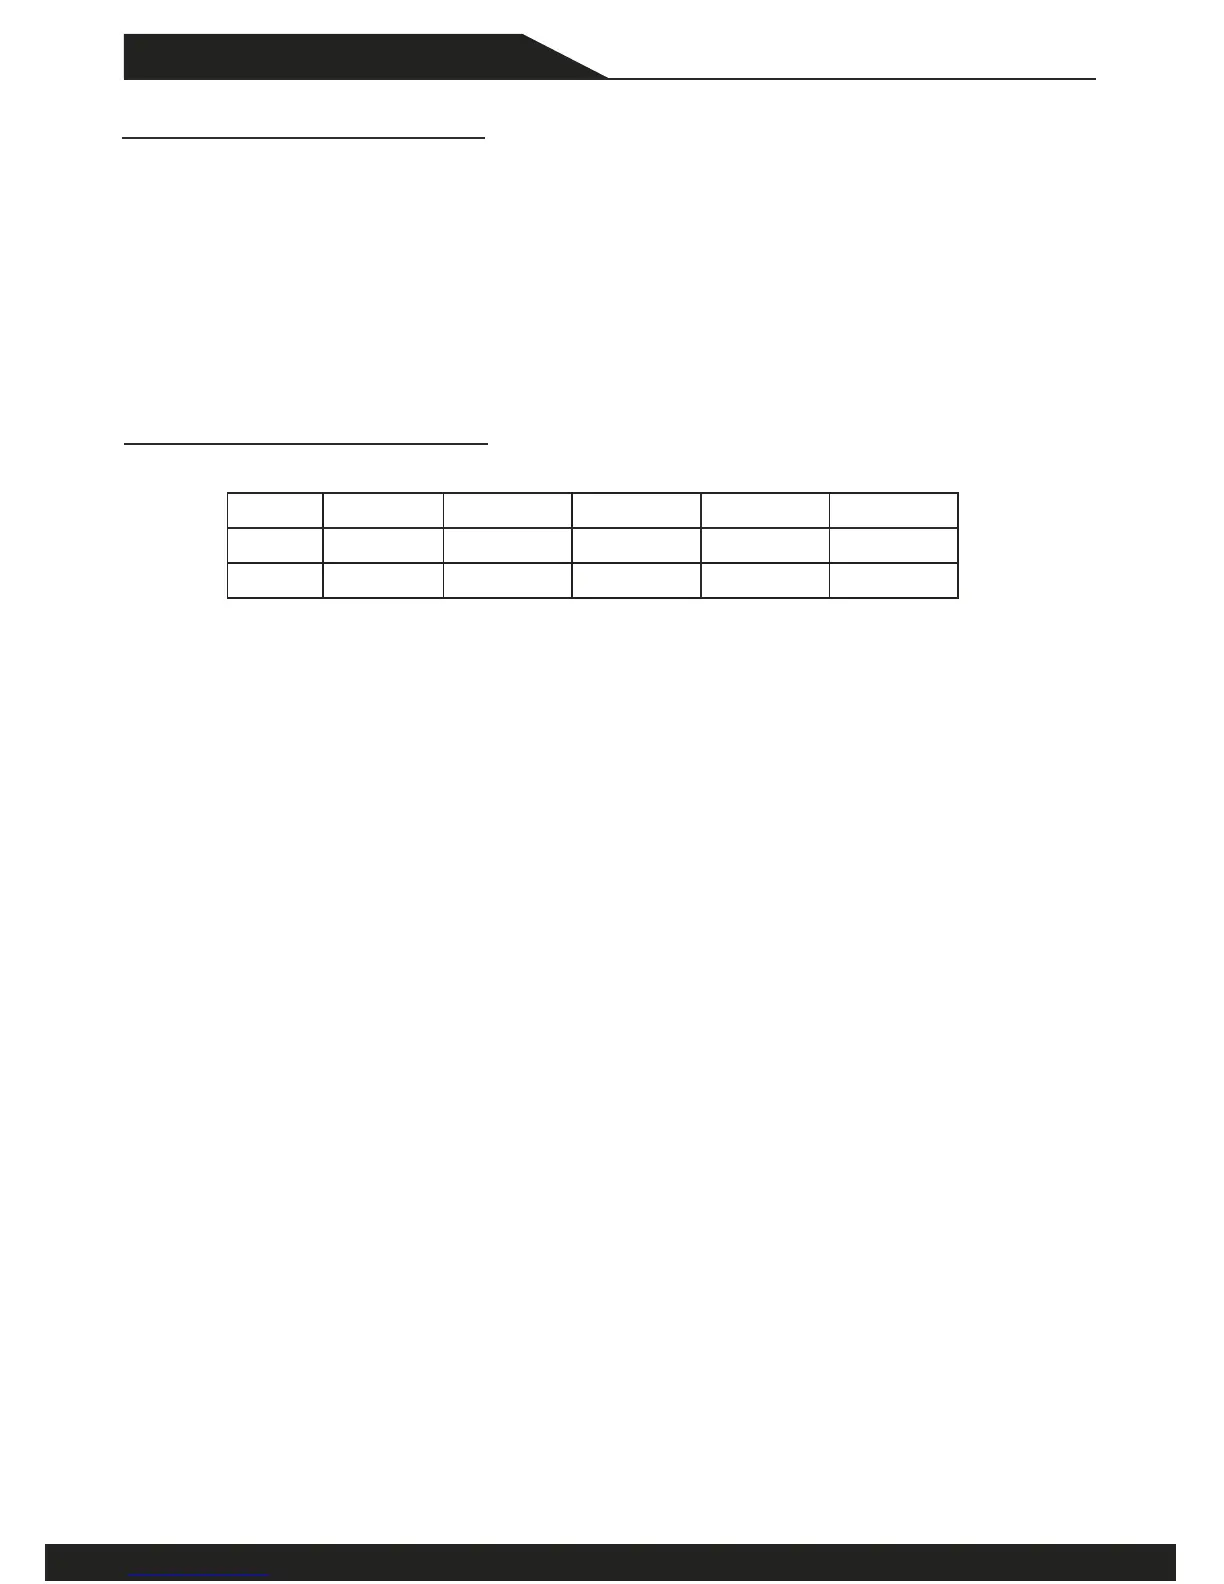
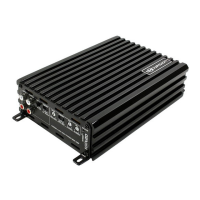
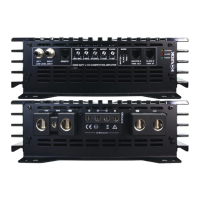
CONNECTING THE AMPLIFIER
1. Select cable and fuse according to the following table.
2. Connect the amplifiers ground cable to a close, bare metal part of the frame or chassis.
Use a nut and bolt, NOT a screw! The ground cable must be at least the same size as the +12volt
cable.
3. Connect the remote terminal to remote output of the head unit using 16 gauge (or heavier)
wire.
4. Connect the fuse holder within 15”(30cm) of the car baery, and run the selected cable
from this fuse to the amplifier.
5. Connect all the inputs with high-quality cables. Connect Remote Control if necessary.
6. Insert fuse(s) into the baery fuse holder(s).
7. If using the rear channel of the HXA45 for a subwoofer, bridge the channels by using the
Le “+” and the Right “-“ terminals.
7
MODEL HXA 45 HXA 20 HXA 1K HXA 2K HXA 3K
CABLE 4 GA 8-4 GA 4 GA 4-0 GA 0 GA
FUSE 60 A 40 A 60 A 100 A 150 A
EXCURSION