380363-en-GB_V-3.2 12/15
5
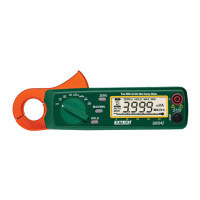
AC/DC Voltage Measurement
1. Set the Rotary switch to the
~
V position.
2. Connect the red test lead to the Vterminal and the black test lead to the COM terminal.
3. Connect the test leads to the circuit under test.
4. Read the voltage value on the LCD. The meter shows DC voltage in the upper right and AC
voltage on the main display.
Resistance Measurement and Audible Continuity Test
WARNING
Do not run this test unless ACV = 0. Do not use this mode to check diodes.
1. Set the Rotary switch to the position.
2. Connect the red test lead to the Vterminal and the black lead to the COM terminal.
3. Connect the tips of the test leads to the circuit under test.
4. Read the resistance value on the display. When the resistance of a circuit is less than approx.
100 ± 80 the audible tone will sound.
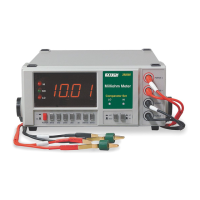
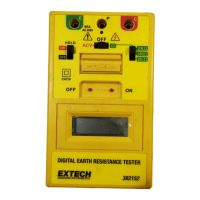
LOΩ Low Resistance Measurement
1. Set the Rotary switch to the Lo position.
2. Connect the red test lead to the Vterminal and the black lead to the COM terminal.
3. Touch the test leads together and press the
key to zero the display.
4. Connect the probes to the ciruit under test. If there is a voltage present, it will be displayed. A
repetitive beep and the flashing high voltage symbol
will be displayed if the voltage is over
30V. Remove the voltage before proceeding to the next step.
5. Press and hold the TEST key until a stable reading is displayed.
6. Release the TEST key. The upper right hand display will hold the reading until a new test is
started or a different function is selected.
7. Swap the red and black probes to reverse the polarity of the test current. The reading should
remain the same. This test is useful to detect corroded connections which can cause different
readings in both polarities.
Using the LOCK Function to measure resistance
The Lock function can be used to make several resistance measurements in succession without the
need to push and hold the TEST key for each measurement.
1. Press the LOCK key to enter the LOCK mode, and then press the TEST key.
2. Zero out the test lead resistance.
3. Connect the probes to the test locations in succession.
4. Press the LOCK key to disable the lock function.
Note: The meter cannot indicate if the circuit is live in this mode. Ensure that the circuit is de-energized
before connecting the test leads or the fuse may blow.
www.GlobalTestSupply.com
Find Quality Products Online at: sales@GlobalTestSupply.com

 Loading...