461895 V1.8 August 2001
3
4. OPERATION
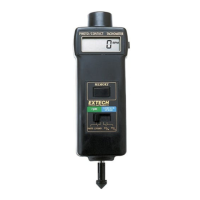
4.1 Photo Tachometer
a) Slide the Function Switch to the "rpm PHOTO" position.
b)
Apply a 0.5” (12mm) square piece of reflective tape to the object being measured.
c) Press the Measure button and align the visible light beam with the object being
measured. Check that the Monitor Indicator lights when the reflective tape
passes through the light beam. Release the Measure button once the display
stabilizes (approx. 2 seconds). For best results, hold the meter's light source 6 -
12" from the object being measured (low ambient light recommended).
d) If the RPM measurement is less than 50, apply
additional squares
of reflective
tape (equidistant). Divide the reading shown on the display by the number of
reflective squares to get the actual RPM.
NOTE: Bright ambient light may interfere with the reflected light beam. Shading the
target area may be necessary in some cases.
CAUTION: Rotating objects can be dangerous. Use extreme care when holding the
meter near any such object.
4.2 Contact Tachometer
a) Slide the Function Switch to the "rpm CONTACT" position.
b)
Press the Measure button wh
ile lightly pressing the rotating ring against the
center opening of a rotating shaft. Release the Measure button once the display
has stabilized (approx.
2 seconds).
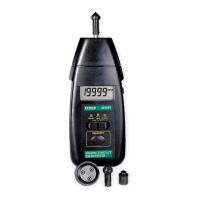
4.3 Surface Speed Measurement
a) Slide the Function Switch to "SURFACE SPEED ft/min" or "m/min".
b)
Affix the Surface Speed Wheel on the meter shaft.
c)
Press the Measure button and hold t
he
surface speed wheel against the device
being measured. Release the Measur
e button once the display
has stabilized
(approx. 2 seconds).
4.4 Memory Recall
When measuring, the last reading and last max and min values are automatically
stored before the Measure button is released. Recall the values by pressing the
Memory button the appropriate number of times (see below).
a) Press once and hold - the last value is displayed followed by "LA"
b) Press again and hold - the maximum value is displayed followed by "UP"
c) Press again and hold - the minimum value is displayed followed by "dn"
5. BA
TTERY REPLACEMENT
5.1 The low battery indication appears as a "LO" on the display.
5.2 To replace the battery:
a) Loosen the screw
on the battery cover (3-10,
Fig. 1) and remove.
b)
Replace w
ith 4 x 1.5V AA batteries and replace cover.