Model EA15 Version 1.5 9/03
5
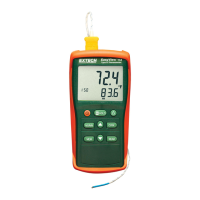
Automatic Datalogging
Automatic datalogging allows the user to store up to 8,800 temperature readings in memory
for later downloading and viewing using the supplied software. The storage interval rate is
programmable from 3 to 255 seconds.
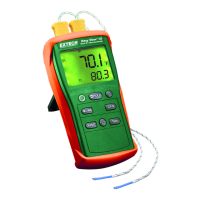
1. Press and HOLD the SET button for two seconds to
enter the interval programming screen. The ‘MEM’ and
‘INTERVAL’ icons and interval time will appear on the
display. Use the ▲ and ▲ buttons to scroll through the
available intervals (3 to 255 seconds). Press the ‘
↵’
button to select the desired logging interval
2. Make note of the start time (time of day) for your
datalogging session as you will be prompted for this
information when downloading the data.
3. Press and hold the MEM button for two seconds to enter the datalogging mode. The
‘MEM’ icon on the center of the display will flash each time a record is stored (at the
interval selected above). When the memory is full, ‘FULL’ will appear on the display
and the meter will stop logging data.
4. To stop and exit the datalogging mode, press the MEM button.
5. To download data, read the datalogging sections below.
Note: Max/Min and AVG functions can be used with the meter in datalogging mode
Clearing stored data
1. Press the “
” button to turn the meter off.
2. Press and hold the MEM button, then press the “
” button to turn the meter on.
When the LCD indicates "CLr", the entire memory has been erased.
Datalogging Software
The instructions on how to install the datalogging software are printed on the Software CD
label. After reading the label’s
directions, load the software CD in the
PC CD-ROM drive.
When the program is opened a COM
PORT selection screen appears. Select
either COM 1 or COM 2 depending on
which computer port will be used to
connect to the meter with the supplied
cable (the cable connects to the top of
the meter and to a DB9 9-pin COM
PORT on the PC).
Once the COM PORT selection is
correctly made, the meter and PC begin
communicating. The main software
screen, shown at right, appears. The
menu icons at the top of the screen are
explained below.