5
If you x the bracket with 3M sticker.
Please ensure the following installation conditions are satised:
The wall or door to be mounted shall be clean and dry without any dirty like oil stain or dust. If there are dirty on wall or door,
please swipe with alcohol, and attach the 3M sticker after the alcohol is completely evaporated.
The wall or door to be mounted shall be at for a fully contact between 3M sticker with the installation surface, so that ensure
a excellent paste effect.
Before attaching the wall mount bracket to the wall or door, it is necessary to apply a force of approximately 10 kg to the wall
mount bracket for 30s to ensure the double-sided adhesive can bond rmly.
Recommended for use on iron surfaces instead of on painted walls.
Please wait for 24h after attaching the 3M sticker, and then assembly the screen on the wall mount bracket to use.
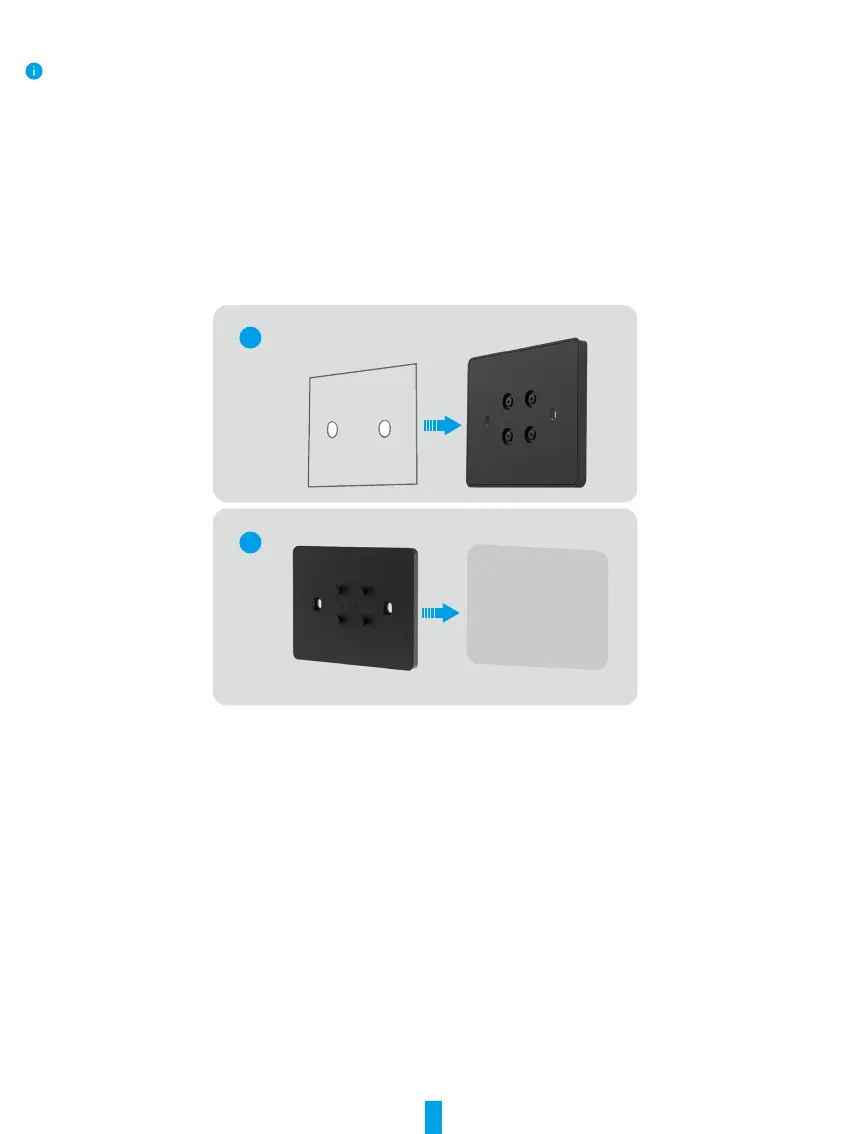
1. Attach the 3M sticker onto the back of the wall mount bracket.
2. Put the assembled wall mount bracket on the installation surface.
1
2
3. Align the hanging grooves on the back of the device with the positioning pins on the wall mount bracket and insert it.
4. Slide the device downward to ensure a rmly assembly.