Quantity Hardware
2 Rail lock brackets
4 M3 x 6mm flathead screws, black with patch (threadlock) (for rail lock brackets)
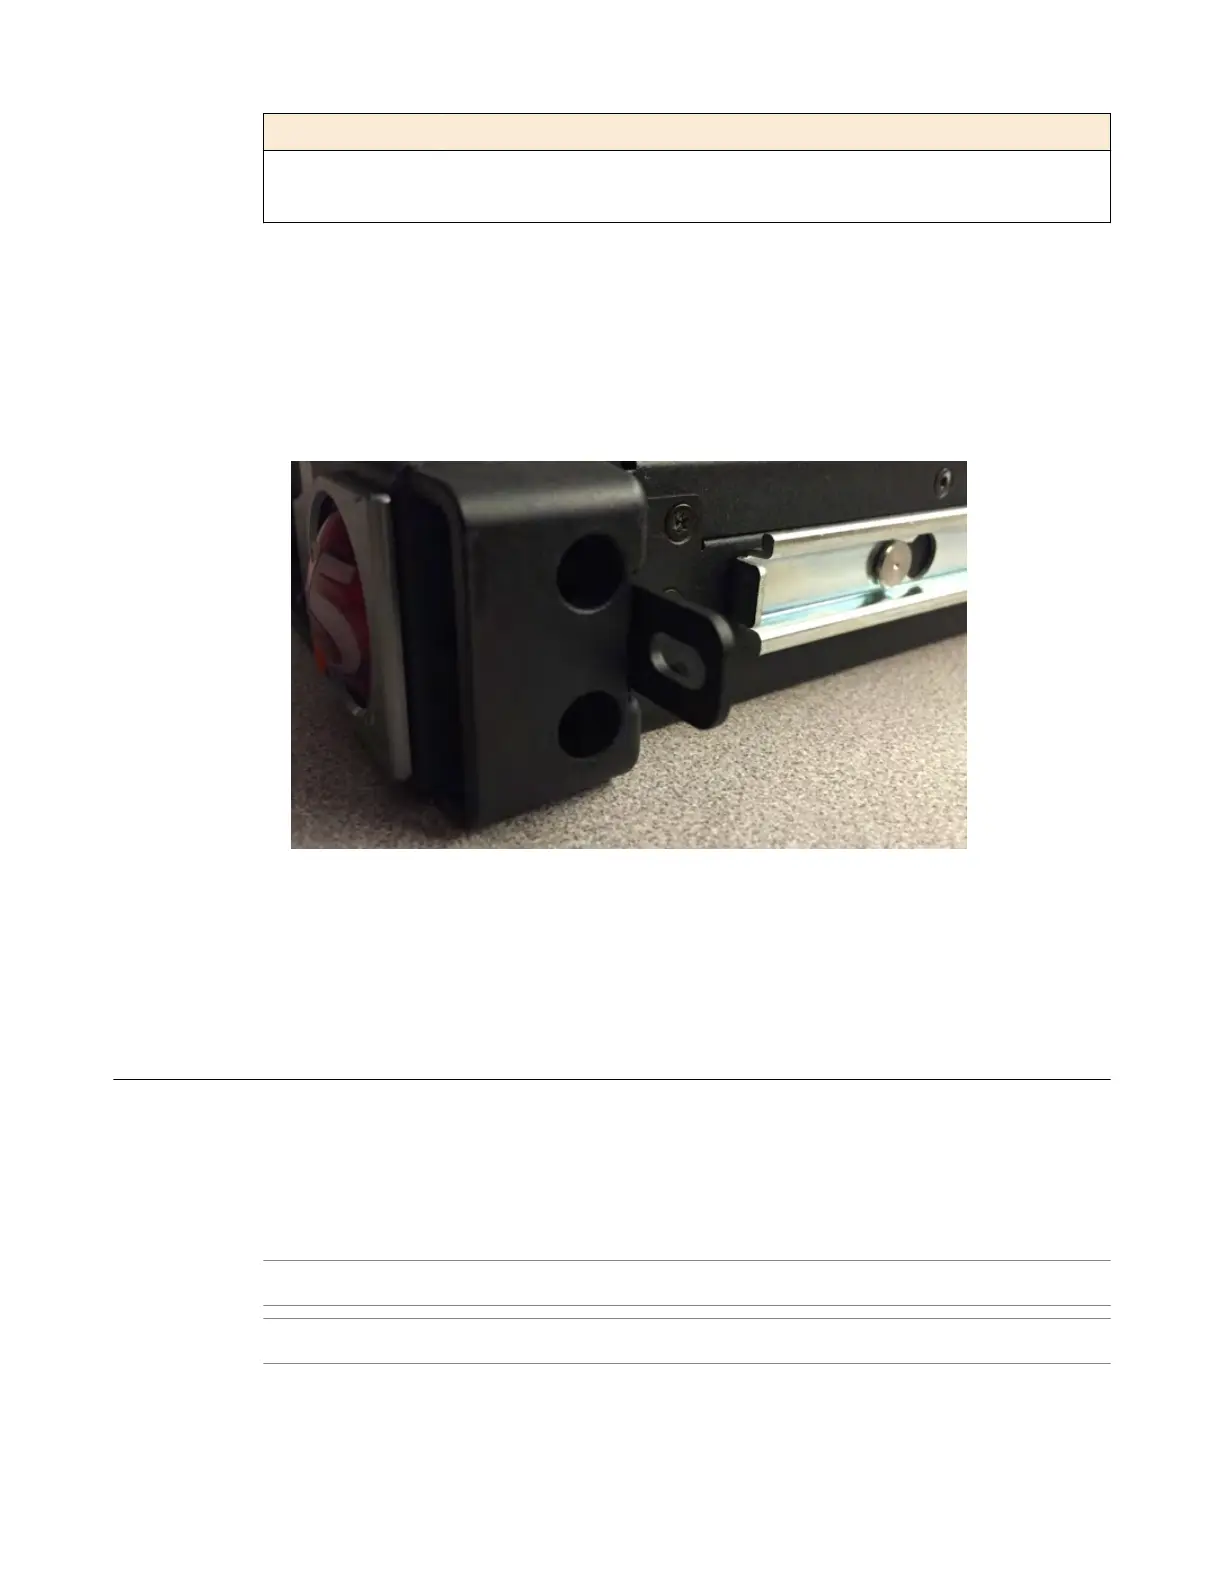
Install the rail lock brackets
Be sure that the rails are installed onto the chassis before you install the rail lock brackets.
The rail lock brackets secure the platform to the rack when you are using the quick-install rail kit.
1. Use a #1 Philips screwdriver to attach the rail lock brackets to each side of the unit using two of the
black M3 x 6mm
flathead screws that are provided with the kit.
Use 5 inch-pounds (0.6 Newton-meters) of torque on these screws.
2. Slide the unit into the rack.
3. Use a #2 Philips screwdriver to secure the rail lock brackets to the rack on each side of the unit using
one of the #8-32 pan head screws that are provided with the kit.
Use 14 to 16 inch-pounds (1.6 to 1.8 Newton-meters) of torque on these screws.
About gr
ounding the platform
You must ground the platform after you install it in a rack. The chassis ground lug is located on the back
of the platform.
Do not secure multiple bonding or grounding connectors with the same bolt. The grounding connectors
do not need to be removed to perform service or installation procedures. Y
ou can connect other bonding
or grounding conductors to a grounding connector provided a reliable bond between the connector and
the equipment is not disturbed during installation, service, or maintenance of the platform.
Important: All grounding cable terminal lugs must meet appropriate safety standards.
Note: The platform must be gr
ounded to a common bonding network (CBN).
Platform Installation
26