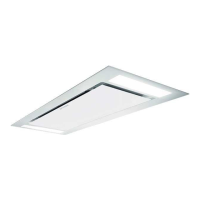
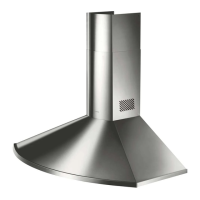
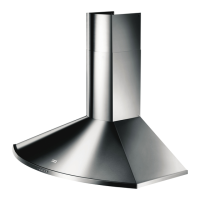
Hood body installation
• Before hooking the hood body it is necessary to tighten 2 Vr screws
placed in the fixing points of the body.
• Hook the hood body on the 12a screws.
• Tighten completely 12a support screws.
• The correct hood body position can be levelled with Vr screws.
• Fix the hood definitively by tightening the 12a security screws.
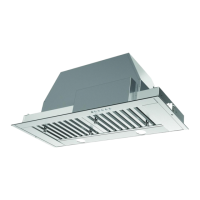
Connections
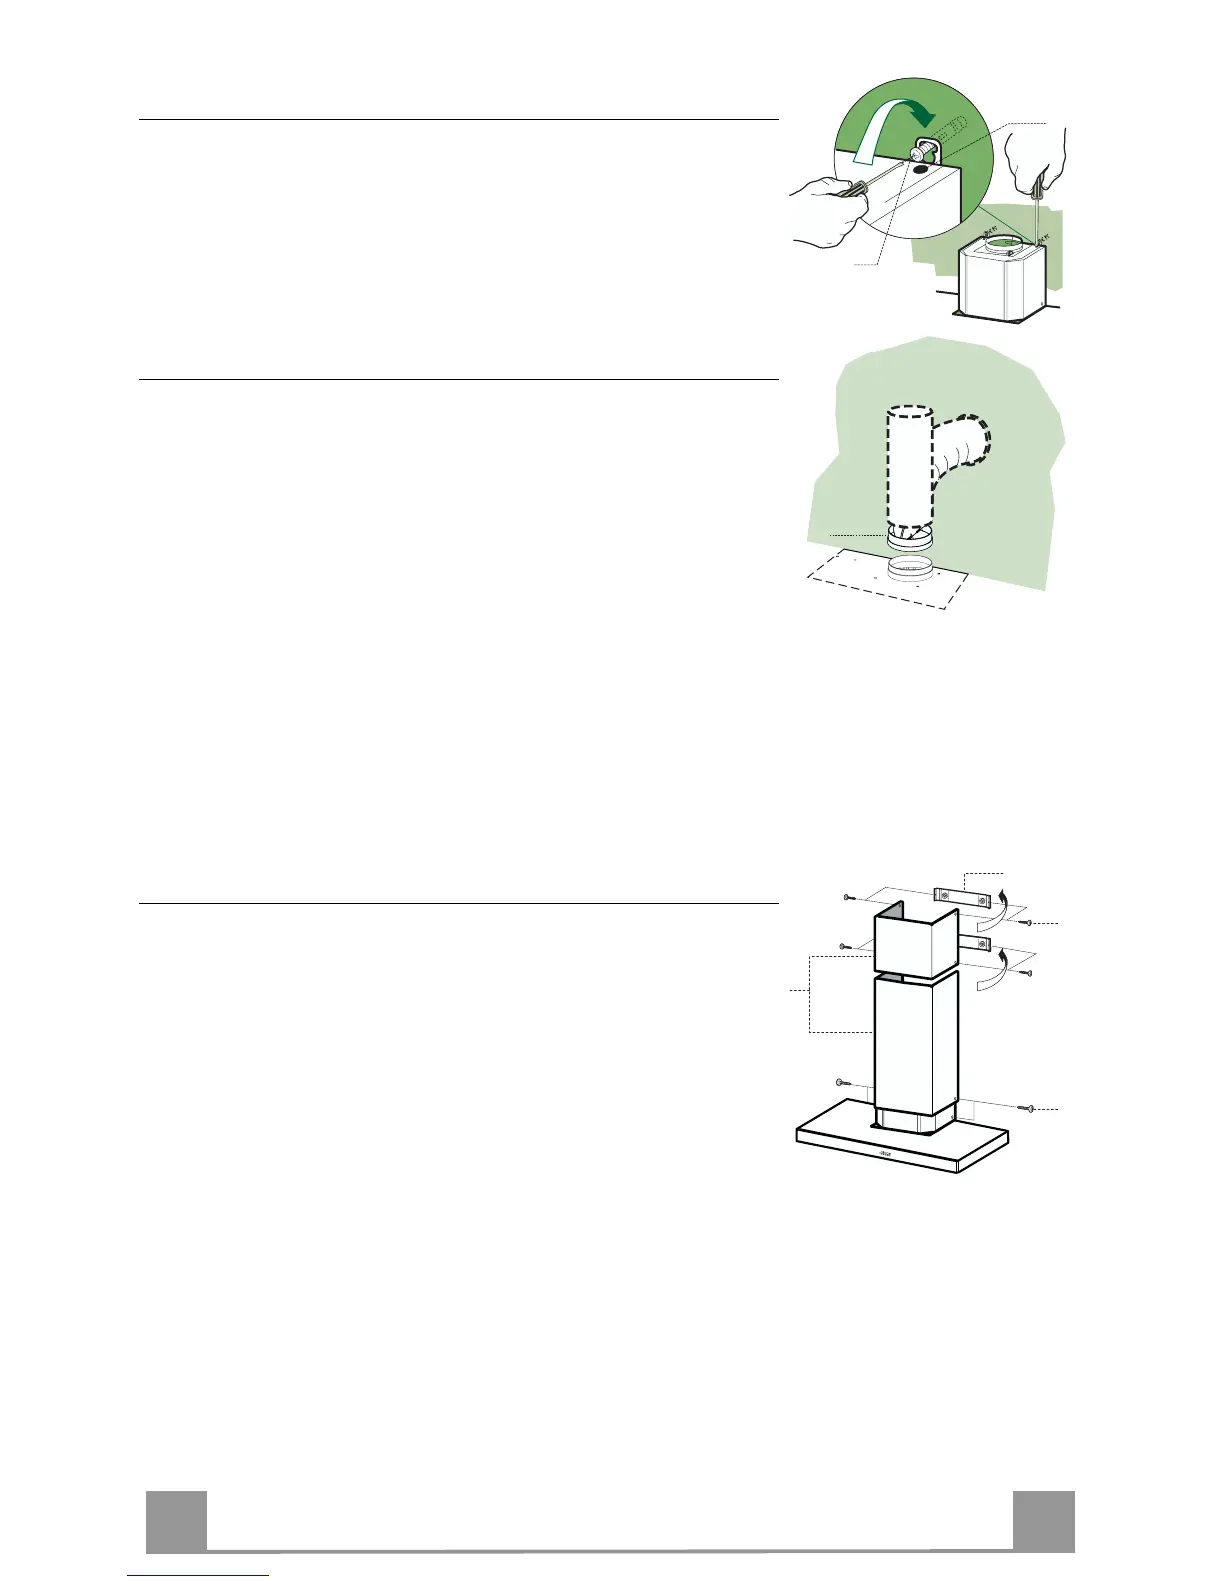
DUCTED VERSION AIR EXHAUST SYSTEM
When installing the ducted version, connect the hood to the
chimney using either a flexible or rigid pipe the choice of which
is left to the installer.
To install a ø 150
• To install the dumper 10 ø 150.
• Fix the pipe in position using sufficient pipe clamps (not sup-
plied).
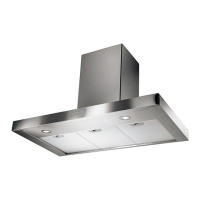
Chimney assembly
Upper exhaust Chimney
• Slightly widen the two sides of the upper chimney and hook
them behind the brackets 7.2.1, making sure that they are well
seated.
• Secure the sides to the brackets using the 4 screws 12c (2,9 x
9,5) supplied.
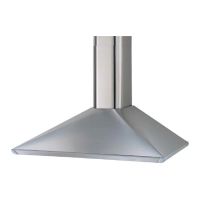
Lower exhaust Chimney
• Slightly widen the two sides of the chimney and hook them
between the upper chimney and the wall, making sure that they
are well seated.
• Fix the lower part laterally to the hood body using the 2 screws
12c (2,9 x 9,5) supplied.