Operation
1
Fig. 13
Fig. 14
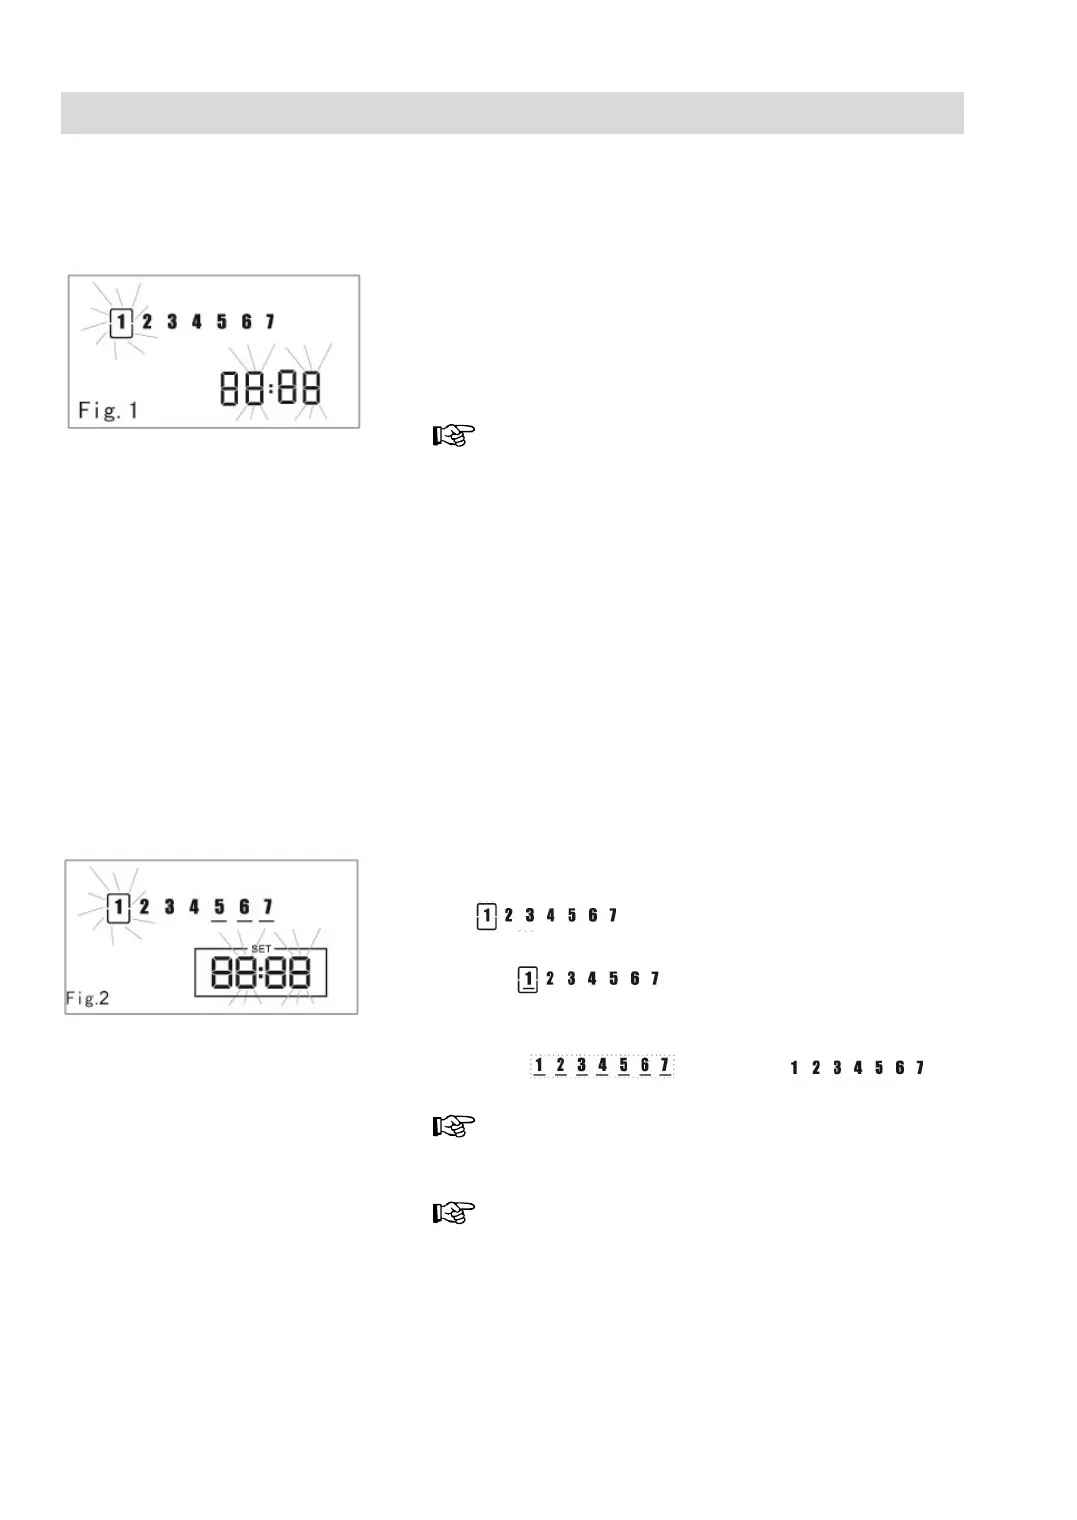
Setting day and time (Fig. 13)
To ensure that the robot starts operating at the ex-
ected time, the current day of the week and time must
be saved.
1. Press time key, then press keys 13 and 14. The
remote screen flashing in hour, minute.
2. Week selection (Fig 1): Press keys 11 and 12, the
current setting flashing ascending “+”, descending
“-“
Press Power key 1 to cancel the current setting;
press “TIME” 4 to save current setting.
Setting Automatic Weekly Cleaning (Fig. 14)
With the robot turned off.
ppointment of the time
First press “SET” 6, then the keys 13 and 14, the
remote screen flashing in hour, minute.
Switching in the weeks (Fig 2): Press the keys 11
and 12, the current setting flashes ascending “+”,
descending”-“.
Appointment of the week
In setting an appointment, when it flashing in
“
“ the week.
Press „OK“, the current flashing figure has a bottom
line “
“ button line turns to be light
means the current day is appointed.
Press “ALL” to make alternate choose between all
days “
“ and non „ “
Press Power key 1 to cancel the current setting;
ress “SET” 6 to save current setting.
For the robot vacuum to start up the planned time,
it must be switched on. The operating switch (20) in
the ON-position; the START/STOP-button (21) lit.