7
S
ERVICE
OPERATION
I
& SAFETY PRECAUTIONS
I
ELECTRICAL REQUIREMENTS
& SAFETY PRECAUTIONS
INSTALLATION
TROUBLESHOOTING
SERVICE
TROUBLESHOOTING
ELECTRONIC CONTROLS
WARRANTY
MAINTENANCE
OPERATION
INSTALLATION
WINDOW INSTALLATON
INSTALLATION
THRU-WALL INSTALLATION
INSTALLATION
AIRFLOW / FILTER
A
B
C
D
E
F
C
D
E
F
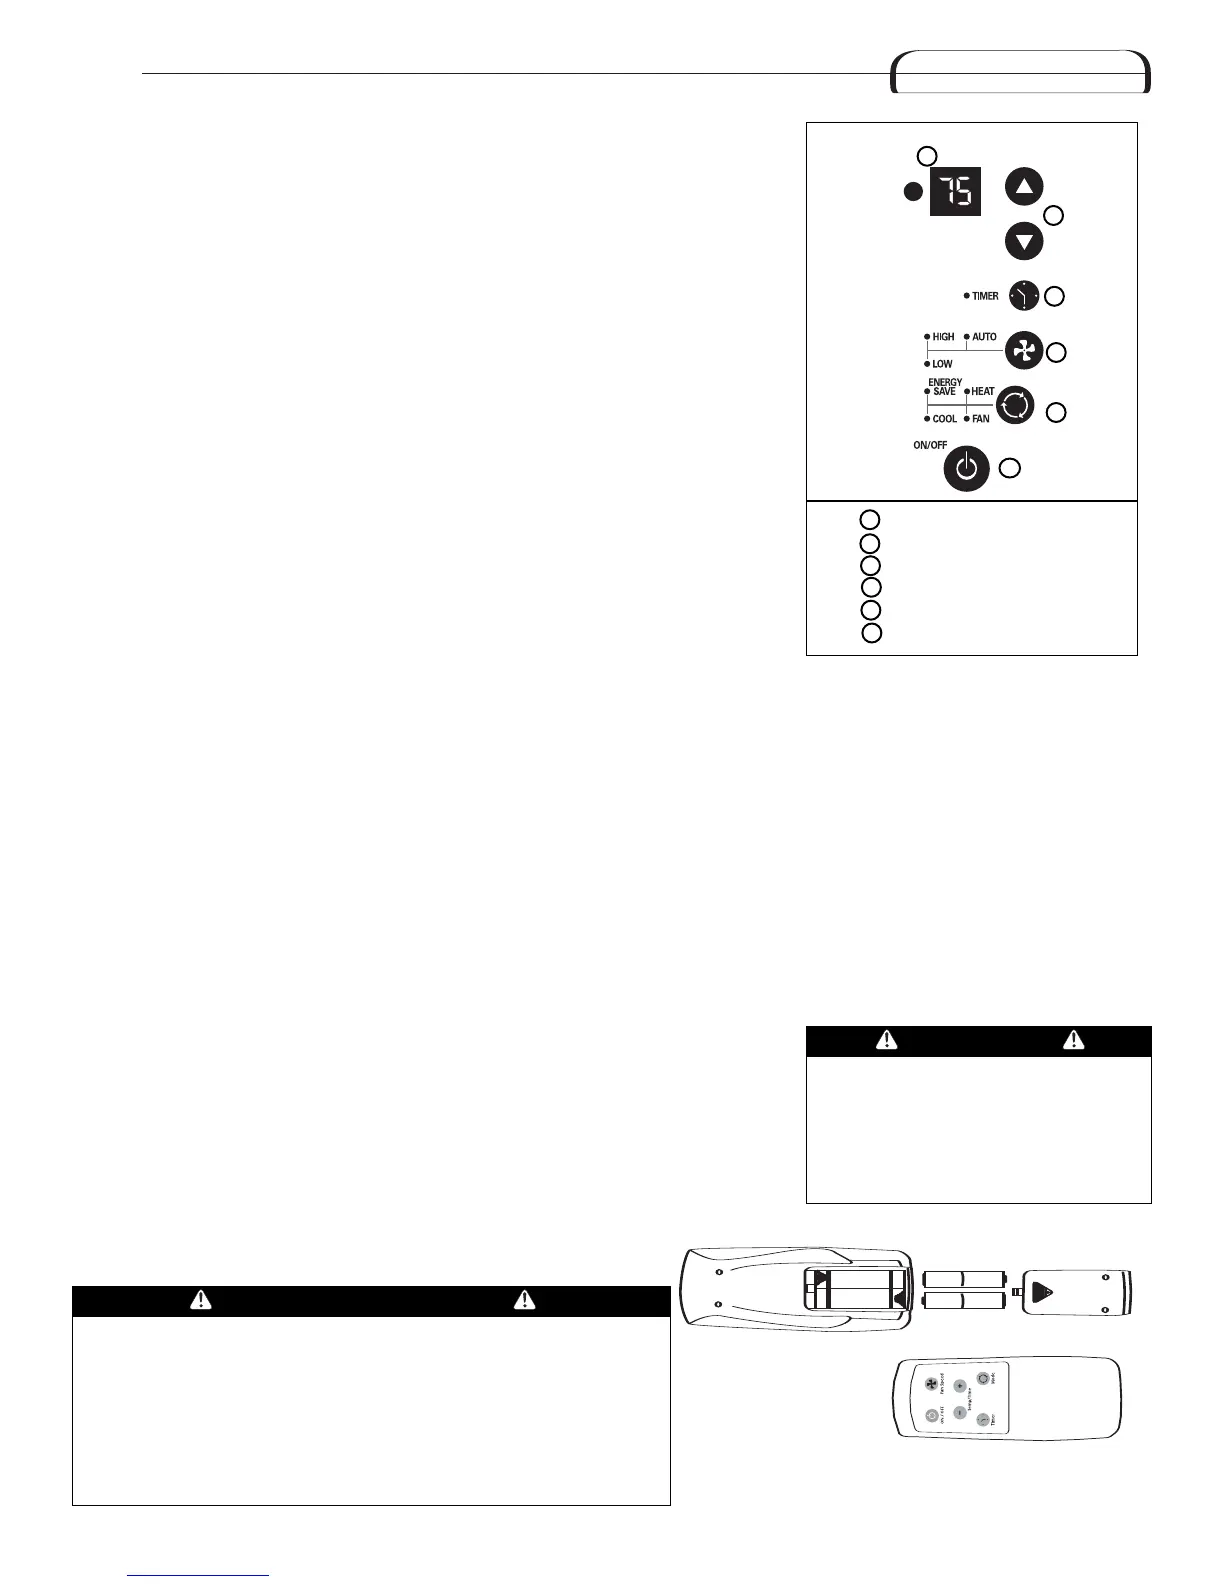
Power Control
Temperature/Timer Display
Temperature/Timer Controls
Mode Control
F
an Speed Control
T
imer On/Off
A
B
P
ower Control
The Power Control turns the unit on and off.
Set Temperature/ Timer Display
Shows the set temperature when the unit is in operation and hours when the timer is
being set. THE TEMPERATURE DISPLAY ONLY SHOWS THE SET TEMPERATURE, NOT THE
ACTUAL ROOM TEMPERATURE.
Temperature/ Timer Hour Controls
These buttons are used to raise or lower the set temperature in increments of 1° from 66°
to 88°. By depressing both buttons at once, the display will toggle between Celsius and
Fahrenheit. When the timer is being set, these buttons are used to change the hour setting
in increments of 1 from 00 to 24.
Mode Control
A green light will indicate which mode is currently being utilized.
Cool Mode – The unit will circulate and cool the air.
Heat Mode (Heat Models Only)– The unit will circulate and heat the air.
Heater Safety Feature- When heater is powered off, low fan will automatically stay on
a
nd run for 60 seconds to ensure the removal of residual heat, meanwhile, the Low Fan
LED blinks until the low fan stops.
Fan Mode – The unit will only circulate the air.
Energy Saver Mode – The fan will switch from the set fan speed to LOW whenever the
compressor turns off in response to the thermostat. When the compressor cycles back on,
the unit will return to the original fan setting.
Fan Speed Control
High, Medium*, Low and Auto *MEDIUM FAN NOT available on HEAT models.
The settings are adjusted with the Fan Speed Control, each time the button is depressed
it changes the setting. A green light will indicate which setting is currently being used.
When the AUTO feature is selected while the air conditioner is in the COOL or HEAT mode,
the fan speeds will change automatically as the temperature in the room changes.
COOL Mode
• 7° or more above the set temperature will use HI fan.
• 4° or less above the set temperature will use LO fan.
HEAT Mode (Heat models only)
• 9° or more below the set temperature will use HI fan.
• 4° or less below the set temperature will use LO fan.
Timer Control The timer can be set to either turn the unit on or off
T
o turn the unit ON using the Timer:
Depress the timer key when the power is of
f,
the display will read 00. Adjust to the desired number of hours before TURN ON using the
up/down arrows.The display will show the time by hours left until TURN
ON. To Turn the
timer off, depress the timer key. A green light next to the Timer Control indicates that the
timer is set.
To turn the unit OFF using the Timer: Depress the timer key when the power is on,
the display will read 00. Adjust to the desired number of hours before TURN OFF using the
up/down arrows. The display will automatically return to the set temperature after 10
seconds.T
o display the amount of time left until TURN OFF, depress the timer button once.
To turn the TIMER OFF, depress the timer button twice. A green light next to the Timer
Control indicates that the timer is set.
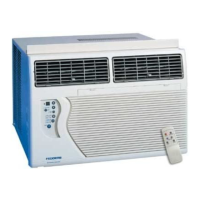
The functions work the same as your air conditioner’
s touch controls.
Air Conditioner Remote Control
AAA
IEC R031.5V
+
-
AAA
IEC R03
1.5V
CAUTION
Heat/Cool models or units with
electric heat are designed to be used
only as a supplemental heat source.
The
y should be used in addition to
regular heating systems and never as
the primary source of heat.
CAUTION
• Use only AAA or IEC R03 1.5V batteries.
• Remove the batteries if the remote controller is not used for a month or
longer.
• Do not attempt to recharge the supplied batteries
• All batteries should be r
eplaced at the same time.
• Do not dispose of the batteries in a fire as they may explode.
• Do not mix old and new batteries.
• Do not install the batteries with the polarity (+/–) reversed.
• Keep batteries and other things that could be swallowed away from
young children. Contact a doctor immediately if an object is swallowed.
Built-in three minute timing delay.
If this electronic unit will not respond
to touch pad or remote control
commands,
it is necessary to unplug
the unit from the electrical outlet for
five seconds and then plug the unit
back in.
Auto restart feature:
In the event of a power failure, this
feature allows the unit to resume
operation once power has been
restored, retaining the most recent
settings. Upon restoration of power,
the timer mode may need to be reset
if being utilized.