LOOPER mode enables the user to record loops up to 90 seconds long and overdub subsequent parts. Any number of
overdubbed parts can be layered over the original recorded part; however, only the last overdub created can be undone.
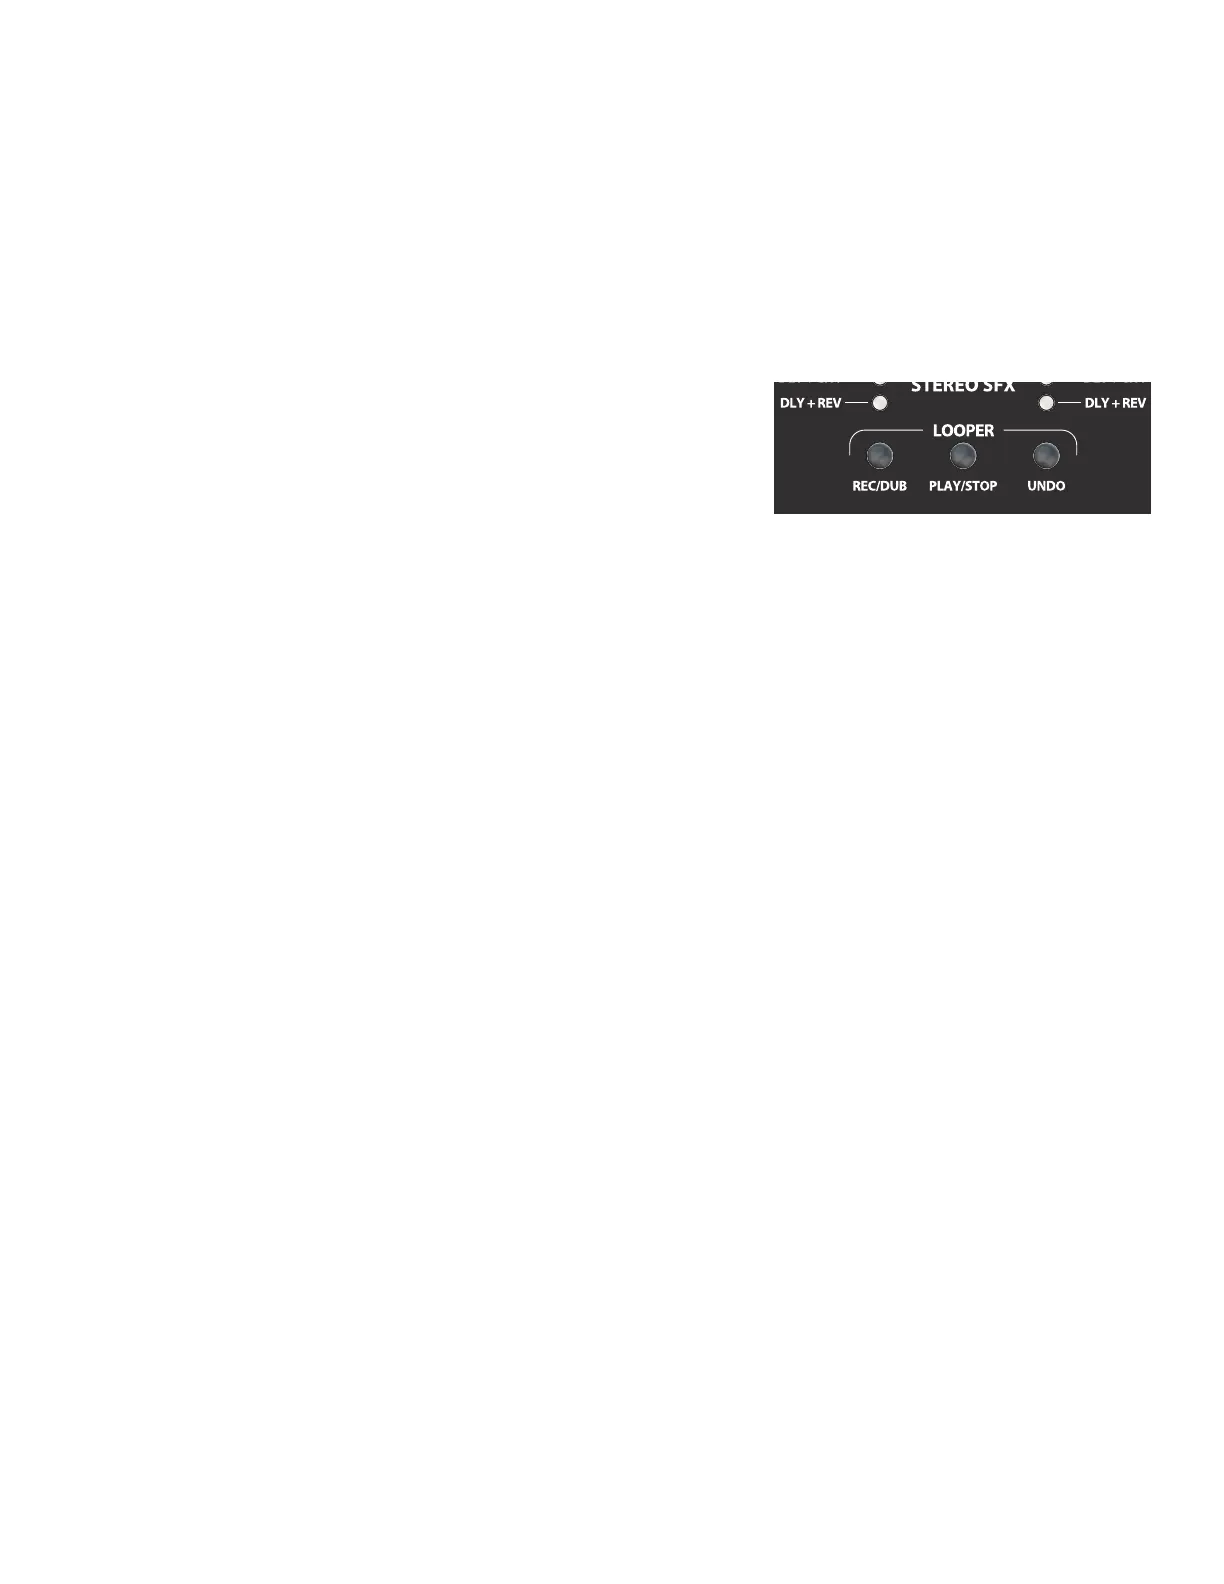
Looper functions can be done by hand using the LOOPER BUTTONS (K) on the control panel (close-up image below), or
hands-free by using the footswitch in looper mode (see “RECORDING” below). Recording/overdubbing actions are done
using the control panel “REC/DUB” button or footswitch FUNCTION BUTTON 1 (Z). Playback/stop actions are done using
the control panel “PLAY/STOP” button or footswitch FUNCTION BUTTON 2 (BB). Deleting the last recorded passage is
done by using the control panel “UNDO” button or footswitch FUNCTION BUTTON 3 (CC).
RECORDING
To begin recording a loop, press the “REC/DUB” button on the control
panel (K) or step on footswitch MODE BUTTON (Y) until the “LOOPER” MODE
LED (X) is illuminated, and then step on footswitch FUNCTION BUTTON 1 (Z),
labeled “REC/DUB.” The “REC/DUB” button/LED will begin ashing and the
footswitch DISPLAY WINDOW (AA) will show “REC,” indicating that the looper
is in recording mode. Play a passage of any duration up to 90 seconds.
PLAYBACK AND OVERDUBBING
To stop recording and automatically begin playback of the rst passage, press the “PLAY/STOP” button (on the control
panel or footswitch). The “PLAY/STOP” button/LED will illuminate, and the footswitch DISPLAY WINDOW will indicate
playback by showing “PLA” . To stop playback, press “PLAY/STOP” again; the footswitch DISPLAY WINDOW will show “STP”.
Alternately, when nished playing the rst musical passage, press “REC/DUB” again (on the control panel or footswitch)to
go straight into overdub mode. The “REC/DUB” button/LED will continue ashing and the footswitch DISPLAY WINDOW
will show “DUB,” indicating that the looper is now in overdub mode and a second musical passage can be recorded over
the rst. Overdub mode can also be activated during playback of the rst passage or after stopping playback by pressing
the “REC/DUB” button again. Continue overdubbing musical passages as often as desired. After an overdub is recorded,
press the “PLAY/STOP” button to start and stop playback of all recorded parts.
“UNDO” FUNCTION
While recording, playing back or stopped on the rst musical passage, the user can undo the recording if desired by
pressing the looper “UNDO” button (on the control panel or footswitch). When doing so, recording will stop and the
footswitch DISPLAY WINDOW will show three dashes, indicating that whatever had been recorded is now erased. Once
overdubs have been added, however, the UNDO function applies only to the last overdub recorded; preceding over-
dubs cannot be undone.
CLEARING LOOPER
To clear all looper contents, push “PLAY/STOP” (once if playing, twice if recording or overdubbing), to stop recording.
Then, once the looper is stopped, pushing “REC/DUB” will start a fresh recording, eectively “clearing” the previously
recorded audio.
Also when using the looper, note that:
• Recorded audio is not stored when turning the amplier o.
• Looper output is mono only (no stereo eects are produced).
• VOLUME control (B) will not aect the looper once a recording has been made.
• Looper can be used on both channels; both inputs (A) are automatically mixed equal to their volume levels.
LOOPER
5
ENGLISH