www.fender.com
7
www.mrgearhead.net
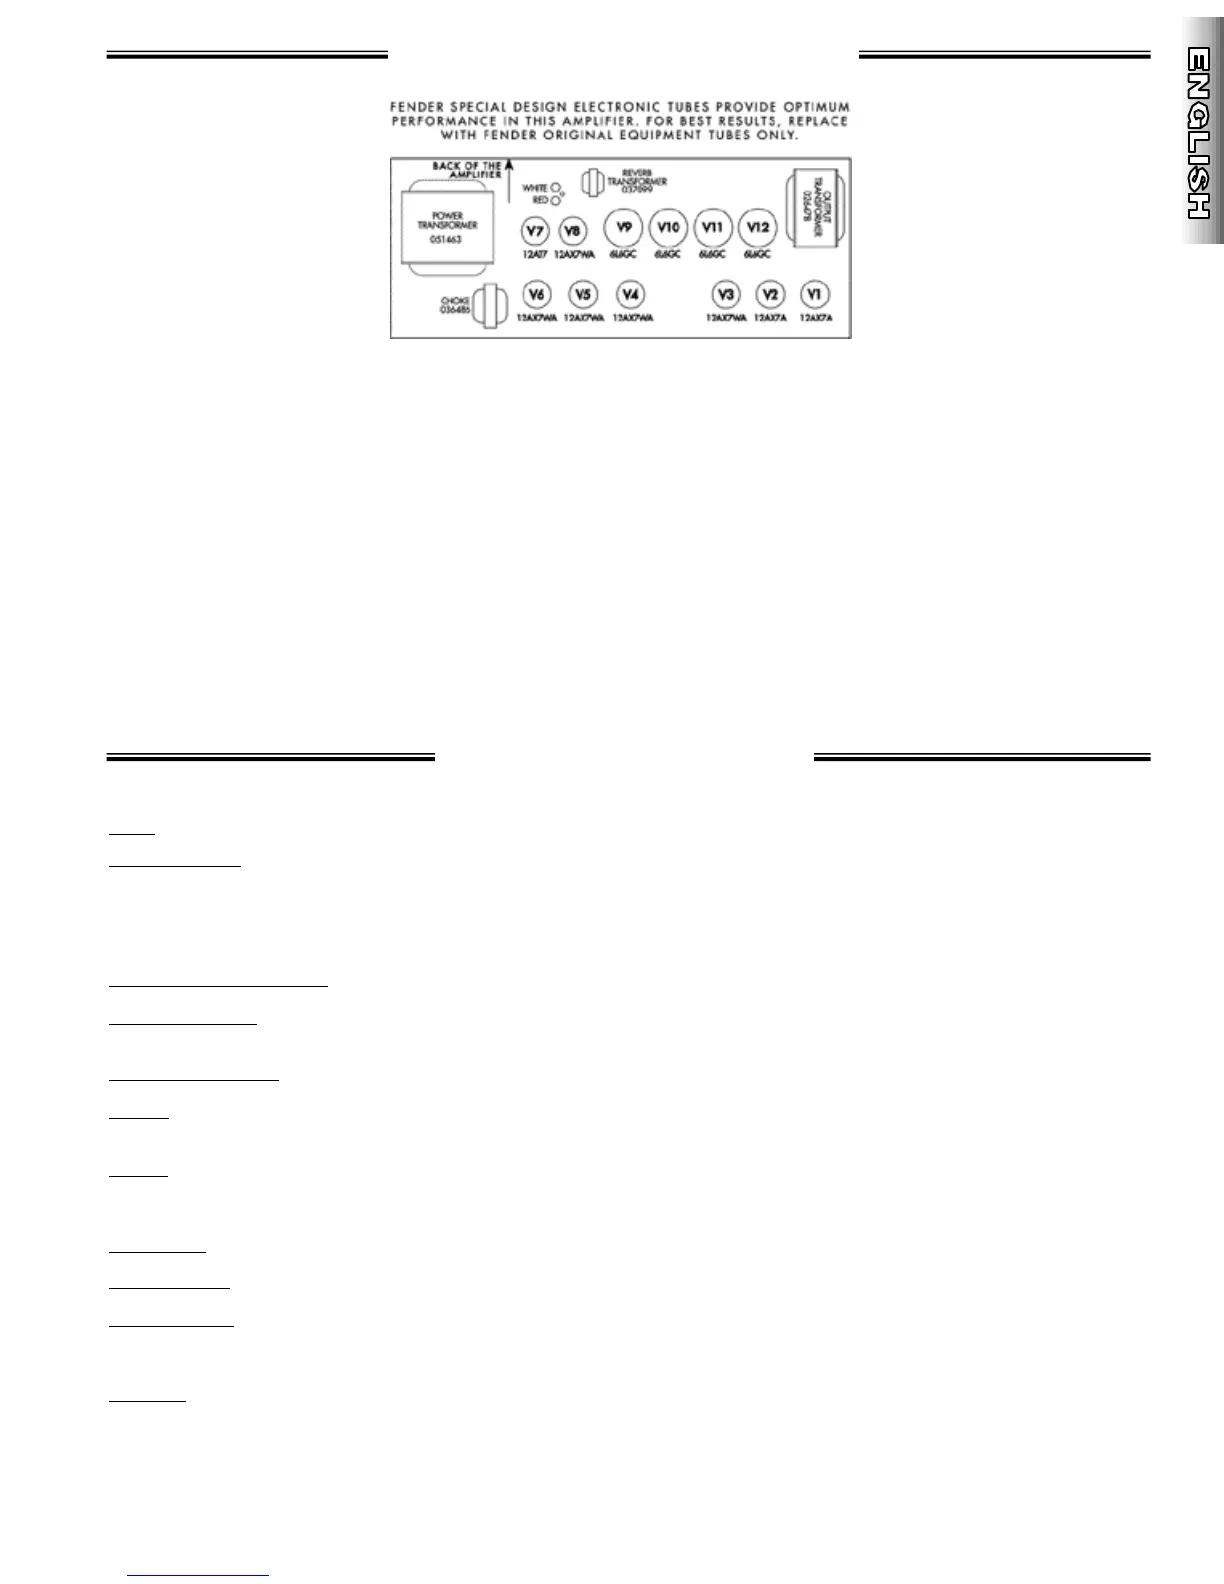
FIG. A
T
T
u
u
b
b
e
e
R
R
e
e
p
p
l
l
a
a
c
c
e
e
m
m
e
e
n
n
t
t
S
S
p
p
e
e
c
c
i
i
f
f
i
i
c
c
a
a
t
t
i
i
o
o
n
n
s
s
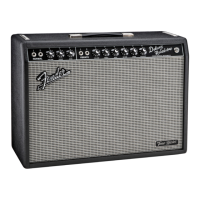
TYPE: PR 449
PART NUMBER : 021-5700-000 (120V, 60Hz) USA,
021-5760-000 (230V, 50Hz) Europe
021-5740-000 (230V, 50Hz) UK,
021-5730-000 (240V, 50Hz) Aust
021-5770-000 (100V, 50/60Hz) Japan
POWER REQUIREMENTS : 360W
POWER OUTPUT : 100W RMS (Full Output), 25W RMS (1/4 Output)
1kHz sine into 4 ohms @ <5% THD (Presence @ “1”)
INPUT IMPEDANCE : 1M ohm
TUBES: Four 6L6GC (P/N 053980), Two 12AX7A (P/N 023572),
Five 12AX7WA (P/N 013341), One 12AT7 (P/N 023531)
FUSES F200: T4A 250V (110V, 120V units), T2A 250V (230V, 240V units)
F 2 0 1 : T5A 250V (Internal Filament Fuse, 230, 240V units)
F1 & F2: T100mA (all units)
SPEAKERS : Fender 12 in., 8Ω, (P/N 037617)
FOOTSWITCH : 4-Button: Channel, Effects Loop, Reverb, Tremolo (P/N 057025)
D I M E N S I O N S Height: 19 7/8 in. (50.7 cm)
Width: 26 3/8 in. (67.3 cm)
Depth: 12 27/32 in. (32.8 cm)
W E I G H T : 80 lbs. (36.3 kg)
Product specifications are subject to change without notice.
Tube life span depends upon things such as amplifier load and
playing style. Power amplifier output tubes have a shorter life
span than pre-amplifier tubes and usually need attention first.
A simple way to check if your tubes are noticeably worn, is to
replace them with a spare new set and listen for any
improvement in tone quality:
A L WAYS unplug the amplifier when replacing tubes.
Replace tubes ONLY with the proper type
(see “Specifications” below).
CAUTION: let tubes cool before handling, they get HOT...
1. Replace the OUTPUT tubes (V9, V10, V11, V12 in FIG. A)
with a new set. Set BIAS and BALANCE. Listen for any
improvement.
2. Keep the new OUTPUT tubes in place. Replace the PRE-
AMPLIFIER tubes (V1, V2, V3, V4, V5, V6, V7, V8 in FIG. A)
with a new set. Listen for improvement.
3. Keep the new PRE-AMPLIFIER tubes in place. Put the
original OUTPUT tubes back in the amplifier. Set BIAS and
BALANCE. Listen for any improvement.
If there is a noticeable improvement in sound quality after any
of the 3 steps above, keep the tube arrangement that sounds
the best. Obtain new spare tubes for future testing and tube
replacement.