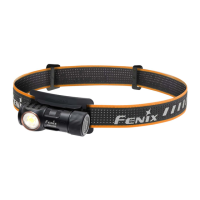
◎
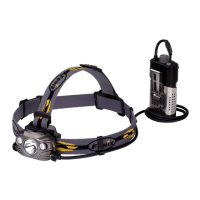
Cree XP-G
(
R5
)
LED with a lifespan of 50,000 hours
◎
Uses four 1.5V AA (Ni-MH, Alkaline) batteries
◎
Light
:
59.5mm (Length) x 50mm (Width) x 55.5mm (Height)
Battery Case
:
88.3mm (Length) x 73.5mm (Width) x 26.4mm (Height)
◎
180-gram weight (excluding batteries)
◎
Digitally regulated output - maintains constant brightness
◎
Reverse polarity protection, to protect from improper battery installation
◎
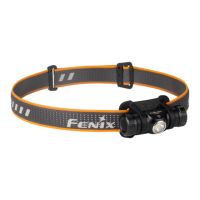
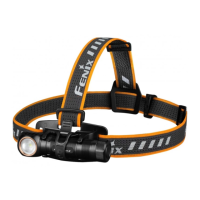
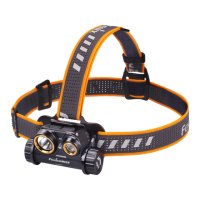
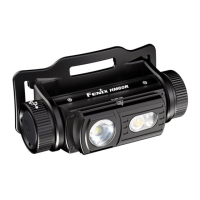
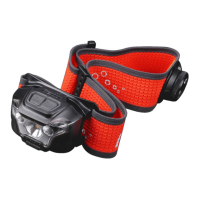
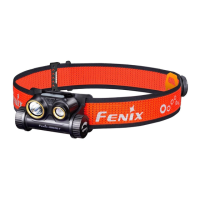
Dual switch system in the top, easy operation
◎
The light is made of durable aircraft-grade aluminum, the rest is made of quality plastic
◎
The mental part has a premium Type III hard-anodized anti-abrasive finish
◎
Toughened ultra-clear glass lens with anti-reflective coating
Notice: The above-mentioned parameters (tested by 2500mAh Ni-MH batteries in Lab) are
approximate and may vary between headlamps, batteries, and environments.
Operation Instruction
The left button is a power switch button. A single press on it can turn it on/off. The right one is a
mode switch button.
When turn on the light, it will enter into the default general mode. A fast double press on the
power switch button can select between the general mode and flashing mode.
In the general mode, a single press on the mode switch button can choose the brightness levels in
the order of Turbo→Low→Mid→High→Cycle.
In the flashing mode, a single press on the mode switch button can transfer between different
flashing functions in the order of Strobe→SOS→Frequent Flash→Cycle.
The circuit can memorize any brightness level in any mode. When turn on the light or transfer into
the mode, it will directly enter into the brightness level when switched off.
Battery Specifications
Non-rechargeable Battery
(Lithium)
Rechargeable Battery
(Li-ion)
Battery Replacement
Unscrew the nut and take out the battery holder to insert the batteries. Put it back into the battery
case and screw the nut back on to test.
Usage and Maintenance
◎
Please don't disassemble the sealed head, doing so can cause damage to the light and will void
the warranty.
 Loading...