7
EN
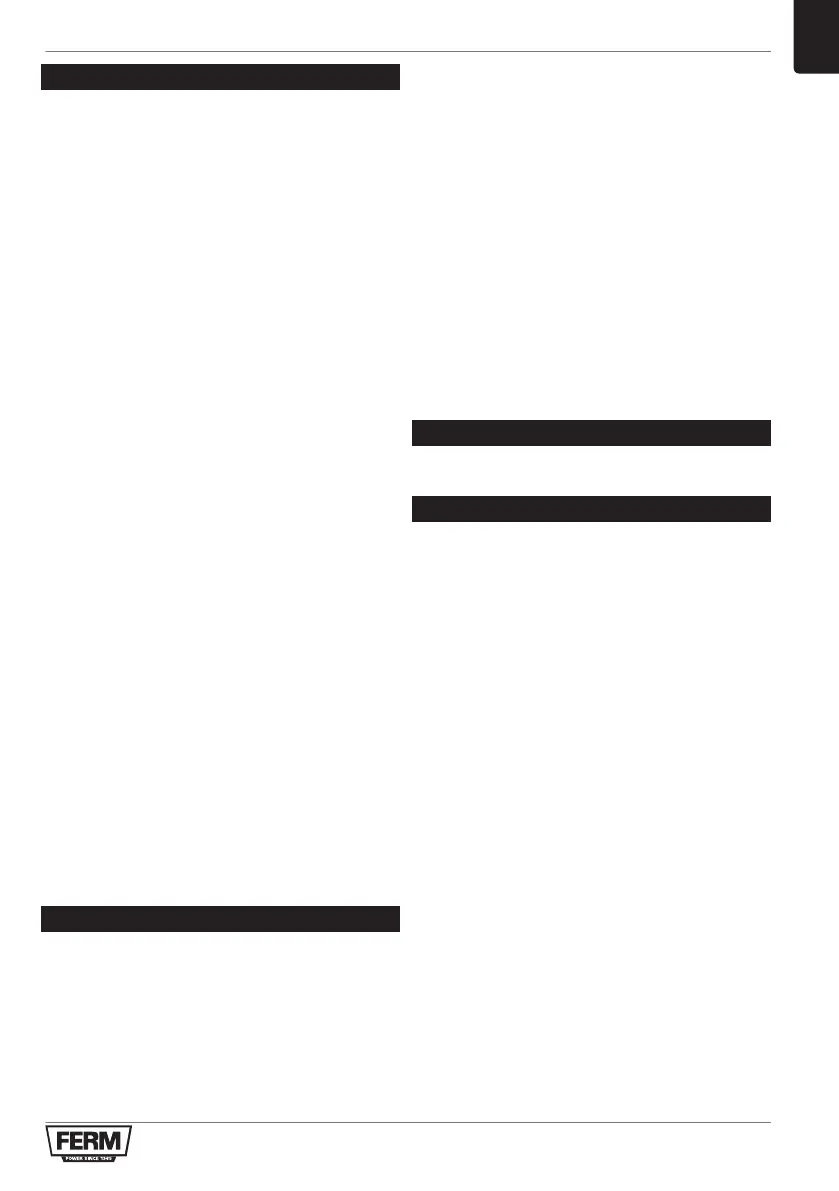
USE
● Toswitchonthemachine,presstheon/off
switch (1).
● Toswitchoffcontinuousmode,pressthe
on/off switch (1) again.
The speed adjustment wheel is used for setting the
speed. The speed adjustment wheel can be set to 6
positions.Theidealspeeddependsontherequired
grainsizeandonthematerialtobeworked.
2
Do not set the speed during use.
● Turnthespeedadjustmentwheel(3)tothe
requiredposition.
- For hard materials, use sanding paper with
anegrainsizeandselectalowerspeed.
- For soft materials, use sanding paper with a
coarsegrainsizeandselectahigherspeed.
● Insertthedustbag(9)intothedustbag
connection (7).
● Turnthedustbag(9)clockwiseuntilitlocks
into place.
Hints for optimum use
● Clamptheworkpiece.
● Firmlyholdthemachinewithbothhands.
● Switchonthemachine.
● Placethesandingpadwithsandingpaperon
the workpiece.
● Slowlymovethemachineovertheworkpiece,
rmlypressingthesandingpadagainstthe
workpiece.
● Donotapplytoomuchpressureonthe
machine. Let the machine do the work.
● Switchoffthemachineandwaitforthe
machine to come to a complete standstill
before putting the machine down.
CLEANING AND MAINTENANCE
4
Before cleaning and maintenance,
always switch off the machine and
remove the mains plug from the mains.
● Regularlycleanthehousingwithasoftcloth.
● Keeptheventilationslotsfreefromdustand
dirt. If necessary, use a soft, moist cloth to
remove dust and dirt from the ventilation slots.
● Regularlycleanthesandingpadtoavoid
inaccuracies during use.
● Toremovetheoldsandingpaper(8),proceed
as described in the section
„Mountingandremovingthesandingpaper“.
● Tomountthenewsandingpaper(8),proceed
as described in the section
„Mountingandremovingthesandingpaper“.
In case of wear, the sanding pad must be replaced.
● Ifnecessary,removethesandingpaper.
● Loosenthescrews(10)fromthesandingpad
(4).
● Removetheoldsandingpad(4).
● Mountthenewsandingpad(4).
● Tightenthescrews(10)tothesandingpad(4).
WARRANTY
Consulttheenclosedwarrantyterms.
ENVIRONMENT
Disposal
8
The product, the accessories, and the packaging
must be sorted for environmentally friendly
recycling.
Donotdisposeofpowertoolsintodomestic
waste. According to the European Guideline
2002/96/ECforWasteElectricalandElectronic
Equipmentanditsimplementationintonational
right, power tools that are no longer usable must
be collected separately and disposed of in an
environmentally friendly way.
The product and the user manual are subject to
change.Specicationscanbechangedwithout
further notice.