through to the outside of the frame.
Shorten the tenons by cutting them if you
have to.
Notice also how the frame center cross
members are held in Domino M&T joints
in both directions to make for a very
strong outer frame for the walnut top.
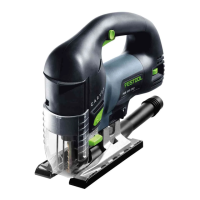
The final steps are test assembly of all of
these components. When these pictures
were taken I had already finished the top.
The photo above shows clamps holding
the leg-to-panel frame joints tightly,
clamps holding the whole assembly into a
known square corner, and clamps holding
the skirt pieces on each side of the
drawer openings tightly to the leg-to-skirt
M&T joints. I removed the clamps hold-
ing the unit to the known square corner
front to back so you could see the details
more clearly.
For more info on clamping into a known
square corner, look at the manual I wrote
about the Festool MFT which is available
for download from the festoolusa.com
web site.
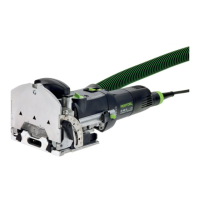
In the upper left photo the top is regis-
tered into the end-of-leg to underside of
top Domino M&T joints to make sure the
legs and top will properly
mate in the final assembly.
With everything square and
accurate I could invert the
piece and do the top of
frame to underside of top
Domino M&T joints since
those are in a different place
than the end-of-leg to under-
side of top joints.
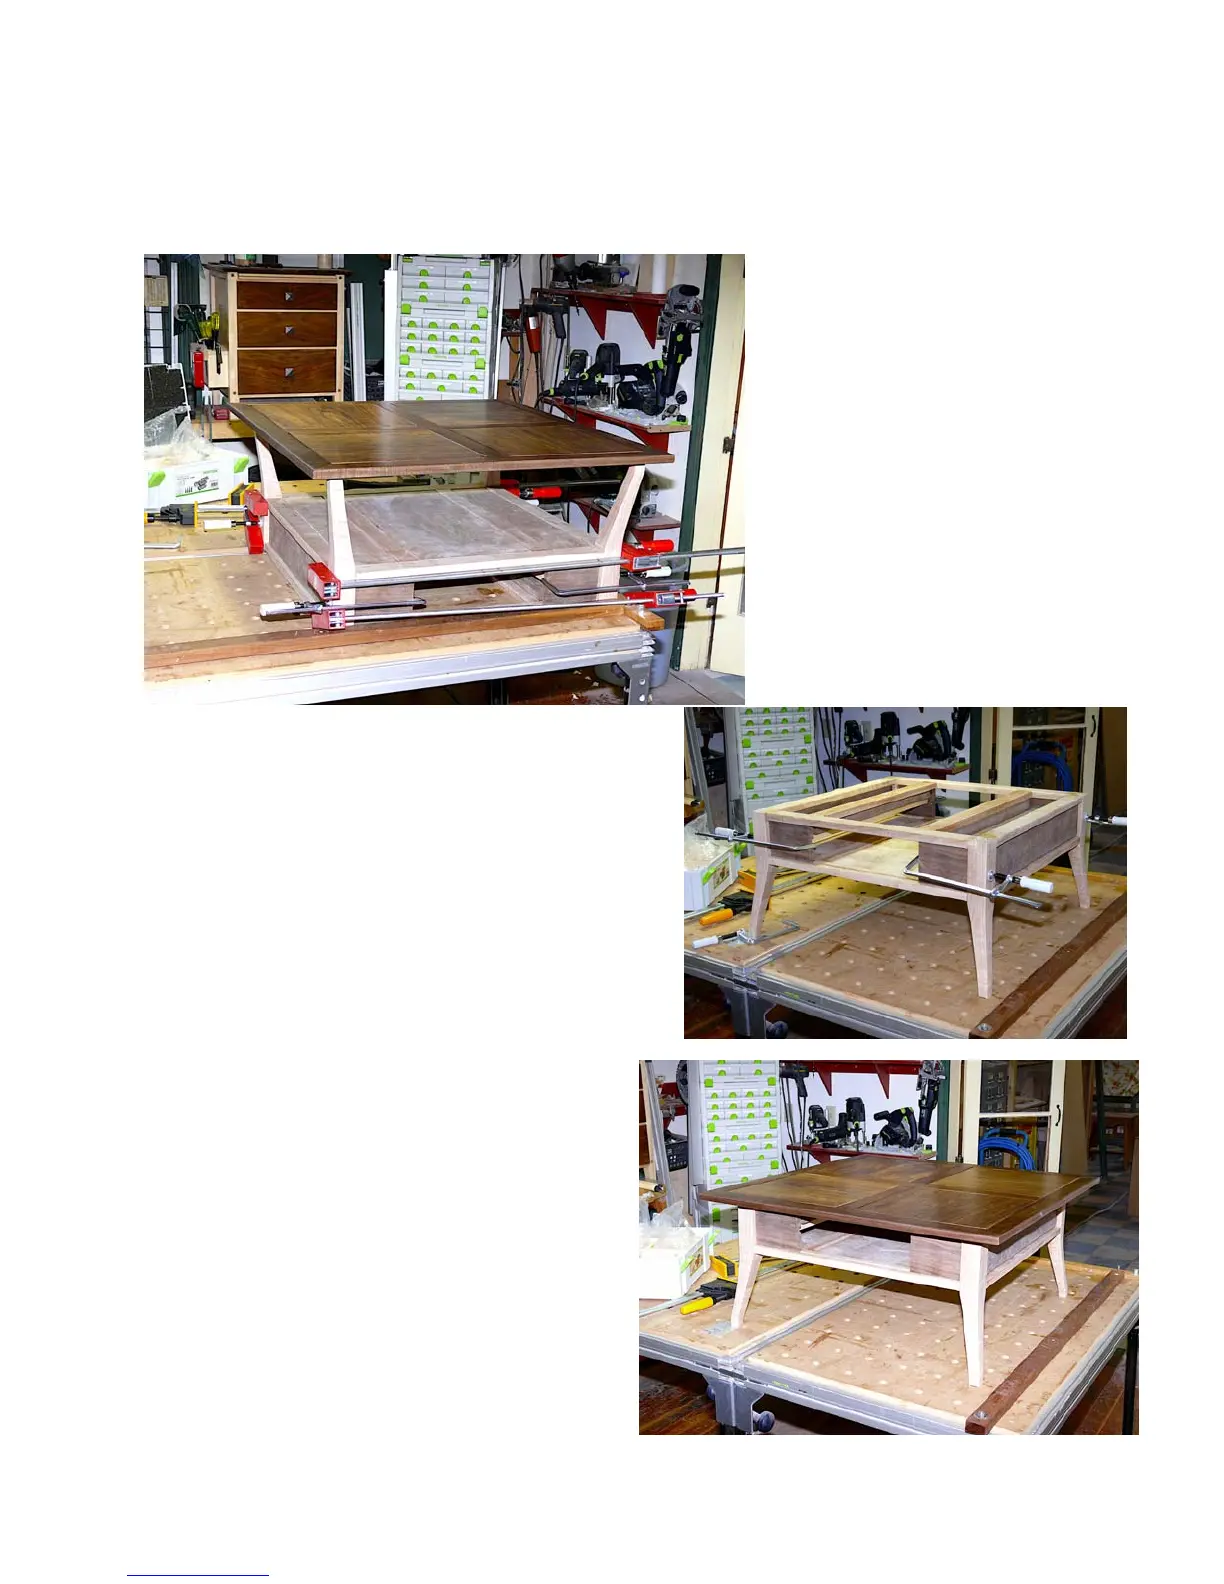
Once all the components fit
together correctly, it was off
to final sanding and then to
the finish room.