As before, let’s start with the legs. Glue
up stock to make four blanks. In this
case the legs flair out side to side, but not
front to back. Construction is the same,
but we only need to scribe our template
on one face, not both faces as is the case
with cabrio legs.
Dimension all four leg blanks to be ex-
actly the same size and perfectly rectan-
gular so we can reference from both
sides.
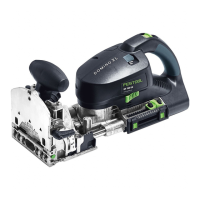
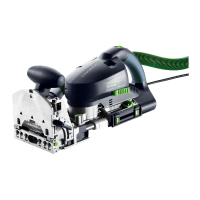
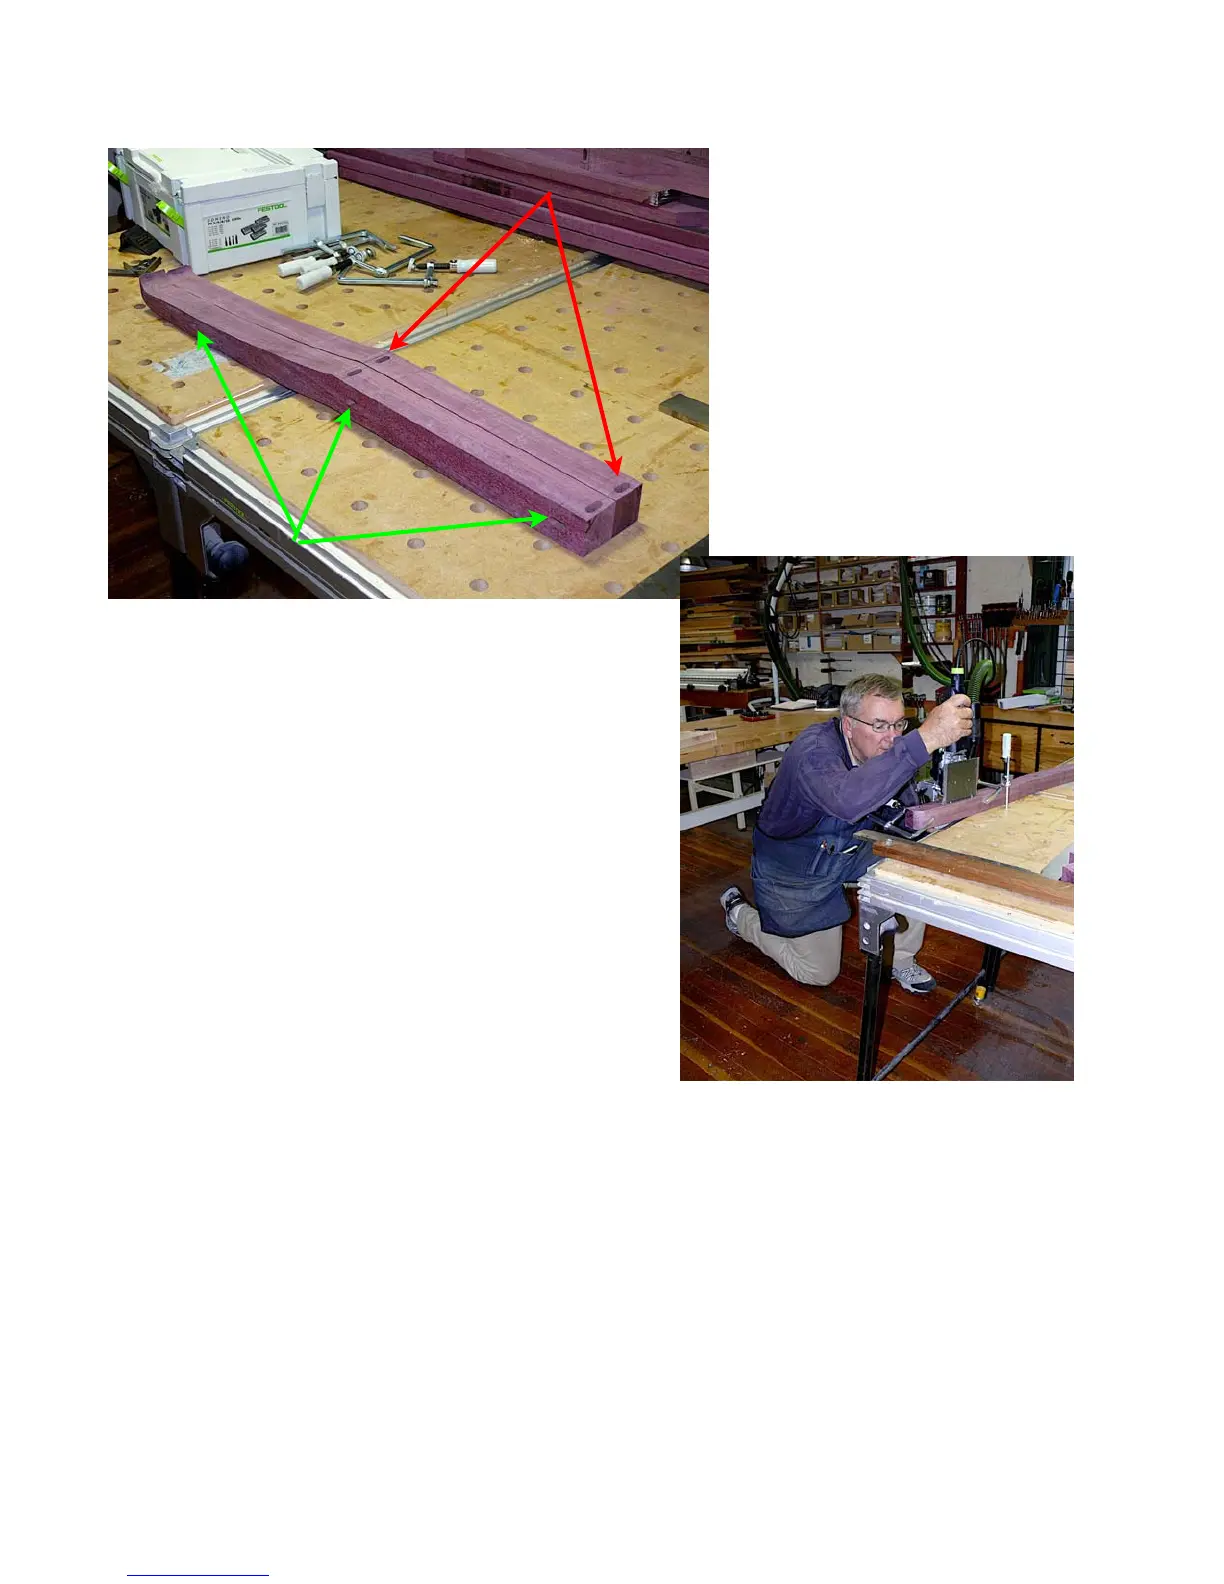
We will need Domino mortises cut hori-
zontally (red arrows) on the faces of the
legs that will be in towards the center of
the completed piece. One will be set
10mm down from the top of the legs to
hold the front and rear upper frame
members. The other will be set down
near where the leg flair begins to hold the
lower front and rear frame members. The
position of that mortise determines the
overall depth of the cabinet portion of the
piece.
We also need Domino mortises cut in the
sides of the legs that will face front to
back (green arrows) to hold the upper
and lower side frame members
and to hold the leg stretchers.
Since those frame members are
oriented with their wide face up
and down (where the front and
rear frame members are ori-
ented with their narrow edge up
and down) we need to cut those
mortises in a vertical, rather
than horizontal orientation as
shown below.
While they can be cut before the
legs are profiled, I find it easier
to do so after profiling because the bot-
tom frame is made up of pieces in differ-
ent orientations (front and back narrow
edge visible, sides wide face visible) and
it is easier to see the relationship be-
tween these two locations after the leg is
cut than before.
To do the locating I tape the cut off piece
back onto the leg to provide a reference
surface and more flat space to support
the Domino base. You can see this in the