13
machine is used as intended (reasonable contact
pressure), a constant sanding speed is achieved.
Setting and adjusting the speed
The speed can be set
[1-5]
between 6000 and
10000 min
-1
using the adjusting wheel.
For sanding, we recommend the following settings
for the adjusting wheel
[1-5]
:
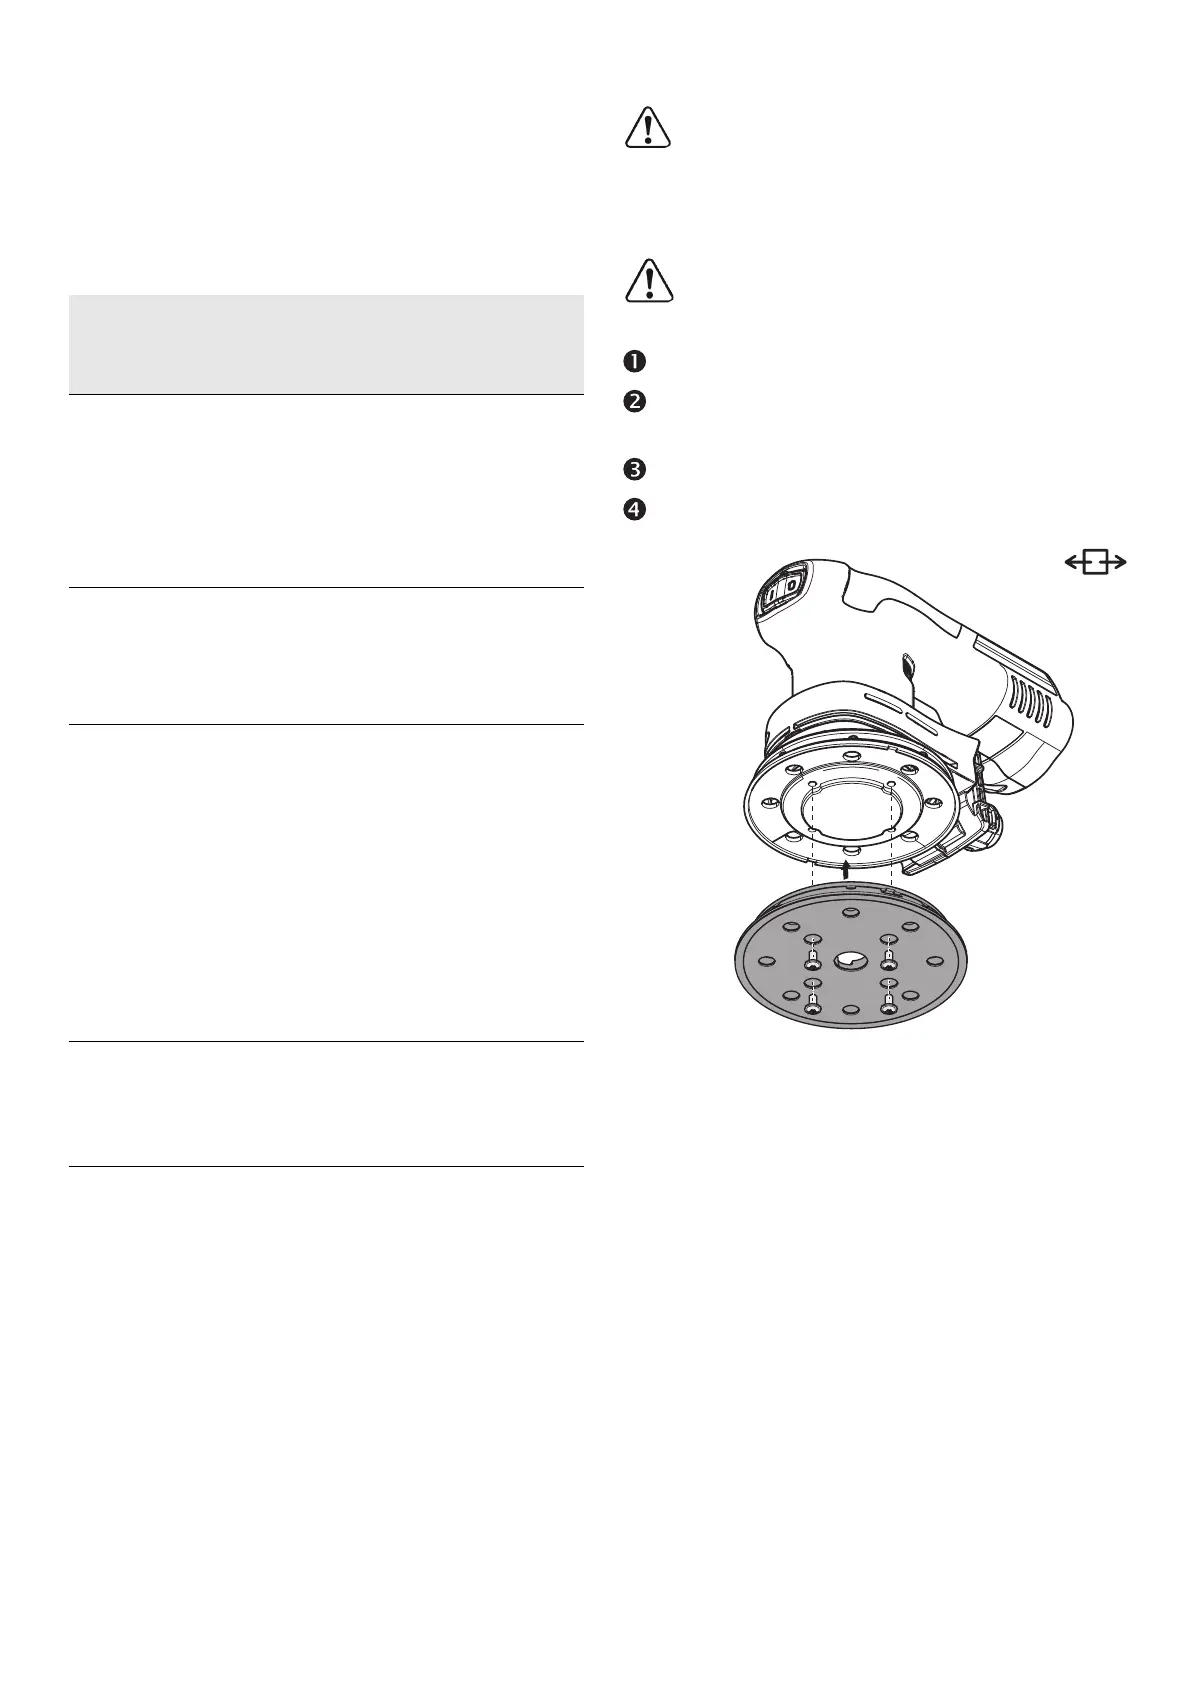
Replacing the sanding pad [4a]
An optimal work result can only be achieved
using original accessories and consumables.
The use of non-original accessories or con-
sumables invalidates the right to claim under war-
ranty.
Warning!
Do not perform any structural
changes in the open interior space of the ma-
chine when the sanding pad is dismantled.
Undo the four screws.
Remove the sanding pad by pulling it down-
wards.
Attach the new sanding pad.
Use four screws to tighten it by hand (2.5 Nm).
Sanding work Adjusting
wheel set-
ting
– Sanding with max. abrasion
– Sanding off old paint
– Sanding of wood and veneered surface
prior to paintwork
– Intermediate sanding of paintwork on sur-
faces
5 - 6
– Sanding thinly applied undercoat
– Sanding wood with sanding cloth
– Edge breaking on wooden parts
– Smoothing primed wooden surfaces
4 - 5
– Sanding solid wood and veneered edges
– Sanding rebate of windows and doors
– Intermediate sanding of paintwork at edg-
es
– Light sanding of natural wood windows
using sanding cloth
– Smoothing wooden surfaces using sand-
ing cloth before staining
– Rubbing or removing excess limestone
residue using sanding cloth
3 - 4
– Intermediate sanding of paintwork on
stained surfaces
– Cleaning natural wood window rebate us-
ing sanding cloth
2 - 3
– Sanding stained edges
– Sanding of thermoplastics
1 - 2

 Loading...