11
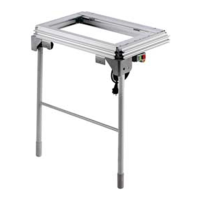
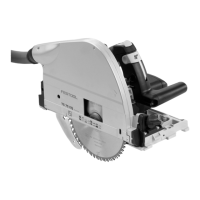
6.2 Adjusting the guide rail in relation to the
workpiece
Before sawing or routing, lower the guide rail
and support unit [1-2] until the guide rail rests
fl at on the workpiece.
Caution: the nose of the support unit must be
seated in the groove on the underside of the
guide rail without play.
Clamp the swivel unit [1-4] and the support
unit [1-2] using the clamping levers.
Clamp the workpiece securely to the MFT/3
using MFT clamps (accessories) or an FSZ
clamp (accessories).
For safe machining of narrow and/or short
workpieces:
Place a piece of material of the same thick-
ness under the guide rail.
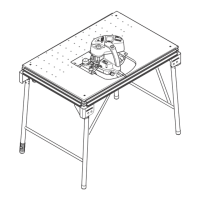
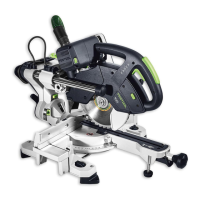
6.3 Adjusting the cutting depth for sawing
[Fig. 8]
Always make sure that the cutting depth setting
is correct in relation to the workpiece thickness.
We recommend setting a cutting depth to a max-
imum of 5 mm more than the workpiece thick-
ness to protect the profi le frame from damage.
6.4 Turning the perforated top
When worn on one side, the perforated top can
be turned over. Loosen the four screws in the
corners underneath the bench.
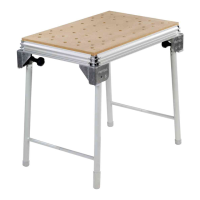
7 Accessories
The order numbers of the accessories and tools
can be found in the Festool catalogue or on the
Internet under "www.festool.com".
8 Customer service and repair
Only through manufacturer or service
workshops: Please find the nearest
address at: www.festool.com/Service
EKAT
1
2
3
5
4
Use only original Festool spare parts!
Order No. at: www.festool.com/Service
Information on REACh:
www.festool.com/reach
 Loading...