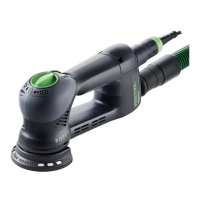
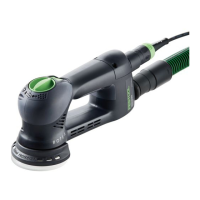
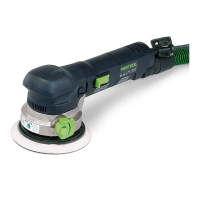
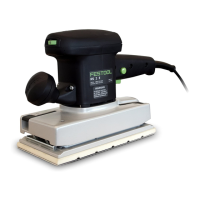
18 Rotex Series Dual Mode Sanders
Maintenance and Adjustment
WARNING! Any maintenance or repair work
that requires opening of the motor or gear hous-
ing should be carried out only by an authorized
Customer Service Center (see your dealer for
information on locating a service center).
WARNING! To reduce the risk of electrocution or
other personal injury, always unplug the tool from
the power supply outlet before performing any
maintenance or repair work on the tool.
NOTICE: Do not use compressed air to clean the
motor housing of the tool, as you could inject for-
eign objects into the motor through the ventilation
openings.
NOTICE: Certain cleaning agents and solvents are
harmful to plastic parts. Some of these include, but
are not limited to: Gasoline, Acetone, Methyl Ethyl
Ketone (MEK), Carbonyl Chloride, cleaning solutions
containing Chlorine, Ammonia, and household clean-
ers containing Ammonia.
Routine Maintenance
Dust and debris from some materials can be extremely
abrasive and cause components within the sander to wear
prematurely. It is important to keep moving parts cleared of
abrasive dusts.
► As a general rule, keep the sander clean of all dust and
debris. Even soft-wood dust can be abrasive over time.
► Examine all moving parts for dust and debris.
► Sanding pads are considered a wear item and will need
to be replaced periodically. Replace the pad when it no
longer holds sanding disks in place.
Motor Brush Replacement
Motor brushes provide electricity to the spinning motor
armature, and will wear over time. The brushes are
designed to disconnect power to the motor when they have
warn beyond their usable life. If your sander stops working,
it is likely that the brushes have warn and need replace-
ment. Contact Festool for replacement brushes.
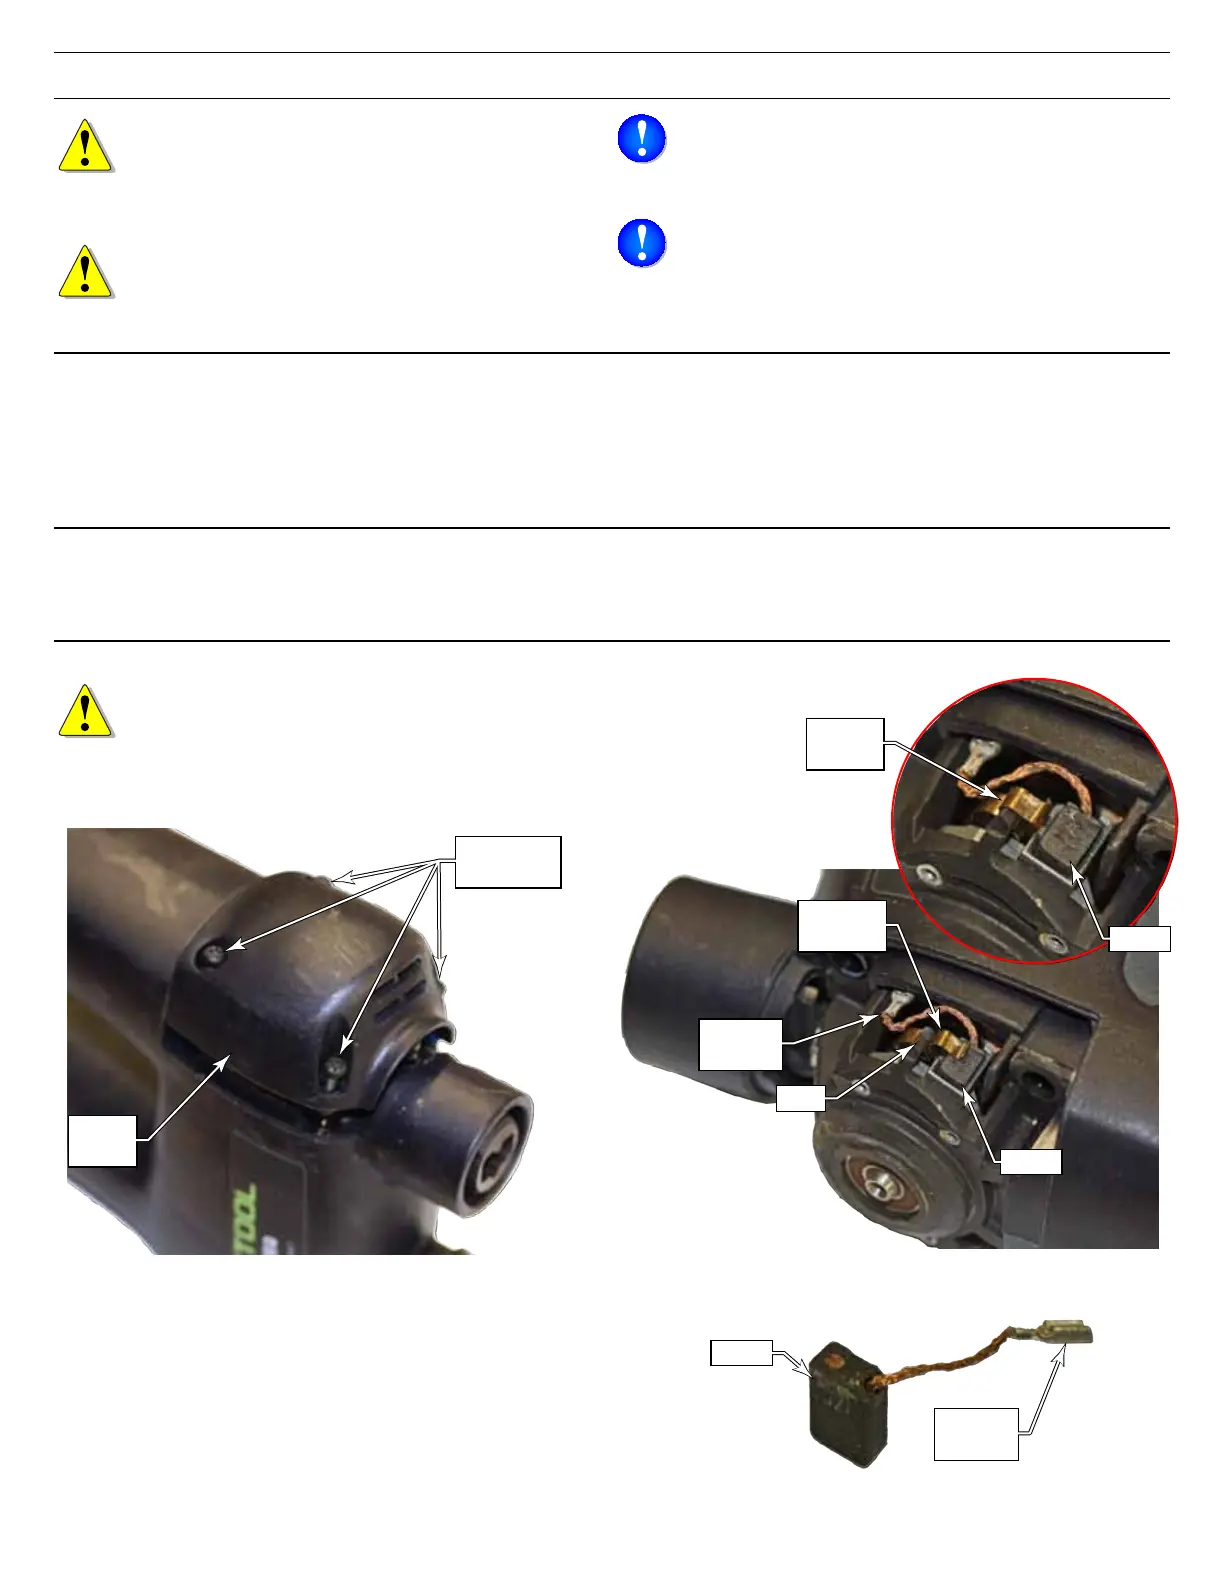
RO 90 Motor Brushes
WARNING! To avoid the risk of electrical shock,
make sure the sander is unplugged from power.
1. Unplug the sander from power.
2. Remove the 4 T10 Torx screws that secure the brush
cover, and remove the cover.
Brush
Cover
Mounting
Screws (4)
3. Using a small tweezer, carefully lift the pressure spring
off the brush and rest it on the adjacent post.
4. Using tweezers or needle nose pliers, carefully remove
the wire terminal from the spade lug.
5. Slide the brush out of the brush holder, and repeat for
the second brush on the other side of the motor.
Spring
on Post
Brush
Brush
Pressure
Spring
Post
Wire
Terminal
6. Install the new brushes by reversing the procedure. Don’t
forget to move the pressure spring back over the brush.
Brush
Wire
Terminal