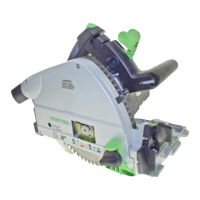
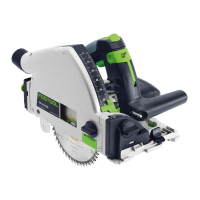
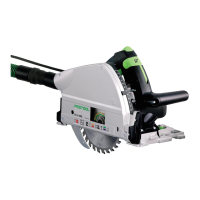
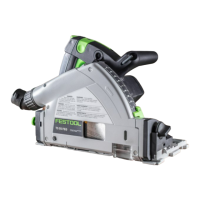
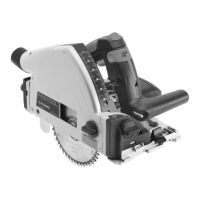
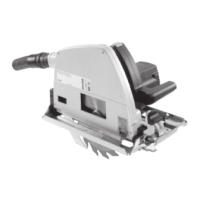
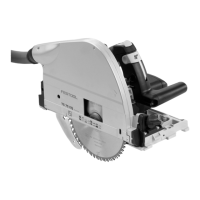
8.5 Changing the saw blade [5]
CAUTION
Risk of injury from hot and sharp insertion
tool
► Do not use any blunt or faulty insertion
tools.
► Wear protective gloves when handling an
insertion tool.
WARNING
Risk of injury
► Remove the battery pack from the power
tool before performing any work on the
power tool.
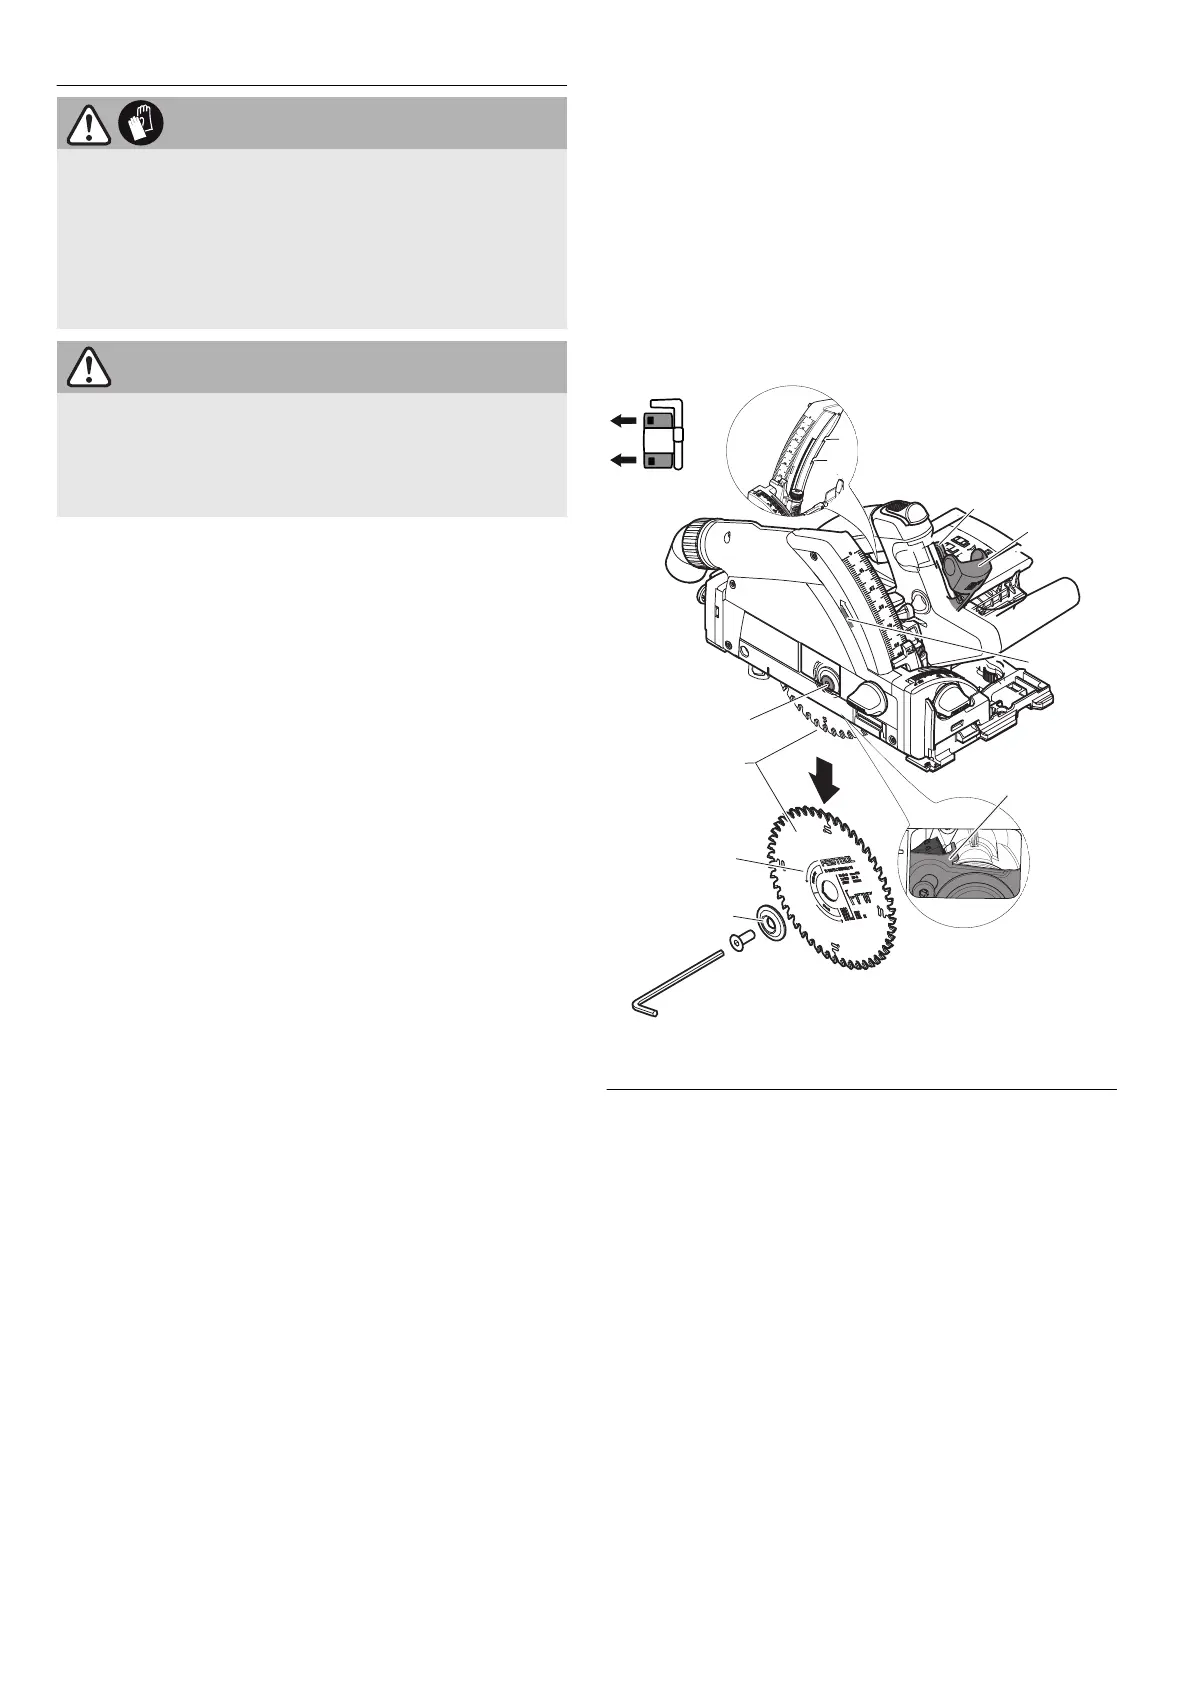
Remove the saw blade
► Swivel the saw to 0° before replacing the
saw blade and adjust the maximum cutting
depth.
► Turn the lever [5-2]
as far as it will go. Op
erate the lever only when the saw is at a
standstill!
► Push the saw unit down until it engages.
The saw unit is located in the upper locking po
sition [A].
► Loosen the screw [5-8] using the Allen
key [5-2]
.
► Remove the saw blade [5-7].
Cleaning the feeler unit
WARNING! Any contamination of the feeler unit
may impair the kickback stop function and
therefore prevent the saw blade from being
stopped.
► Hold the saw unit securely by its handle,
close the lever [5-2]
and press the saw unit
all the way down.
► Release the lever [5-2]
again and click the
saw unit into place.
The saw unit is located in the lower locking po
sition [B].
► Clean the feeler unit [5-4] by blowing it out
or using a brush.
Inserting the saw blade
WARNING! Check the screws and flange for
contamination and only use clean and undam
aged parts.
► Hold the saw unit securely by its handle and
turn the lever [5-2] as far as it will go.
► Return the saw unit to the upper locking po
sition.
► Insert a new saw blade.
WARNING!
The direction of rotation of the
saw blade [5-6] and saw [5-3] must match.
Serious injuries may occur in the event of
non-compliance.
► Insert the outer flange [5-5]
in such a way
that the pulling peg engages in the recess
of the inner flange.
► Tighten the screw [5-8].
► Hold the saw unit securely by its handle,
close the lever [5-2]
and guide the saw unit
back upwards.
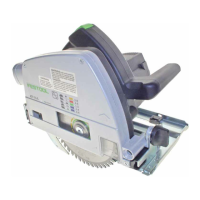
8.6 Fitting the viewing window/splinter
guard
The
viewing window (transparent) [6-1] pro
vides a view of the saw blade and optimises
dust extraction.
With 0° cuts, the
splinter guard (green) [6-2]
also improves the quality of the cutting edge of
the sawn-off workpiece on the upper side.
► Insert the splinter guard [6-2].
► Screw the rotary knob [6-3]
through the
long hole in the splinter guard.
► Make sure that the nut [6-4]
is seated se
curely in the splinter guard.
► CAUTION!
Only use the rotary knob sup
plied with your plunge-cut saw. The rotary
knob of another saw may be too long and
jam the saw blade.
English
16
 Loading...