5
11. Turn on the incoming water supply line and inspect both inside and outside of the dispenser for leaks in all
fittings and tubes.
12. Turn on the incoming power line and the dispenser’s on/off switch.
• Within 6 seconds, the hot water tank will begin filling until the water is sensed by the water probe at the top
of the tank.
• The heaters will be disabled by the L.L.C. board until water is sensed by the water probe at the top of the
tank.
15. Re-attach the cover after one final inspection for leaks
16. Review the entire operating procedures with whoever will be using the dispenser. Be sure to show the location
and operation of the water shut off valve as well as the circuit breaker for the dispenser.
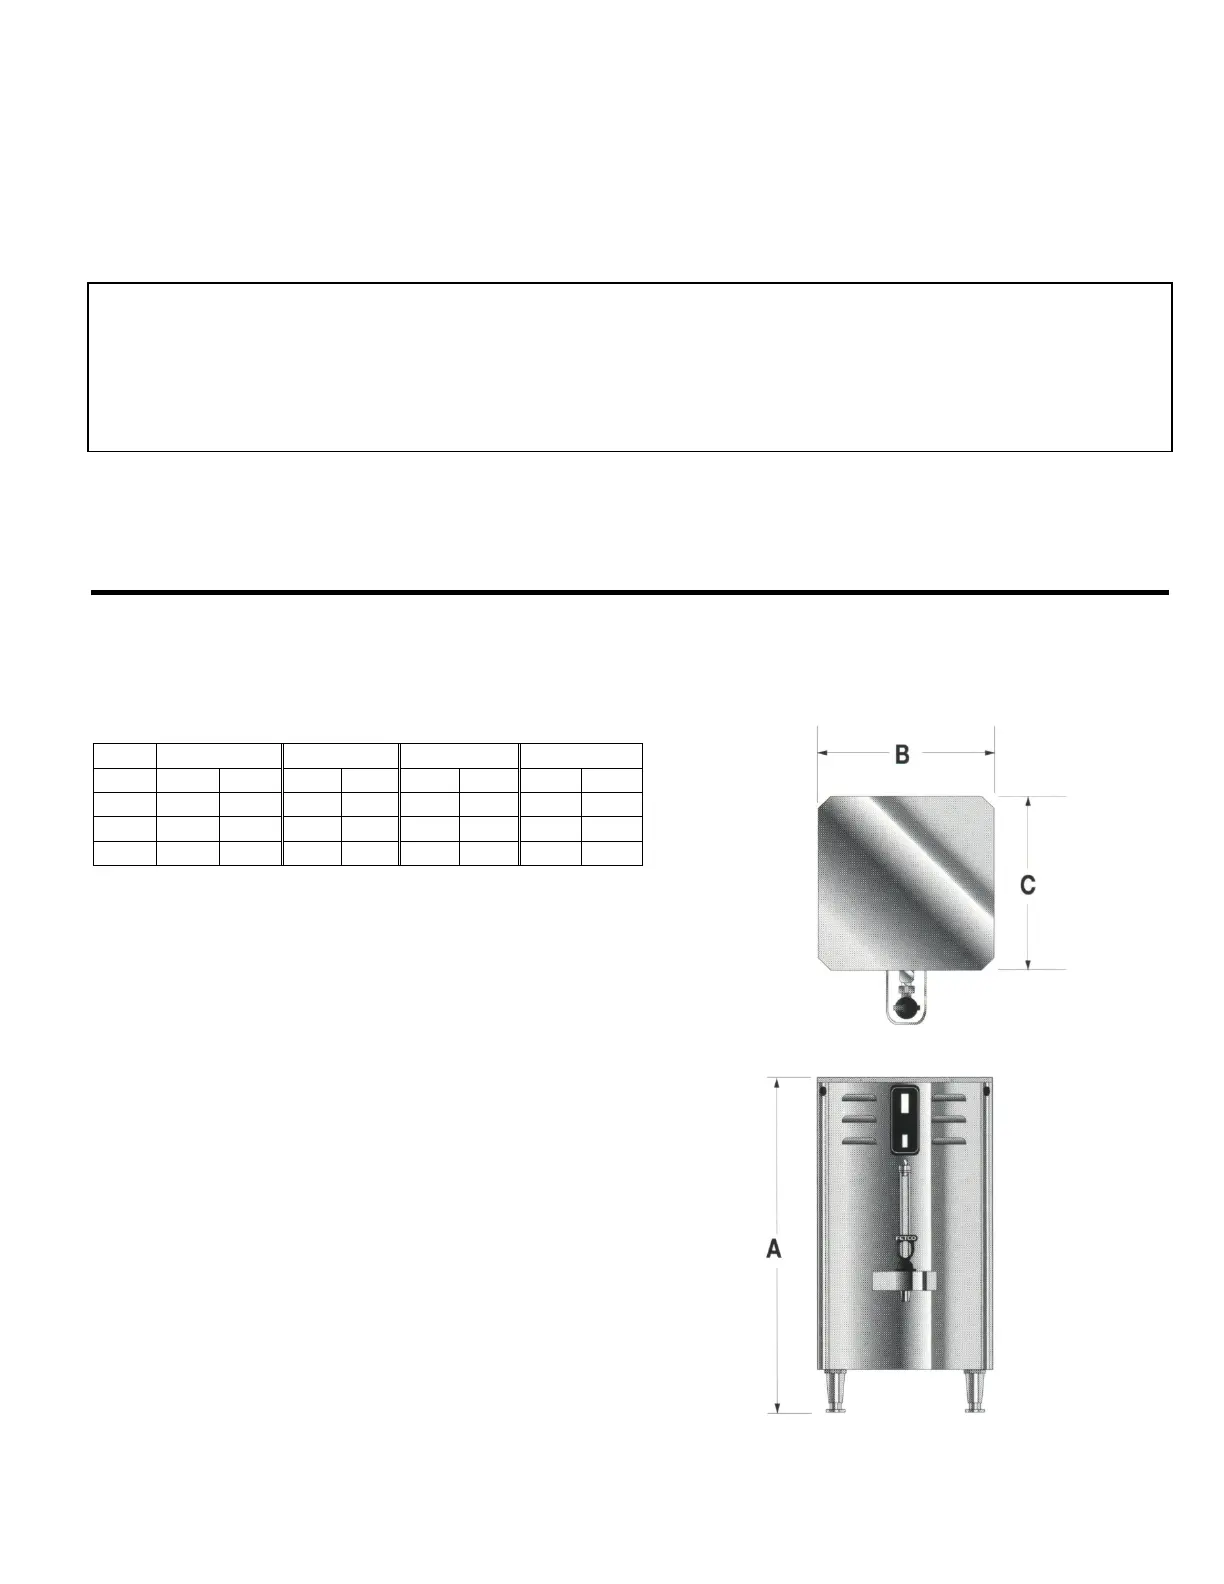
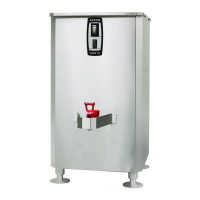
Dimensions
HWB-5 HWB-10 HWB-15 HWB-25
IN. CM IN. CM IN. CM IN. CM
A
31 77 31 77 31 77 34 84
B
10 25 16 40 20 50 28 70
C
16 40 16 40 20 50 20 50
The dispenser will be ready for operation as soon as the ready light comes on to signify that the water tank is up
to temperature. The minimum temperature is set at 195°F and the maximum is set at 205°F. The time required to reach
the proper temperature will vary according to the electrical configuration ordered.
Depending on the cost of electricity in your area, very little savings may be had by turning the dispenser off
between shifts. The water tank is well insulated and may actually use less electricity to keep the tank hot, than re-heating
the tank from a cold condition. Leaving the dispenser in the on position will also avoid delays at the beginning of shifts for
the dispenser to reach operating temperature.


 To Next Page