Do you have a question about the Fiamma F45eagle and is the answer not in the manual?
Lists all components included in the kit for awning repair and upgrade.
Details the essential tools required to perform the awning repair and upgrade procedures.
Step-by-step guide for removing and installing the awning's winch mechanism.
Instructions for correctly cutting wires and inserting the safety fuse into the motor kit.
Procedure for safely removing and installing the lead bar cap on the awning.
Steps to test the awning's operation, microswitches, and safety features after the upgrade.
Details the product warranty, coverage, and conditions for defects and manufacturing.
This document provides repair instructions for the Fiamma F45eagle awning, specifically detailing the "KIT UPGRADE F45eagle" which involves replacing the winch and inserting a safety fuse. The manual is designed to guide users through the process of maintaining and repairing their Fiamma awning system.
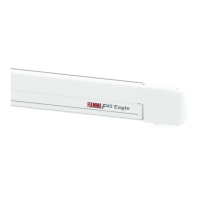
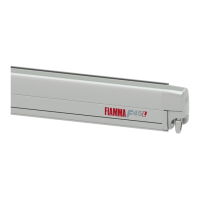
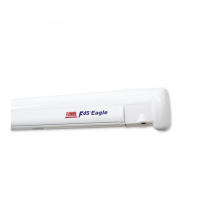
The Fiamma F45eagle awning is an outdoor accessory designed for recreational vehicles, providing shade and shelter. It features a motor kit for automated extension and retraction. The upgrade kit described in this manual focuses on replacing the winch, which is a critical component for the awning's mechanical operation, and integrating a safety fuse into the motor's electrical system. The winch facilitates the smooth opening and closing of the awning, while the safety fuse protects the electrical system from overcurrents, preventing damage to the motor and associated components. The awning also incorporates a microswitch and a motion sensor, which are essential for its safe and automatic operation. The microswitch helps to interrupt the closing of the lead bar, allowing for precise control, while the motion sensor is designed to detect movement (e.g., due to wind) and automatically retract the awning to prevent damage.
The awning is operated via a control system with "RETRACT" and "EXTEND" buttons, allowing users to easily open and close it. The manual emphasizes the importance of removing the 12 Volt power supply before starting any repair work to ensure safety. When replacing the winch, the lead bar can be kept closed with adhesive tape or safety belts, or the operation can be performed with the awning open. The manual recommends performing the repair with the awning closed to facilitate centering the winch. The awning's lead bar can be opened by a specific distance (e.g., 50 cm or 20 inches) to verify microswitch operation and for reassembling covers. The system includes a safety feature where the awning automatically closes if the motion sensor is triggered, such as by shaking the lead bar. Users can also manually interrupt the closing of the lead bar by tapping the microswitch, which is a crucial control feature.
The repair instructions outline a step-by-step process for replacing the winch and integrating the safety fuse. This involves:
The manual also includes a general reminder that the awning is for sun protection and should be closed in case of rain, wind, or snow to prevent damage. For any problems, users should contact their local dealer, providing data from the nameplate, and consult the website for spare parts drawings. The product comes with a warranty for defects in materials and manufacturing, in accordance with local laws and regulations.
| Type | Awning |
|---|---|
| Model | F45 Eagle |
| Material | Aluminum |
| Installation | Wall-mounted |
| Operation | Manual |
| Extension Range | Up to 2.5 meters |
| Weight | Varies by length |
| Fabric | Vinyl |