General Information
Thank you for purchasing this FIMCO product. The purpose of
this manual is to assist you in operating and maintaining your
lawn & garden spot sprayer. Please read it carefully, as it
furnishes information which will help you achieve years of
trouble-free operation.
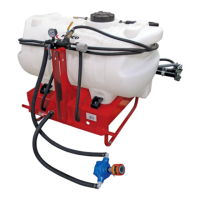
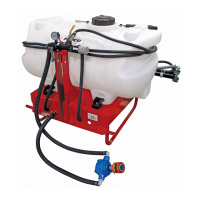
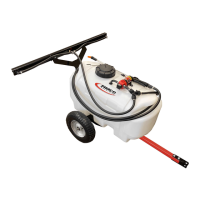
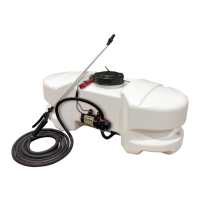
15 Gal. Corrosion-Resistant Polyethylene Tank
•
12 Volt Diaphragm Pump, 1.0 g.p.m.
•
15 Ft. Handgun Hose
•
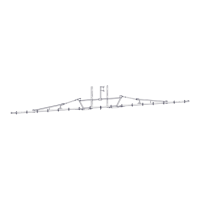
18 Ft. max. vertical throw, 30 Ft. max. horizontal throw
•
Technical Specifications
Form No. 1283 [5004778 (2/09)] Printed in the U.S.A.
Assembly
Your sprayer has been mostly assembled at the factory. The
only requirement will be for you to hook up your battery
leads to a fully charged 12 Volt battery. The red wire must
be connected to the "hot" lead, and the black wire should be
connected to the ground.
NOTE:
It is VERY important for you to test your sprayer with
plain water before actual spraying is attempted. This
will enable you to check the sprayer for leaks, without
the possibility of losing any expensive chemicals.
Owner's Manual
Your sprayer is equipped with (2) ON/OFF switches. One is
on the wire assembly that you hook up to your battery, the
other is on the pump itself, on the opposite end of the
pressure switch. The "-" is the "ON" position and the "o" is
the "OFF" position for both switches. Make sure both
switches are depressed in the "-" position for operation.
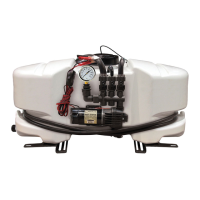
In addition to the ON/OFF switch, the pump is equipped with
an electronic pressure switch that is factory pre-set for it to
shut off at 35 p.s.i.. This switch assembly is the 'square box'
on the head portion of the pump.
Always fill the tank with a desired amount of water first, and
then add the chemical slowly, mixing as you pour the
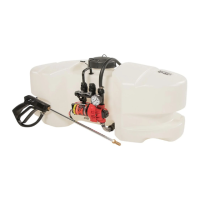
chemical into the tank. You may use the handgun to spray
into the solution in order to mix the chemical and water.
Initially begin spraying by opening the handgun. This will
enable the air in the line to be purged through the handgun
tip, while building pressure.
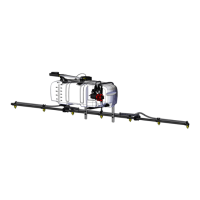
The pumping system draws solution from the tank, through
the strainer/filter, and to the pump. The pump forces the
solution under pressure to the handgun and/or boom
nozzles.
Open the handgun by squeezing the handle lever.
•
Rotating the adjustable nozzle tip on the handgun will
•
change the tip pattern from a straight stream to a cone
pattern (finer mist).
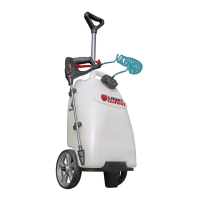
Operation
(15 Gallon Lawn & Garden Spot Sprayer)
1000 FIMCO Lane, P.O. Box 1700, North Sioux City, SD 57049
Toll Free Phone: 800-831-0027 : Toll Free Fax: 800-494-0440
www.fimcoindustries.com
Warranty/Parts/Service
Products are warranted for one year from date of purchase
against manufacturer or workmanship defects.
Commercial users have a 90 day warranty.
Your authorized dealer is the best source of replacement parts
and service. To obtain prompt, efficient service, always
remember to give the following information...
- Correct Part Description and/or part number.
- Model number/Serial number of your sprayer.
Part descriptions and part numbers can be obtained from the
illustrated parts list section(s) of this manual.
Whenever you need parts or repair service, contact your
distributor/dealer first. For warranty work, always take your
original sales slip, or other evidence of purchase date, to your
distributor/dealer.