Color Screen Multi-channel Weather Station User Manual
Verify the temperature sensors match closely with all of the sensors in the
same location (about 2 to 3m apart). The sensors should be within 2°C (the
accuracy is ± 1°C). Allow about 30 minutes for all sensors to stabilize. The
temperature can be adjusted or calibrated later to match each other or a
3.4 Radio Controlled Clock (RCC)
After the remote sensor is powered up, the sensor will transmit weather
data for 30 seconds, and then the sensor will begin radio controlled clock
(RCC) reception. During the RCC time reception period (maximum 5
minutes), no weather data will be transmitted to avoid interference. Once
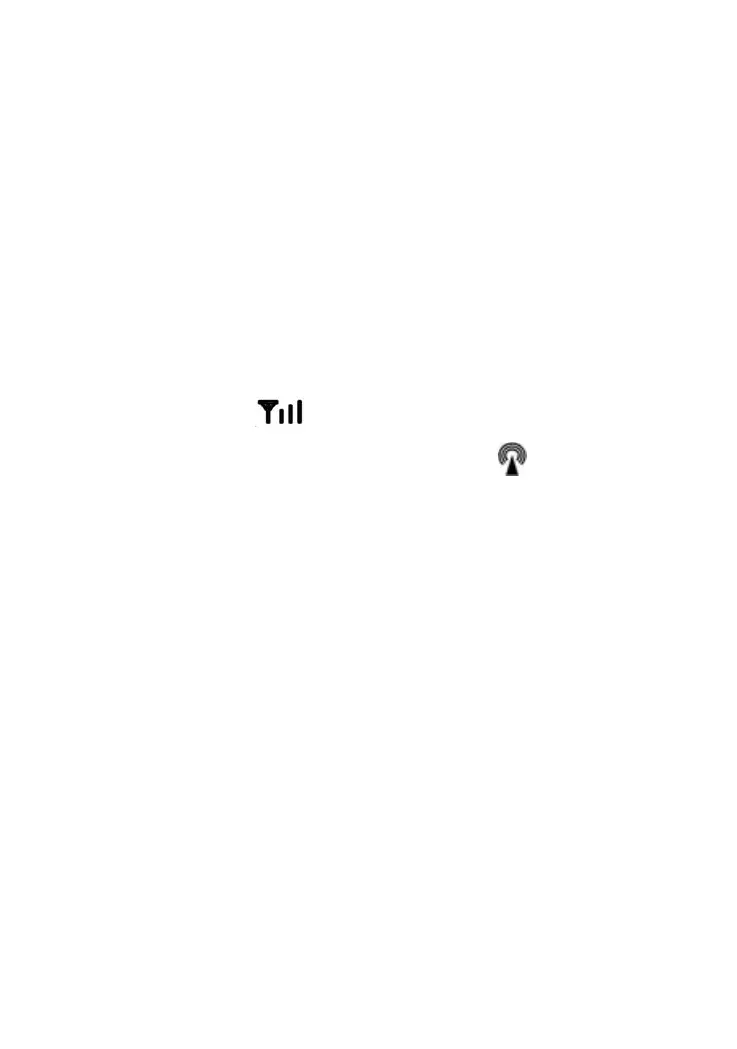
the radio controlled time is received the RCC signal received successfully,
the RCC reception icon will turn on in the outdoor sensor LCD display.
Then outdoor sensor sends the RCC signal to display console, Once the
radio controlled time is received, RCC reception icon will turn on in the
display console. (reference Figure 8).
If the signal reception is not successful within 3 minute, the signal search
will be cancelled and will automatically resume every six hours until the
signal is successfully captured. The regular RF link will resume once RCC
reception routine is finished. In some locations, RCC reception may take a
couple of days to receive the signal.
3.5 Remote Sensor Installation
Before mount the units, ensuring that the receiver can still pick up the signal
from transmitters. It is recommended to mount the sensors on a north facing
wall, in a shaded area. Direct sunlight and radiant heat sources will result in
inaccurate temperature readings. Although the sensors are water resistant,
it is best to mount in a well protected area, such as under an eve.
1. Use a screw or nail to affix the remote sensor to the wall, as shown in
2. Hang the remote sensor up on string, as shown in Figure 7.