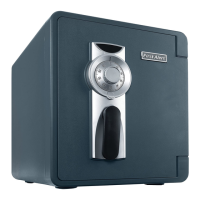
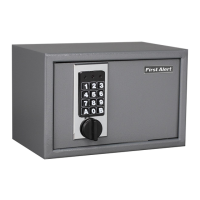
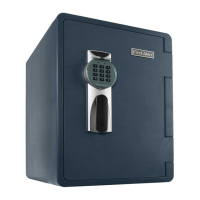
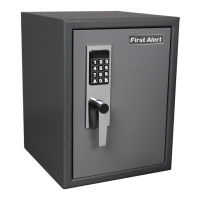
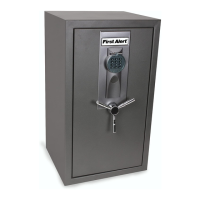
Home and Office Security Safes
4
5
Consumer Affairs
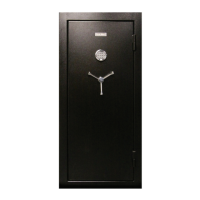
Additional Features
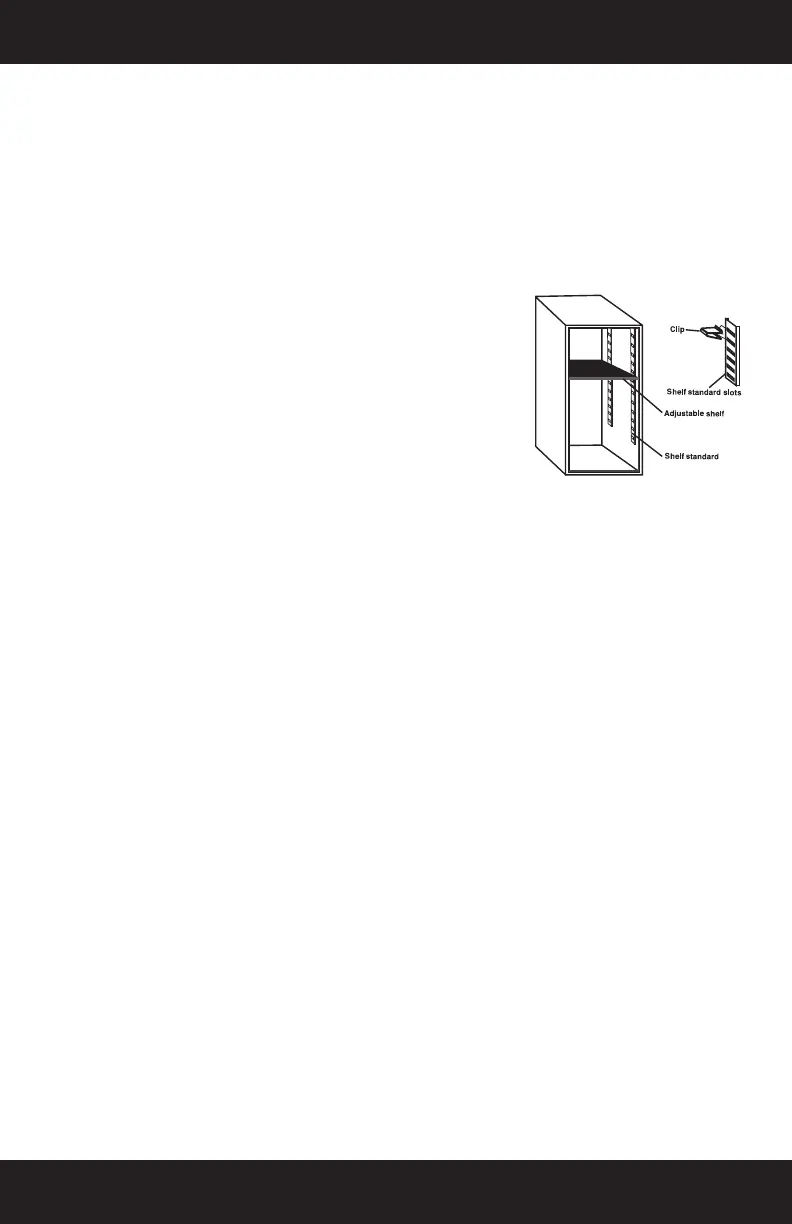
Shelves
To allow for greater flexibility and further accommodate your particular storage
needs, this safe includes (2) adjustable/removable shelves and (1) gun rack.
To install:
1. Remove shelves, gunrack and (12) shelf support clips from protective wrapping.
2. Each shelf will require (4) support clips.
3. Determine the desired location of your shelf and/or
gun rack and note the corresponding support guide
slots on the vertical standards that are best suited to
support the shelf in that location. (Fig. 6)
4. Insert (1) support clip into each of the vertical standards. The top of the
support clip should be placed into the selected slot first and then the
bottom of clip will lock in place when pushed back.
IMPORTANT: Make sure all (4) clips are installed at the same height on
the vertical standards so that the shelf is level.
5. Install the shelf into position by placing inside the safe (tilting if necessary)
and lowering into position on the support clips.
6. Repeat procedure for 2nd shelf.
HINT: If shelves are not being used, they can be stored in the
bottom of the safe.
Mounting Hardware Kit
Many customers prefer to bolt their safe to the wall or floor to increase
protection from theft and resistance to tipping. This safe was manufactured
with bolt down holes pre-drilled in the back panel and floor panel. To secure
your safe to the wall and/or floor:
1. Remove the protective liner from the back and/or floor of the safe and
locate the pre-drilled 5/8” holes.
2. Anchor the safe using the mounting hardware kit which includes (2) 3”x3/8”
lag screws and anchors. Securing back of safe to wall studs is important.
3. Once completed, replace protective liners.
IMPORTANT: If you have QUESTIONS regarding how to permanently
secure the safe or are uncomfortable using the tools necessary to
complete the project, please check with your local retailer, home
center or independent contractor. This safe is heavy and care should
be exercised to prevent damage to safe or mounting surface and/or
bodily injury.
Fig. 6
Your Safe’s Unique Identification Numbers
When contacting Consumer Affairs, you should be prepared to supply some
important information that specifically identifies your safe. This information is
extremely important to assuring prompt and accurate customer assistance.
It is strongly recommended that you identify and record the following information
in the “Safe Identification Record” form located on the inside back cover of this
manual:
Model Number
Serial Number
Key Number
Locating Model and Serial Numbers
Most First Alert
®
safes include a small metallic silver or gray tag affixed to one
of the surfaces. This tag is usually located on the front or right side of the safe.
This tag contains the Serial Number, and on selected models a similar tag is
attached containing the Model Number. If a Model Number tag is not attached
to the safe, then it can be located on the front or side panel of the box that the
safe was packaged in. Write this number down for future reference.
Key Number
The Key Number is located on the key. If you do not have the key, the number
is also imprinted on the Key lock.
Important: DO NOT REMOVE TAGS!
In case your safe becomes inoperable or you lose your keys, these identification
numbers will be needed to correct the problem. It is recommended that the
number tags remain in place on the safe. If removal is necessary, then they
should be attached to the inside back cover of the Operation and Installation
Guide. Store in a safe and secure place for future reference.