Electrical connection
1. This appliance must be connected to a 220 V – 240 V, 50 Hz, sinusoidal, 10 A electrical supply.
2. Uncoil the power cord, remove and discard the plastic pin cover and plug into a power socket.
3. Connect the appliance to an earthed outlet protected by a fuse of suitable capacity.
◦ Check the power cord for damage and make sure it is not squashed or twisted when installing the dryer.
◦ Always remove the power cord from the power socket by the plug, not by the cord.
If you are using an extension cord or a portable electrical outlet device (eg multi- socket
outlet box), ensure that it is positioned so that it does not come into contact with water or
moisture. FAILURE TO DO SO MAY RESULT IN DEATH OR ELECTRICAL SHOCK.
• Do not touch or operate the machine with wet hands or with bare-feet.
• A damaged power cord must be replaced by a Fisher & Paykel trained and supported
service technician,
its service agent or similarly qualified persons in order to avoid a hazard. The
appliance must not be operated until it is repaired, as there is risk of electric shock.
• Do not operate this machine if it has been damaged during transport. Contact your
Fisher & Paykel dealer or Fisher & Paykel trained and supported service technician.
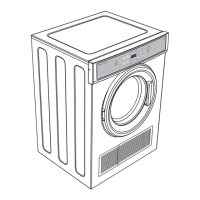
Completing the installation
Installation test cycle
Ensure the installation test cycle is completed before you dry any items in your dryer. This
is to check that your dryer is installed correctly and that it is functioning properly prior to
use.
1. Turn your dryer on by pressing the
button.
2. Select the ‘Time Dry’ 30 cycle. Ensure the drum is empty and the door is closed (you will hear it click shut).
3. Touch the
https://producthelp.fisherpaykel.com/nz/Dry/Dryers/Condensing/DE8060P2/User_Guide_DE8060P2/02_Installation_instructions
Updated: Fri, 01 Mar 2019 03:41:55 GMT
Powered by
5

 Loading...