Do you have a question about the Fisher & Paykel DishDrawer DD60S 7 and is the answer not in the manual?
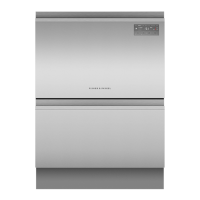
| Model Number | DD60S7 |
|---|---|
| Number of Place Settings | 7 |
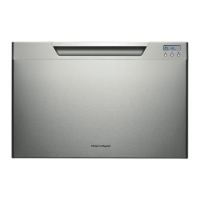
| Control Type | Electronic |
| Noise Level | 44 dBA |
| Wash cycles | 6 |
| Width | 600 mm |
| Depth | 573 mm |
| Number of Wash Programs | 6 |
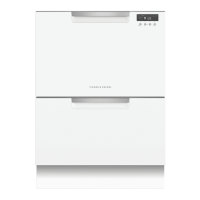
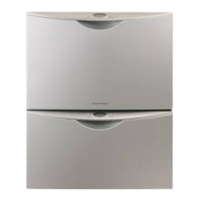
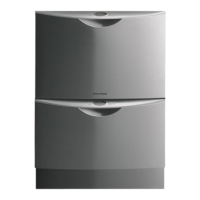
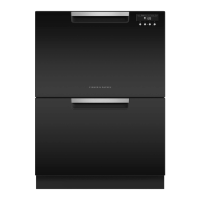
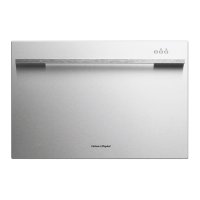
| Color | Stainless Steel |
| Type | Drawer |
| Water Rating | 4.5 Star |
| Drying System | Fan assisted drying |
Warning regarding electrical shock hazard before installing the dishwasher.
Warning regarding sharp panel edges and potential for cuts.
Warning for integrated models concerning electrical shock during installation.
Specifications for custom front panels, including thickness, weight, and sealing.
Calculation method for determining the custom front panel width.
Calculation method for determining the custom front panel height.
Specifications for custom front panels, including thickness, weight, and sealing.
Calculation method for determining the custom front panel width.
Calculation method for determining the custom front panel height.
Important note on the required location of the power outlet.
Important note that adjacent cabinetry must not extend above the cavity base.
Details regarding the recommended cold water connection and pressure.
Specifies water pressure requirements for models with and without water softeners.
Important note on required toekick height to prevent condensation pooling.
Important note on required toekick height to prevent condensation pooling.
Important note to ensure prongs are not driven down into the chassis to avoid damage.
Recommended method for frameless cabinetry installation.
Instructions for attaching side mounting brackets using a flat-bladed screwdriver.
Instructions for attaching the venting hose to the fitted elbow.
Important warning against using excessive force when moving the product into the cavity.
Instructions for attaching the venting hose to the fitted elbow.
Instructions for pulling hoses and cord into the cavity without kinking.
Important warning against using excessive force when moving the product into the cavity.
Instructions for refitting the drawer onto the runners, ensuring correct orientation.
Details on securing the drawer to the cabinetry using fixing points.
Instructions for securing the external vent after routing the vent hose.
Steps to remove the bracket from the product, including a safety warning.
Instructions for attaching the front panel to the panel bracket using screws.
Steps to earth the panel and panel bracket, including safety warnings.
Instructions for attaching the front panel to the product, ensuring the seal is maintained.
Instructions for adjusting the front panel height to align cabinetry gaps.
Steps to determine the correct location for the badge cutout on the front panel.
Steps to remove the bracket and disconnect the integrated badge.
Instructions for routing the badge wiring through the front panel.
Instructions for attaching the front panel to the panel bracket using screws.
Steps to reattach the badge and earth the panel, including safety warnings.
Instructions for attaching the front panel to the product, ensuring the seal is maintained.
Instructions for adjusting the front panel height to align cabinetry gaps.
Plumbing and drainage option using a standpipe connection.
Plumbing and drainage option using a sink trap and drain hose joiner.
Important warning against connecting the drain hose to a waste disposal unit.