Do you have a question about the Fisher & Paykel RS90AU1 and is the answer not in the manual?
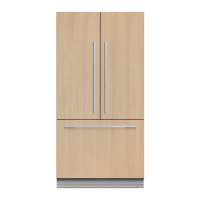
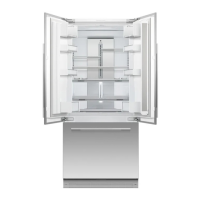
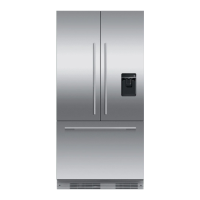
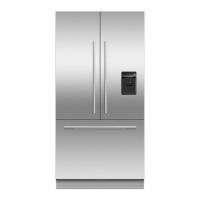
| Finish | Stainless Steel |
|---|---|
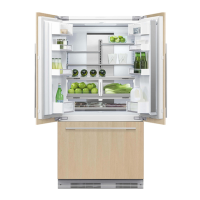
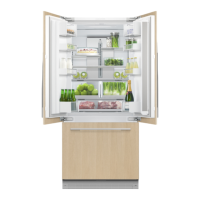
| ActiveSmart™ Technology | Yes |
| Adaptive Defrost | Yes |
| Door Alarm | Yes |
| Frost Free | Yes |
| Humidity Control System | Yes |
| Sabbath Mode | Yes |
| LED Lighting | Yes |
| SmartTouch Control Panel | Yes |
| Freezer Location | Bottom |
| Climate Class | SN-T |
| Color | Stainless Steel |
| Height | 1790mm |
| Width | 900mm |
| Depth | 688mm |
| Adjustable Glass Shelves | Yes |
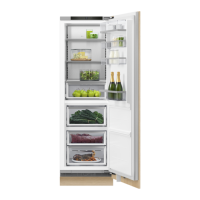
Adhere power cord clip to the appliance rear and connect to power supply. Secure excess cord length.
Gently push appliance into enclosure, avoiding damage to cord/tubing. Route water tubing to prevent kinking.
Ensure firm contact with anti-tip bracket and center appliance within the alcove using adjacent walls.