33
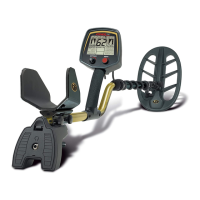
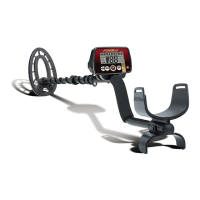
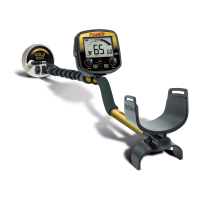
SETTING UP
No tools required.
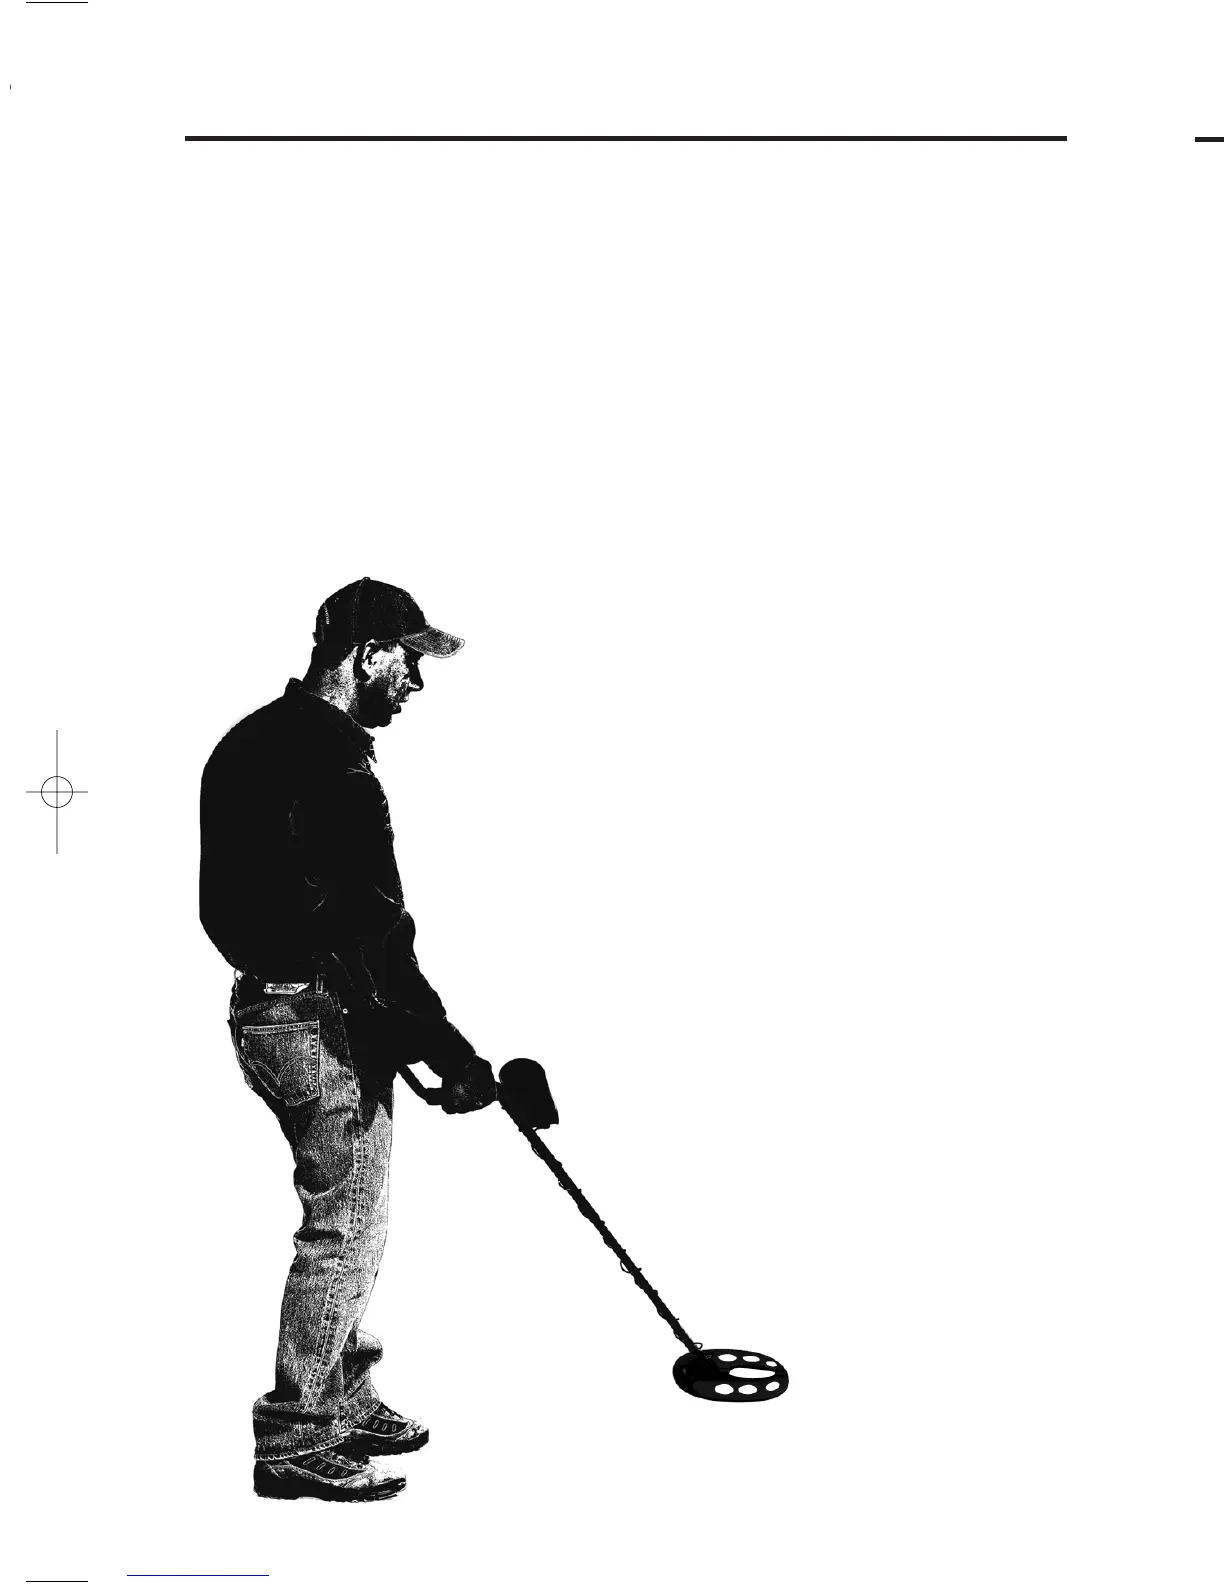
!
11
Insert the lower stem (plastic tube) into the middle stem.
!
22
Position the stems with the silver buttons toward the
back.
Using the bolt and knob, attach the search coil to
the lower stem.
!
33
Press the button on the middle stem, and slide the
stem assembly into the s-rod.
Adjust the stem to a length that lets you
maintain a comfortable upright posture, with
your arm relaxed at your side, and the search
coil parallel to the ground in front of you.
!
44
Wind the cable securely around the stem.
!
55
Insert the plug into the matching
connector on the right underside of the
detector body. Be sure that the key-way
and pins line up correctly.
!
66
After the stem length is adjusted
to your height, tighten the two
locking collars to stabilize the
stems.
!
77
Secure the cable to the stem
with Velcro strips at the top and
bottom. Secure one at the bottom of the plastic tube, and one to the
aluminum tube, close to the detector housing. It is important to secure
the cable; a loose cable may result in erratic sounds.
Arm Rest Adjustment
If you wish to change the position of
the arm rest, remove the screw and
move the arm rest to one of the
alternate hole locations.
Caution: Do not force the plug in.
Excess force will cause
damage.
To disconnect the cable, pull
on the plug.
Do not pull on the cable.
2222
TARGET PINPOINTING
(in PINPOINT mode)
After you have identified a target using a motion mode of detection,
press-and-hold the PINPOINT pad to identify the target’s exact
location. This technique can yield more information about the target’s
shape and size and also find its exact location to facilitate extraction.
PPiinnppooiinntt aass ffoolllloowwss::
11..
Position the search coil just barely off the ground, and to the side of
the target.
22..
Now move the search coil slowly across the target, and you can
locate it by the sound. The target is located directly under where
the sound is loudest.
NNaarrrrooww IItt DDoowwnn::
11..
To narrow the response further, position the center of the search coil
near the center of the response pattern, but not
directly over the center.
22..
Release the PINPOINT touch pad.
33..
Press-and-hold PINPOINT pad again.
44..
Repeat this narrowing procedure to narrow
the field of detection further.
NNoottee::
Depth indication is less accurate after
narrowing.
COIL DRIFT
If you plan to use the PINPOINT mode for continuous
searching, realize that drift will occur over time,
causing the detector to gain or lose sensitivity.
Periodic retuning of the detector is required to
minimize drift; release and press PINPOINT again
to retune.
and
out 2
coil
s the
o the
F5-manual-SPREADS(24pg).qx 10/2/08 3:11 PM Page 3
 Loading...