Installation
Page 49
panel in the place marked “PULL”, pull it upwards to
release the buckles, then take the lower panel down.
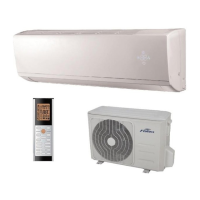
Model A
Open the cover
and unscrew the
screw
AUTO COOL
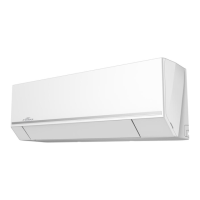
Model B
Open the cover
and unscrew the
screws
Unscrew the
screws
2. Use the holder at the back of the unit to prop up the
unit, giving you enough room to connect the refrigerant
piping, signal cable, and drain hose.
Use the holder at the back
of the unit against on the
mounting plate to prop up
the unit
Step 3. Connect drain hose and refrigerant piping (refer to
Refrigerant Piping Connection section of this manual for
instructions).
Step 4. Keep pipe connection point exposed to perform
the leak test (refer to Electrical Checks and Leak Checks
section of this manual).
Step 5. After the leak test, wrap the connection point with
insulation tape.
Step 6. Remove the bracket or wedge that is propping
with insulation tape.
Step 7. Using even pressure, push down on the bottom
half of the unit. Keep pushing down until the unit snaps
onto the hooks along the bottom of the mounting plate.
 Loading...