8
1. Adjust the stem length as short as you can without
having the search coil detect your diving gear.
2. Adjust the search coil parallel to the sea bed, river
or lake bottom.
3. Make sure extra cable is coiled tightly on the upper
stem as closely as possible to the control housing,
with just enough slack near the search coil to allow
it to swivel as far as it can in either direction. Too
much loose cable near the search coil may
generate false signals.
4. Remove the tethered earphone plugs for rapid
pressure equalization as you dive and return to the
surface.
Caution: Hipmounting the CZ-20 control housing is not
recommended for underwater use. The search coil cable may
become entangled with a submerged object, making it difficult
for the diver to resurface quickly in case of emergency.
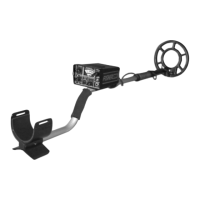
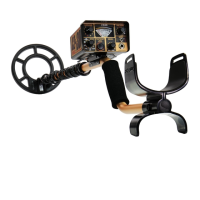
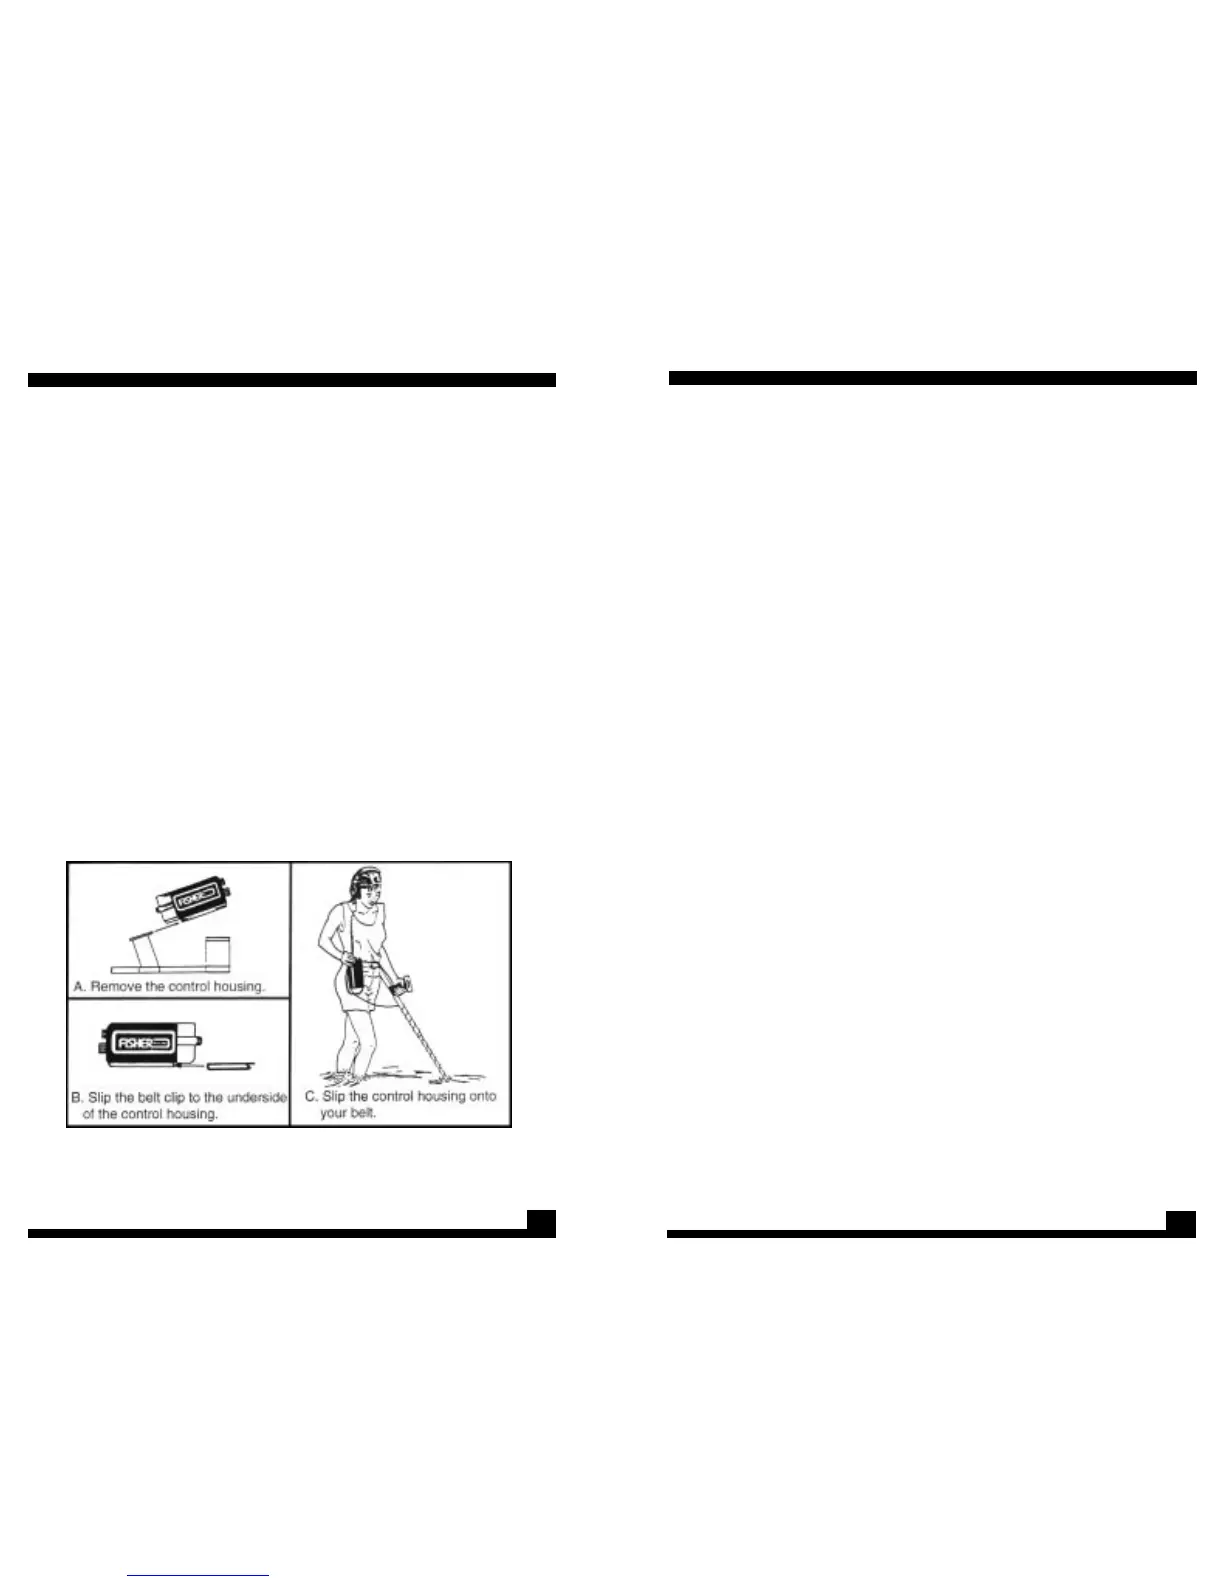
SETTING UP FOR HIPMOUNTING
For nearly-effortless treasure hunting, the control housing is
SETTING UP
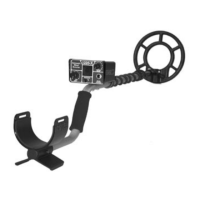
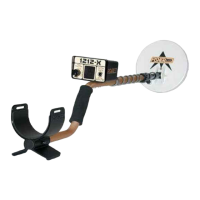
Figure 6. You can hipmount your CZ-20 by sliding the control housing
from the handle and attaching it to your belt. This reduces the weight
of the stem, creating nearly effortless hunting.
33
To check the batteries frequently, remove your headset, set
the volume control at “10” and click the SENS control
counterclockwise into the BATT TEST position. The condition of the
batteries will be indicated in two ways:
1. An Audio Tone: The stronger, the better. A loud, high
pitched tone indicates good batteries. A weak,
low pitched tone or “ticking” sound indicates weak
batteries. No tone means it’s time to change the
batteries.
2. Light Emitting Diodes: When both LED’s are brightly
lit, your batteries are charged. One brightly lit LED
means your batteries are about half gone. When
both LED’s are out it’s time to replace the batteries.
The CZ-20 is powered by four, 9-volt transistor batteries located
in the rear section of the control housing. The batteries are sealed
off from the electronics so that accidental water leakage into
the battery compartment will not damage the circuitry. To
replace the batteries:
1. Remove the battery door by partially unscrewing
the two knurled thumb screws with a coin or
screwdriver. The knurled knobs are “captive
screws” and do not have to be completely
removed from the battery door.
2. Remove the battery pack from the Control Housing.
It’s not necessary to disconnect the battery lead
connector. Be very careful not to put any undue
strain on the battery leads.
3. Remove the batteries from the battery pack, and
install fresh alkaline batteries. You may also use
rechargeable Nicads, but expect about half the
battery life.
4. Insert the battery pack into the Control Housing.
With your finger, push the top of the battery pack
(with the leads) into the Control Housing first, then
let the bottom follow.
BATTERY REPLACEMENT
 Loading...