Draining is recommended before moving the brewer.
9
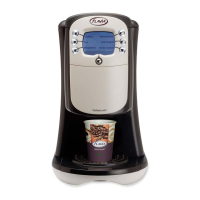
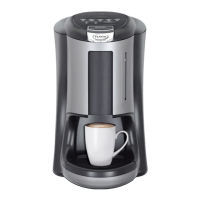
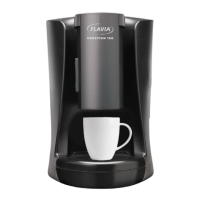
B E V E R A G E / D R I N K O P T I O N S
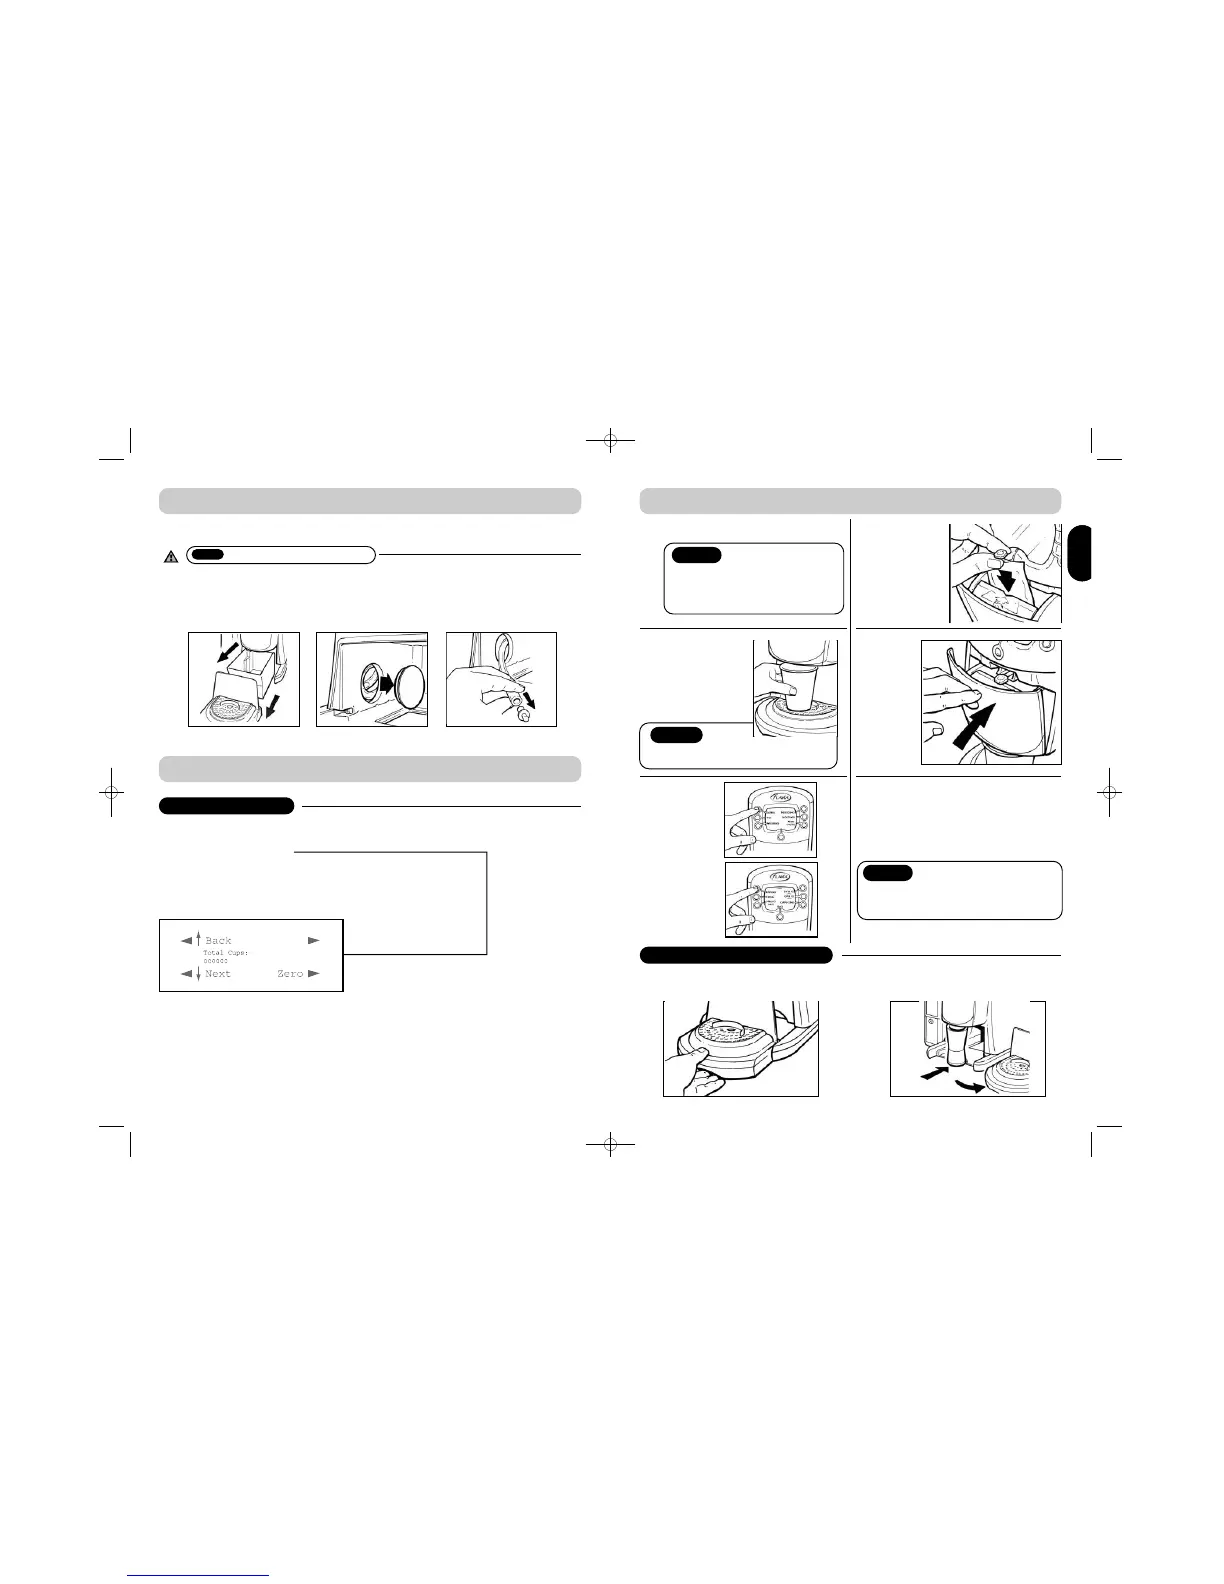
COLLECTING AUDITS
1. Enter operator menu (push and hold bottom left and right buttons) (Ref. A – page 2)
2. Enter password (default password press top right button 4 times) (Ref. B – page 2)
3.
Display will say ‘Total Cups’
4. Press ‘Next’ Display will say ‘Free 2-pack Cups’
5. Press ‘Next’ Display will say ‘Free 1-pack Cups’
6. Press ‘Next’ Display will say ‘Total Packs’
7. Press ‘Next’ Display will say ‘Interim Total Packs’ This can be set to zero
8. Press ‘Next’ Display will say ‘Interim Total Cups’ This can be set to zero
D R A I N I N G Y O U R B R E W E R
•
Make sure brewer is turned off
1. Remove drip tray and bin
2. Remove bung. CAUTION – WATER MAY BE HOT
3.Allow all water to drain out
4.Replace bung fully
5.Clip drain tube back into place
ENGENG
6
P R E P A R I N G A B E V E R A G E / D R I N K
1
2
Insert coins (pay option only)
Place cup
centrally
on cup
stand and
push back
No change is given. “Insert
coins” will stop flashing once
money is sufficient
Notice
For 2-pack drinks follow screen
prompt and repeat stages 4, 5 6.
3
Select
category
Select
drink
4
Insert
filterpack
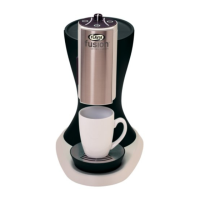
• To vend your drink into a large mug
• Remove drip tray
• Place your mug and follow
steps 3 to 6 as normal
6
While your drink is being
freshly filtered / brewed into
your cup, keep hands clear.
5
Close
door
LARGE/TRAVEL MUG FACILITY
Notice
Caution
The minimum cup size for use with a large
drink to avoid overflow is 200ml (7floz UK)
Notice