INSTALLATION GUIDE
9
Installation
• Once your camera is securely mounted to your windshield, connect your OBD Y cable labeled Dashcam to your Vision
2.0 Camera OBD and your OBD Y labeled Fleet Tracker to the vehicle OBD port.
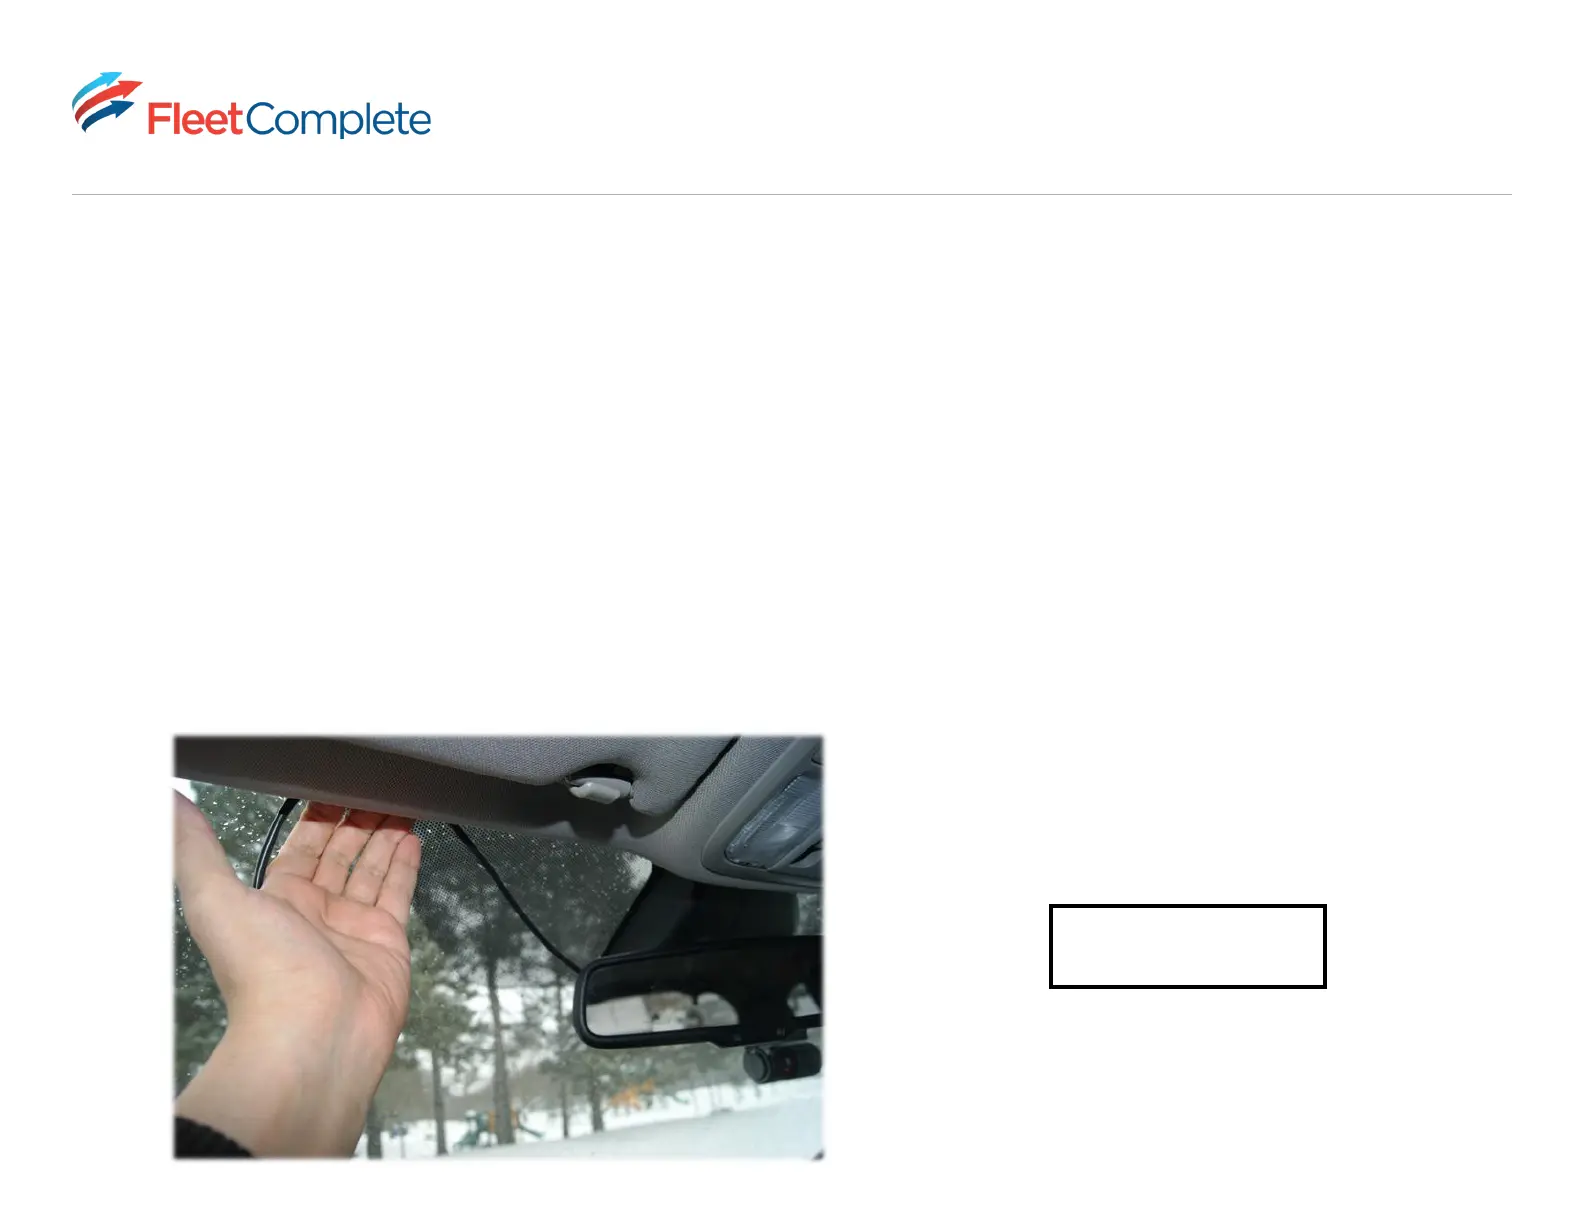
• Ensure the cable coming from the camera is fastened around the frame of your windshield and is not obstructing your
view of the road.
• OBD installs require that your engine is turned on once the device is connected to give power to the camera.
• Give the camera 3 minutes to power on once it is plugged into your OBD port and before beginning your first trip.
VISION SETUP
Still have questions? Access the Vision setup page