➜ Turn the red knob until the number "03"
appears in the display.
➜ Confirm!
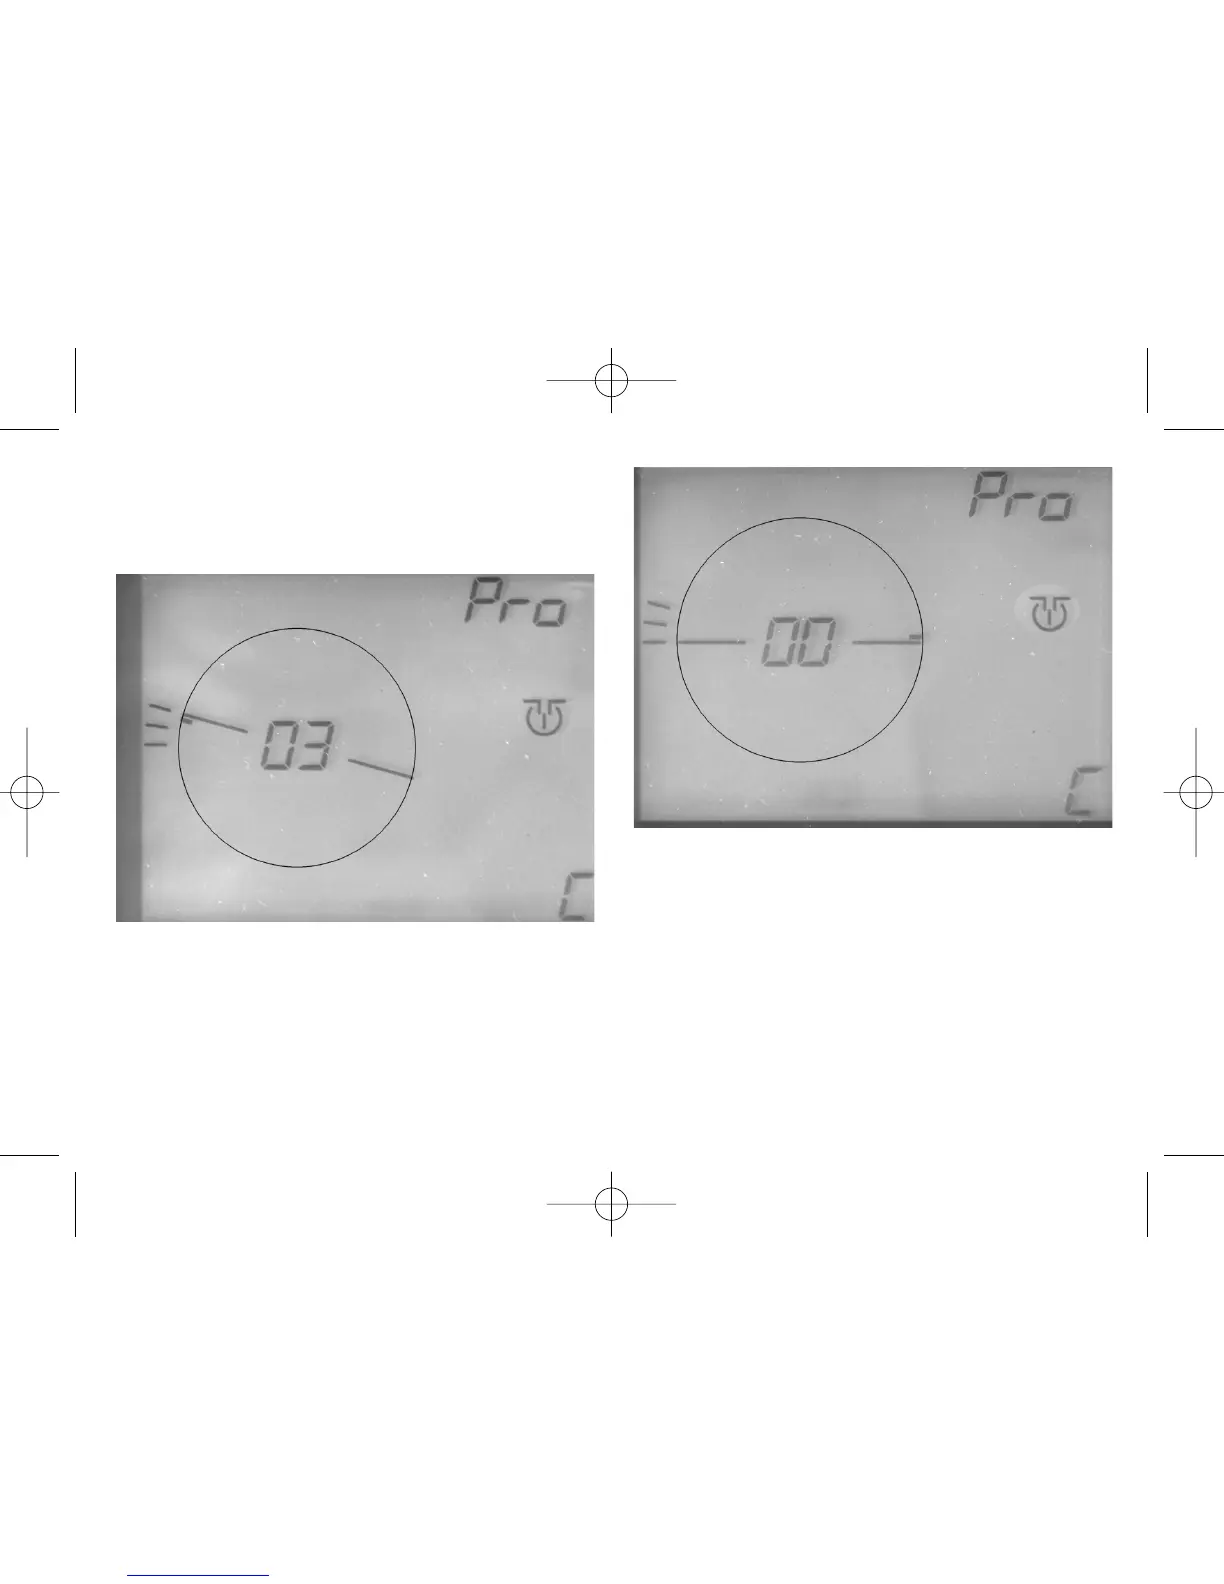
Your display should now look like this (see Fig. 13):
The fourth step (e.g. creating the access track) is
just like the third.
➜ Turn the red knob until the bridge hut has
reached the position of the fourth track exit
(as in our example, at "3 o’ clock") (Fig. 14).
➜ Confirm! After turning the red knob again, a
new tiny strip will appear beside the bridge
hut symbol.
➜ Confirm!
➜ Turn the red knob until the number "04"
appears in the display.
➜ Confirm!
Your display should now look just like that shown
in Fig. 15:
39
Fig. 13 Put in 3rd exit
Fig. 14 Go to the 4th exit