You have now successfully entered the positions
of all your track exits into the TURN-CONTROL.
Advice:
The exit numbers do not necessarily have
to be in a clockwise direction. The numbering
system can be completely independent of the
position of the track exit.
Independent of the number of possible track
exits, you can assign the numbers 1 through 99 to
your programmed exits.
We can now leave the programming menu "Pro",
so please press the green "C" key. The display
will now show the menu "SEL" and you can now
use the track exits which will always be shown
with the individual (programmed) exit numbers.
We have now told the TURN-CONTROL all it
needs to know about the tasks it has to
perform, so we can now proceed to the next
section on how to use it.
2.5 Using the Controller (Menu SEL)
With your TURN-CONTROL in the SEL menu
setting, you can now:
➜
Select the desired exit track using the red
rotating knob and then by pressing it, turn the
bridge to the selected exit.
Advice: If the bridge display rotates, but the
turntable is not started, the display will return to
the original start position within 10 seconds.
Advice: When switching on the equipment, the
display will always start up in the last correct
40
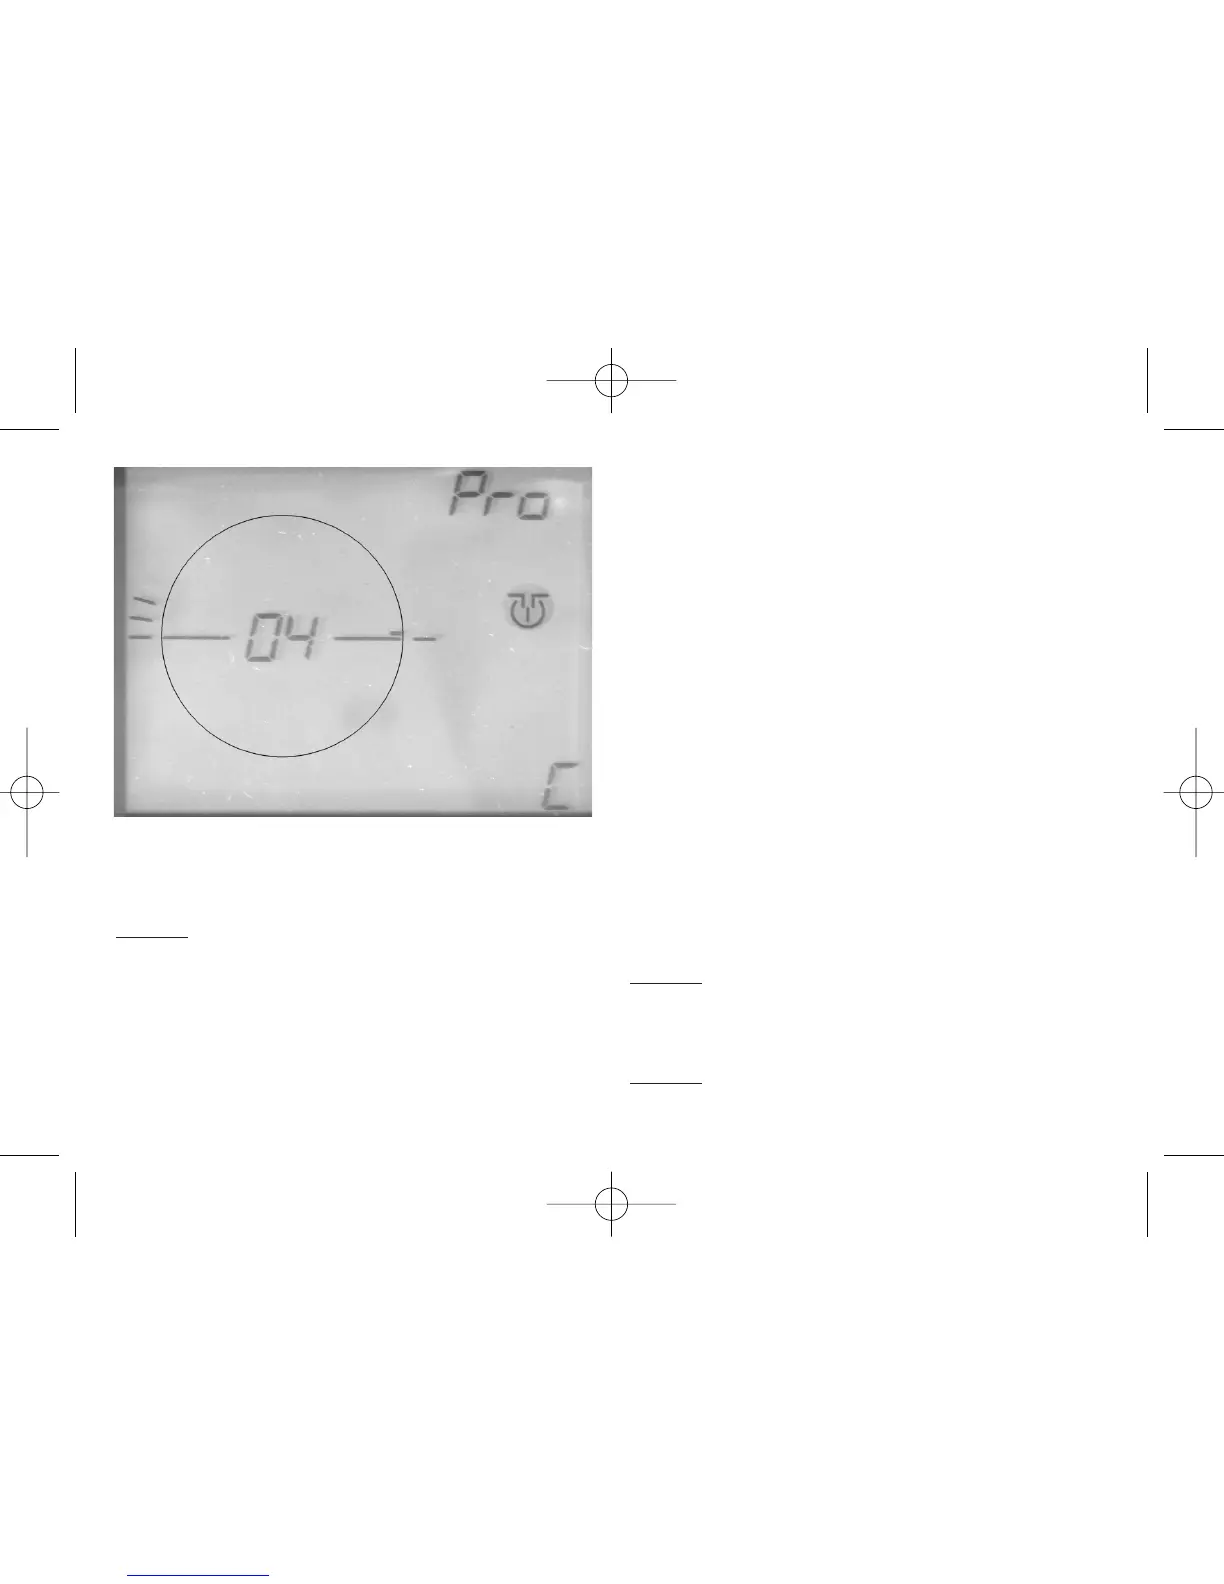
Fig. 15 Put in 4th exit