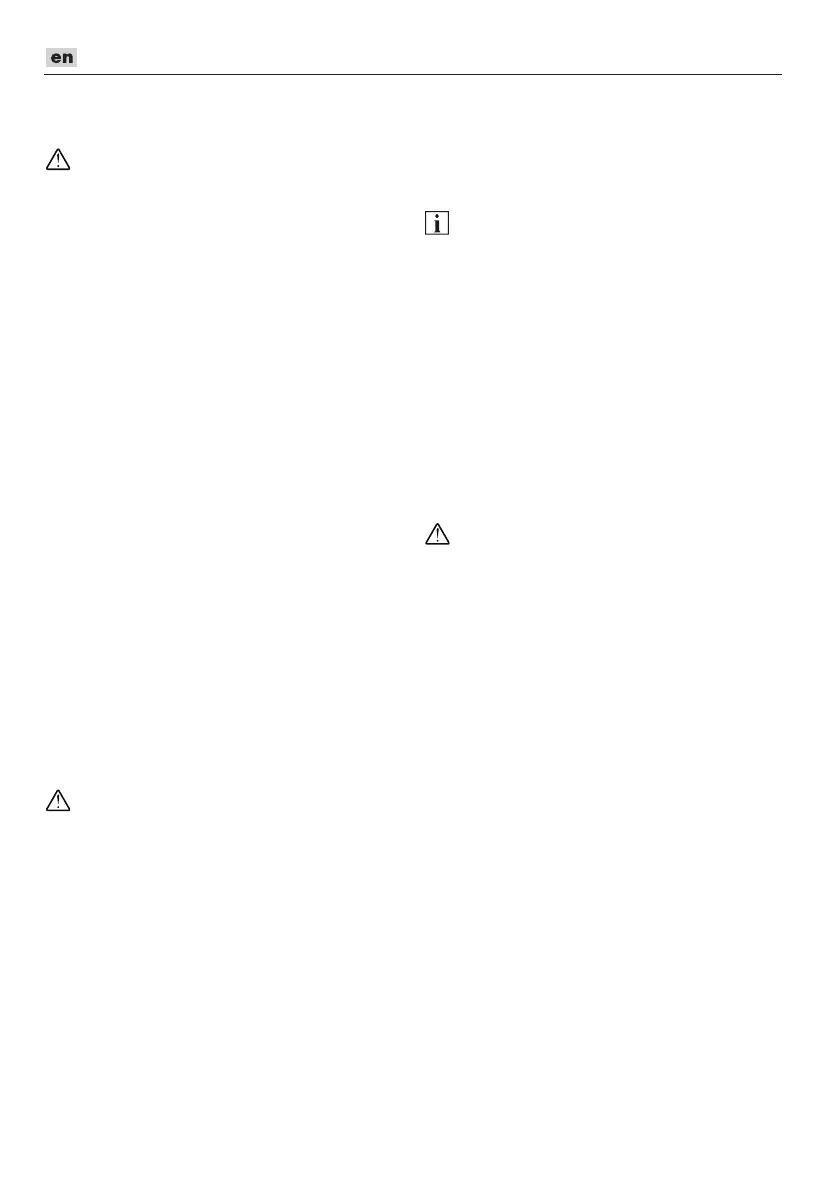
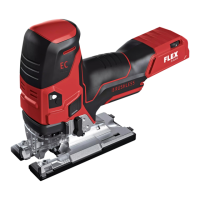
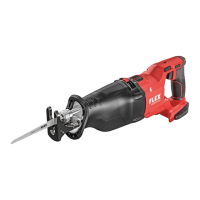
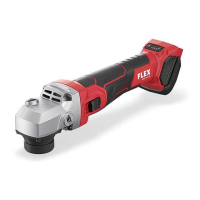
MT 18.0-EC
16
Installing and removing
accessories (See gure C, D, E, F, G)
WARNING!
Only use FLEX accessories rated 20000
OPM or greater. Using accessories not
designed for this tool may result in serious
personal injury and property damage.
NOTE: The accessories are not included with
your tool and should be purchased separate-
ly.
To install the accessory
Make sure that the On/O switch is in the
OFF position and detach the battery pack
from the tool.
■
Turn the accessory release lever 1
counterclockwise past the rst “click”
which signals that the lever has been
engaged.
■
Continue to turn the lever
counterclockwise as far as it will go, which
will be indicated by the second “click”.
(see gure D). Place the accessory on a
at surface. Grasp the machine body with
one hand and the accessory release lever
with another hand. Align the star-shaped
interfaces of the accessory holder with the
accessory (see gure E, F).
Note that the accessory can be positioned
at various angles if desired (see gure G).
■
Turn the accessory release lever clockwise
to return it to its original position (see
gure C). The clamping jaws 7 of the
accessory holder 6 will open and lock the
accessory in place.
WARNING!
Do not attach the accessories in such a way
that they face backward. Operation in this
position may cause serious injury (see gure G).
To remove the accessory
Make sure that the On/O switch is in the
OFF position and detach the battery pack
from the tool.
■
Turn the accessory release lever 1
counterclockwise past the rst “click”
which signals that the lever has been
engaged (see gure D).
■
Continue to turn the lever counterclockwise
as far as it will go, which will be indicated
by the second “click”. The clamping jaws
7 of the accessory holder 6 will move to
center position and the accessory will fall
out of the accessory holder 6.
Installing and removing the
attachment collar (See gure H, I, J)
NOTE
The attachment collar I-1 will be packaged
and sold separately.
■
Loosen the collar locking bolt H-1 by using
the depth gauge J-2 or guide fence and
align the four positioning tabs H-2 (see
gure H) of the clamp assembly with the
grooves on the neck 5. Then install the
clamp assembly on the tool, adjust it to
the desired angle and securely tighten the
collar locking bolt I-2 (see gure I).
■
Loosen the locking knob to insert the
depth gauge J-2 or edge guide and then
tighten the locking knob J-1 (see gure J).
Operating instructions
WARNING!
After tool use, detach the battery pack to
prevent accidental starts and possible injury.
On/o switch (See gure K)
Hold the tool rmly within the soft grip area
and keep your hands away from the blade.
To turn the multi-tool on, push the On/O
switch 2 forward.
To turn it o, move the On/O switch toward
the rear.
LED work light (See gure L)
The work light 4 will automatically turn on
when the tool is turned on and will turn o
approximately 10 seconds after the tool is
turned o.
The work light will rapidly ash when the tool
and/or battery pack becomes overloaded or
too hot.
The internal sensors will turn the tool o if
the tool and/or battery pack are overloaded.
Rest the tool for a while or place the tool and
battery pack separately under air ow to cool
them.
The work light will ash more slowly to
indicate that the battery is at low-battery
capacity.
Recharge the battery pack.
If the work light fails to light up when you
switch the tool on, or it turns o suddenly