Camera
Kite
User
Manual
39
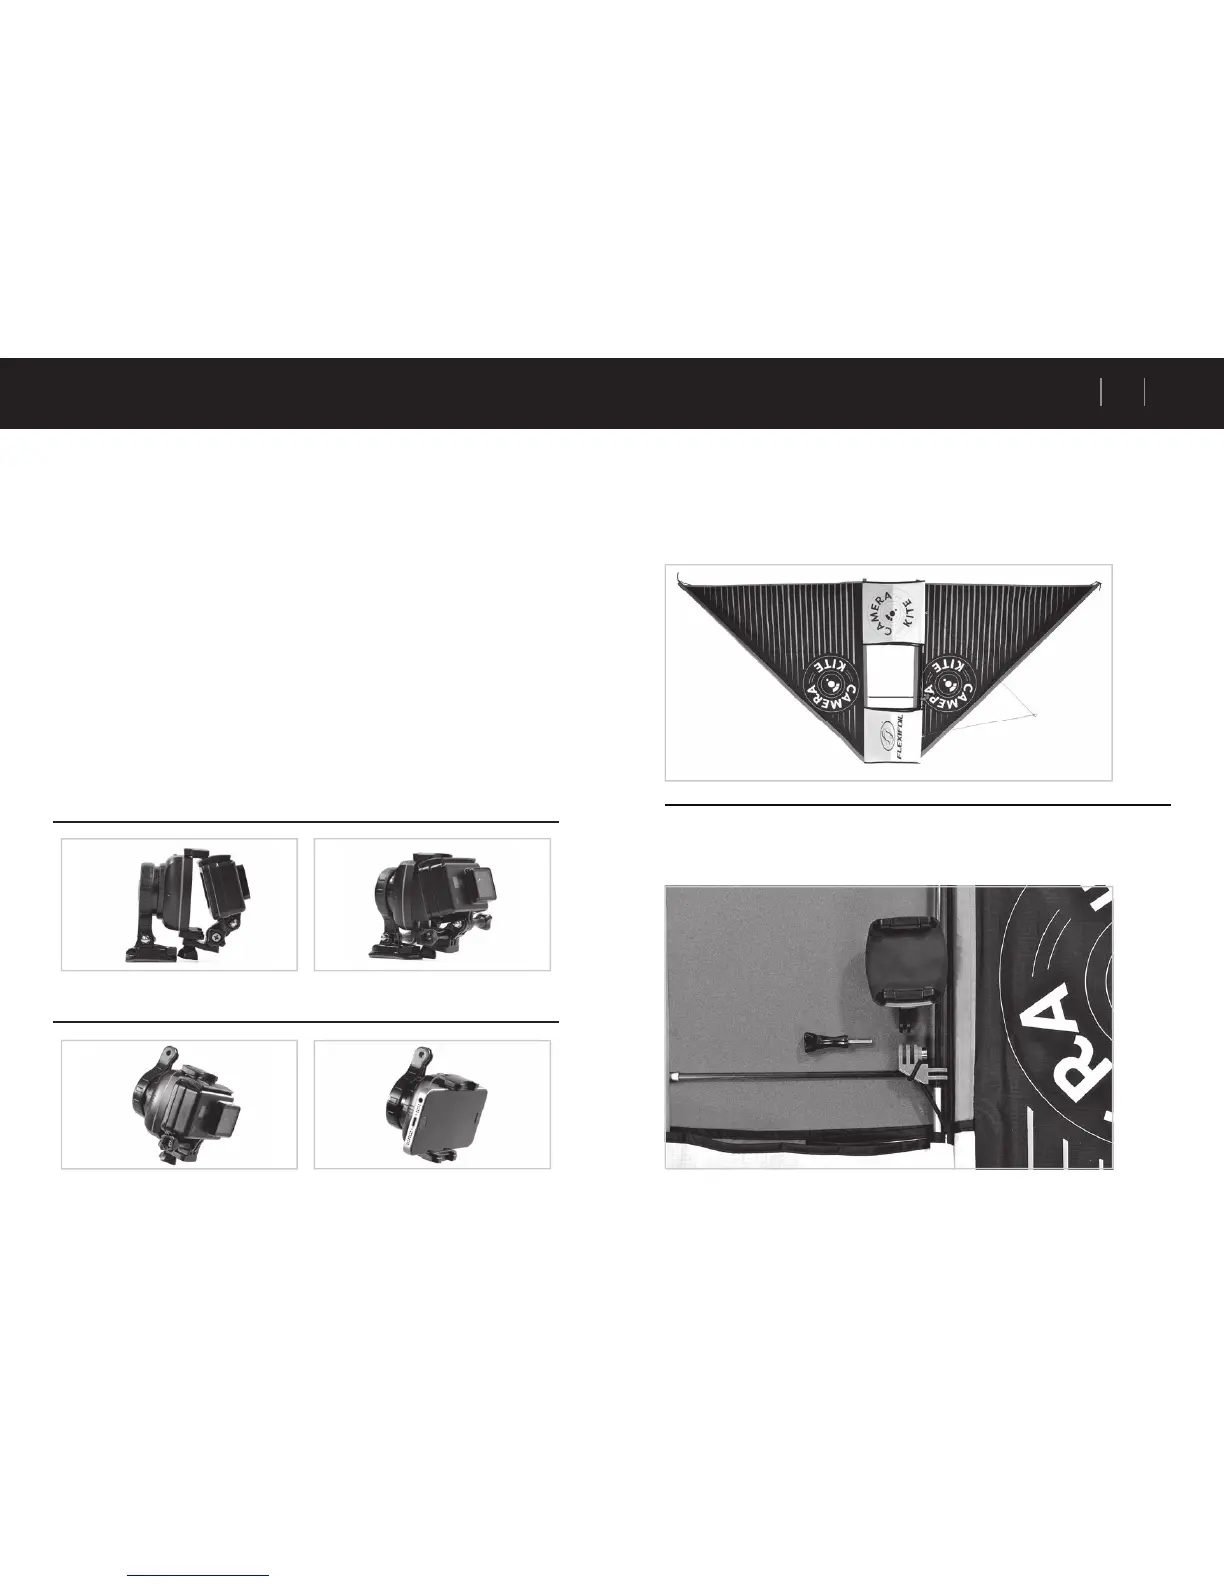
Attaching the stabiliser and camera or smartphone to your kite
Now it is time to start your Kite Aerial Photography (KAP) adventure. Always undertake a test fl ight
with the current wind conditions without the stabiliser and camera or smartphone being attached
to your kite. You are looking to start Kite Aerial Photography with a steady wind which will allow
you to solo launch and intercept the kite.
It is crucial to review the wind direction against the position of the sun before you attach the
stabiliser and camera or smartphone to your kite. An ideal setup would be to have the camera
pointing away from the sun for landscape images to capture the blue sky, clouds or scenery.
If you are taking ground (selfi e) shots then this is less important yet still very helpful to avoid
overexposed photos.
It is advised to have your camera or smartphone already installed onto the stabiliser before you
attach the stabiliser to your kite. Please ensure that your camera or smartphone is attached at
all times in a secure way to the stabiliser (Important). It is recommended to verify your camera or
smartphone’s time-lapse settings before attaching your camera or smartphone to the stabiliser
and to enable your camera or smartphone to start taking photos before you launch your kite.
The photo angle can be tweaked for landscape photography when using an ‘action’ camera on
the stabiliser. Install the additional short connector piece in-between the stabiliser and the action
camera to tweak the photo angle to an amended horizontal level. If you would wish to take
ground (selfi e) shots then you can simply install your camera or smartphone to the stabiliser
without the use of the additional short connector piece.
Landscape Photography Setup
Ground (Selfi e) Photography Setup
Camera Kite Deployment
• As you are landing your kite after your initial test fl ight (without the stabiliser and camera or
smartphone installed onto the kite), leave the fl ying line attached to your kite and keep the reel
ratchet lock device in the locked position. Keep the reel and reel support strap in place on your
body.
• Put your kite on the ground with the bridle (‘Camera Kite’ printed side) facing up and with the
nose of your kite facing upwind.
• Rotate the red 90° attachment arm to the direction you have chosen to target the camera to (left
or right side of your kite, depending on the position of the sun - always try to have the camera
pointing away from the sun).