MAESTRO QUICK START GUIDE, VER. 5.0, 02/15/2024
|
7
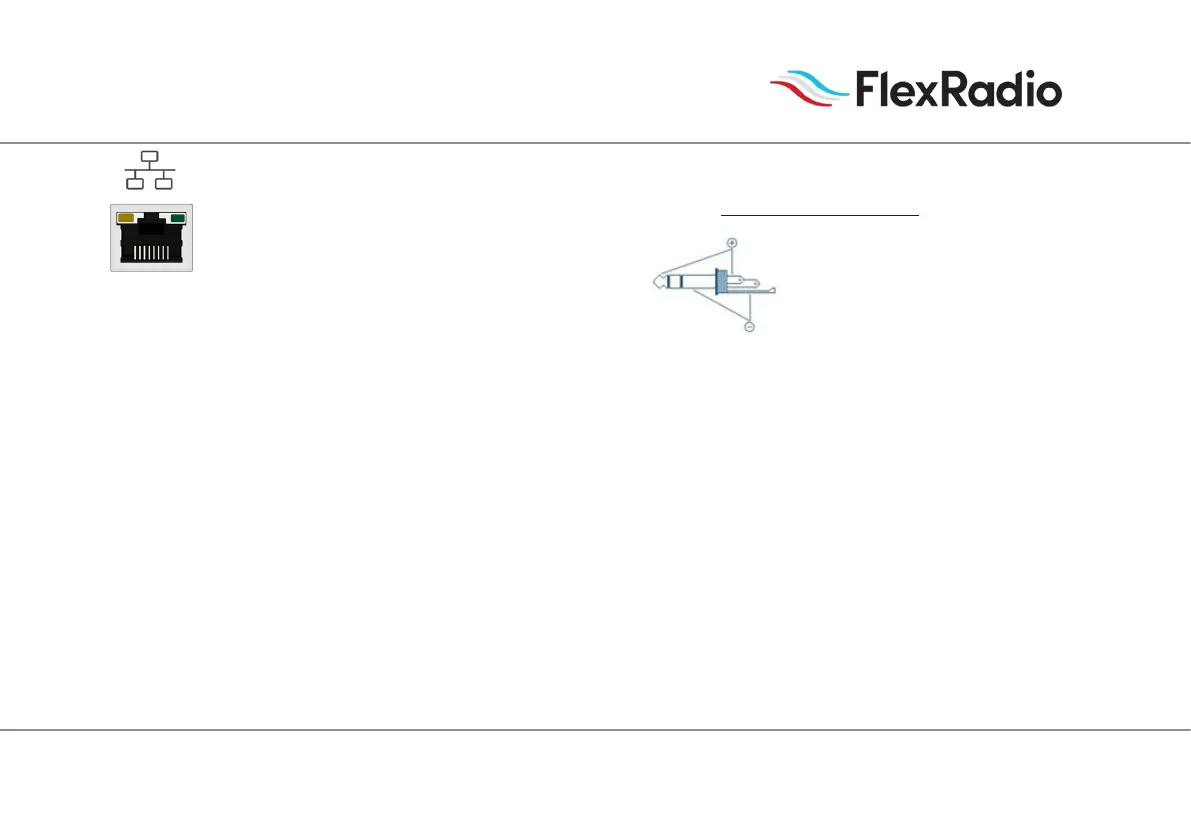
If the intent is to connect your radio to Maestro via WiFi, then
the wired Ethernet connection is not necessary and a WiFi con-
nection to the LAN that contains the radio will be made in a
later step.
2.) Optional Stereo Headphone and Microphone Connection - If
desired, connect a combo headphone and microphone device
to the HDST connector. The HDST connector accepts a 1/8"
(3.5mm) TRRS plug which provides a stereo headphone output
and a microphone input. The connector utilizes the TRRS
CTIA standard for the pinout. The other competing standard
is OMTP, used by older Smartphones such as Nokia and old
Samsung model cellphones.
Note: Using headphones that are compliant with the older OMTP standard may
not provide optimal audio delity and the microphone won't work due to pin
outs not being compatible.
3.) Key/Paddles/Keyer: For CW operation, the 1/8" (3.5mm)
TRS KEY connector accepts a TRS plug for operating a keyer
with paddles or a straight key.
When connecting a CW straight key, a TRS plug must be used
for proper connectivity to the Maestro. Connect the key to the
Tip and Sleeve, and leave the Ring unconnected.
When connecting a CW paddle and using the internal electronic
keyer, connect the Dot to the Tip, the Dash to the Ring, and the
paddle common to the Sleeve.
4.) PTT Connector - For voice PTT operation, connect a PTT
hand or footswitch. Use either a 1/8" TS or TRS plug. If using
a TRS plug the switch must be connected TS.
5.) External Monitor Port - The external monitor port is pro-
vided to connect an external monitor to your Maestro device.
The Maestro screen is then "mirrored" to the external monitor
providing a larger viewing eld.
6.) Power - Connect the supplied power supply to the socket
labeled 24V DC. Plug the power supply into your local AC
power. Do NOT power on the Maestro at this time.
 Loading...