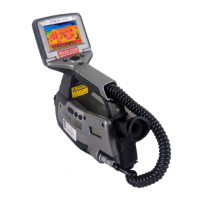
QuickStart: FLIR P-640
© 2011 The Snell Group / 322 N. Main St. / Suite 8 / Barre, VT / 05641 / 800.636.9820 / www.thesnellgroup.com
FLIR P-640 Page 2
7. PAUSE (PREVIEW) IMAGE: Momentarily press and release the Preview/Save button. Push and release
again to return to a live image.
8. SAVE IMAGE: To save an image, from either a live or preview image, press and hold (at least one second) the
Preview/Save button.
Note that it is a good practice to preview (pause) an image before saving that image to verify that the image
focused and framed properly.
9. RECALL IMAGE: Push the Mode Button to show the mode selector menu. Use the joystick to
highlight the “Archive” mode icon (Fig. 2). Push in on the joystick to select and view the last image
saved. Move the joystick left and right to view different saved images.
To View multiple saved images at one time push the Focus Button while in the Archive mode.
Use the joystick up/down, left/right to highlight the desired image then push in on the joystick
to view that image in full screen.
10. PALETTE: Push the Mode Button to show the mode selector menu. Use the joystick to highlight the “Camera”
mode icon (Fig. 1) and then push in on the joystick to select. In the Toolbox (Fig.4) select Palette and push the
Joystick.
Move the joystick up/down to select a palette. Move the joystick left/right to invert the current palette.
To confirm and leave the dialog box push the Mode Button.
11. RANGE: Push the Mode Button to show the mode selector menu. Use the joystick to highlight the “Camera”
mode icon (Fig. 1) and then push in on the joystick to select. In the Toolbox (Fig.3) select Temperature Range
and push the Joystick.
Pushing the Joystick one more time will highlight the current Temperature Range
To select a different temperature range, use the joystick (up/down).
To confirm and leave the dialog box push the Mode Button.
12. EMISSIVITY and BACKGROUND (
Reflective Apparent Temperature): Push the Mode Button to show
the mode selector menu. Make sure the “Camera” mode icon is selected (Fig. 1). Push in on the joystick to return
to a live image.
In the Toolbox Area (Fig.3) use the joystick to select the toolbox tab that looks like a thermometer.
Move down to Object Parameters and then push in on the joystick.
Use the joystick change either the Emissivity or Background (Reflective Apparent Temp.) values.
Press in on the joystick to confirm each change.
IFOV =.65 mRad (Theoretical with 640x480 Detector and standard 24˚x18˚ lens) Detect 1in. target @ 128ft.
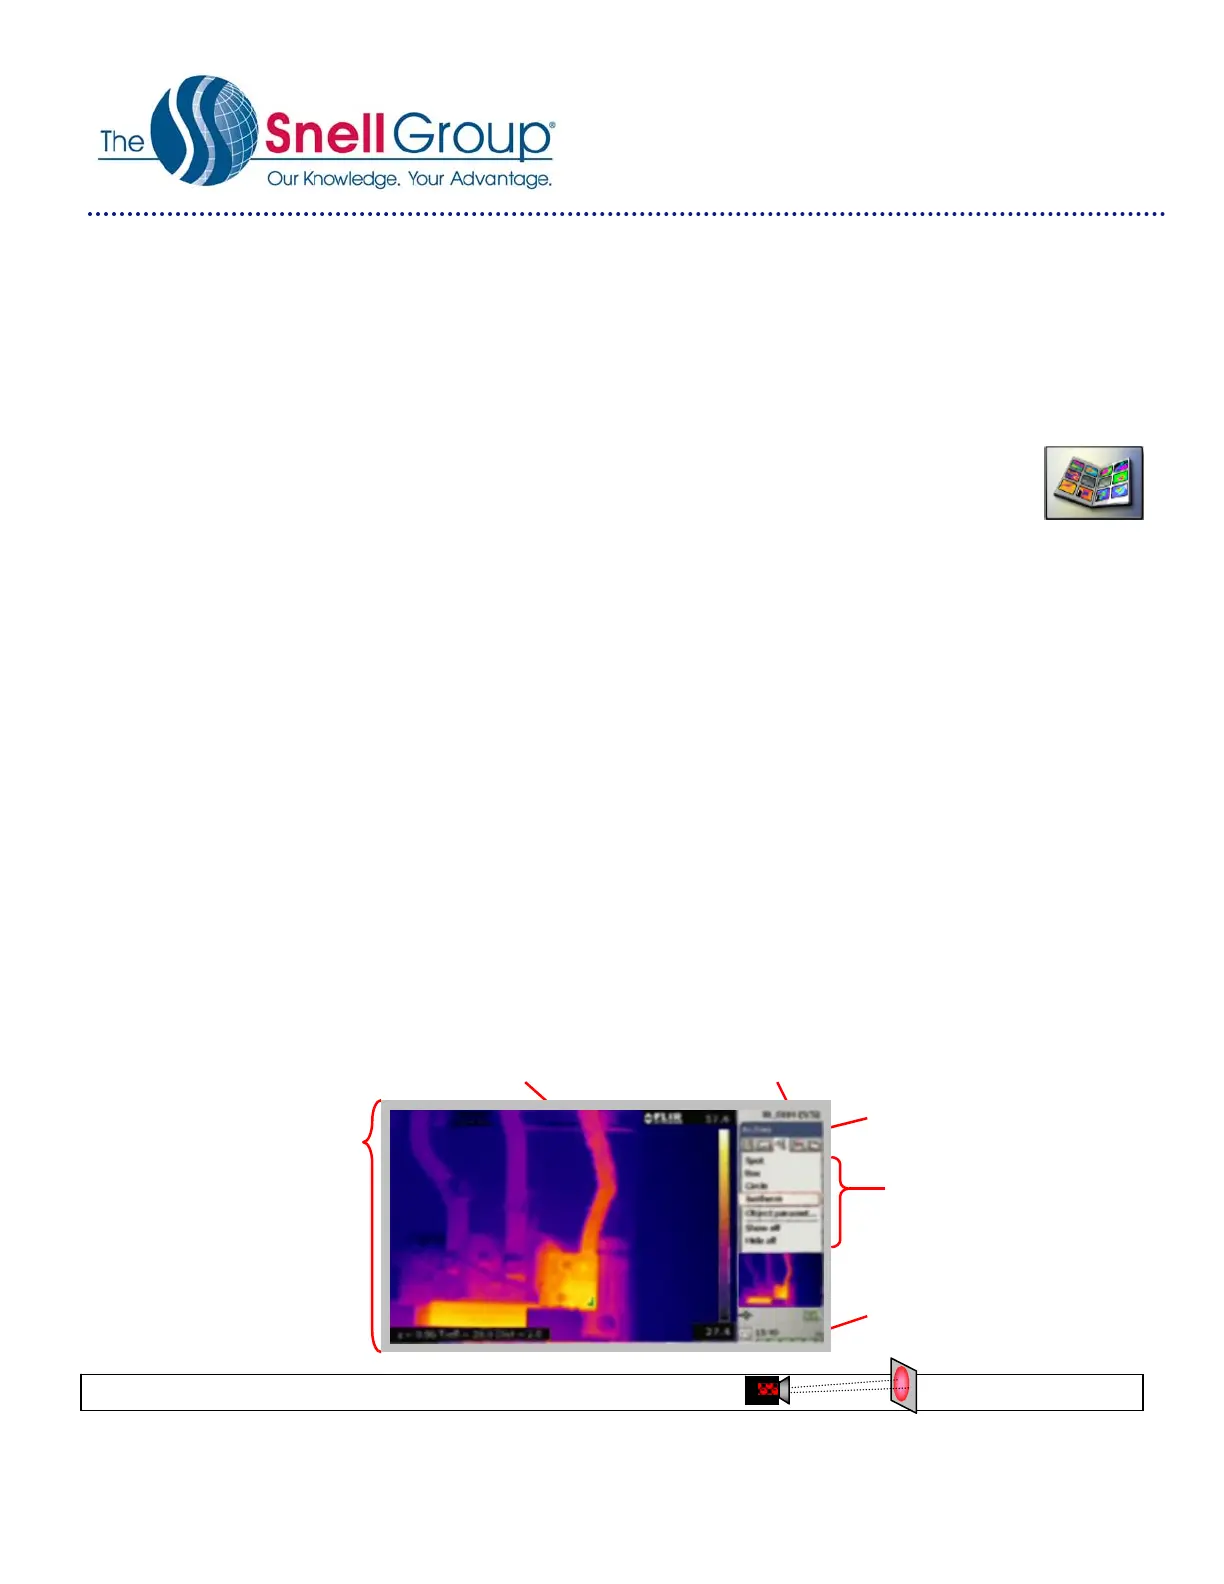
Fig. 2
Image and
Mode
Selector Area
Temperature Scale
(Span & Level)
Toolbox
Tabs
Auto/Manual
Indicator
Toolbox
Menus and
Prompts
Battery
Life
Fig. 3
 Loading...