3.1Installationchecklist
Installationincludesthefollowingactivities:
InstallationTask
1Planyoursystem.
2
Obtainallrequiredequipmentandtools.
3
Siteallequipment.
4Routeallcables.
5
Drillcableandmountingholes.
6Makeallconnectionsintoequipment.
7
Secureallequipmentinplace.
8Poweronandtestthesystem.
Schematicdiagram
Aschematicdiagramisanessentialpartofplanning
anyinstallation.Itisalsousefulforanyfuture
additionsormaintenanceofthesystem.The
diagramshouldinclude:
•Locationofallcomponents.
•Connectors,cabletypes,routesandlengths.
3.2PartsSupplied
Thefollowingpartsaresuppliedwithyourproduct.
1.Documentation
2.Panelsealgasket
3.400mm(15.7in)SeaTalk
ng
spurcable(A06038)
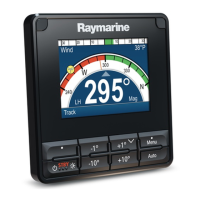
4.p70sorp70RsPilotcontroller(p70sshown)
(suppliedwithkeymatandblackbezel(A80353)
tted)
5.Suncover(p70s=A80357,p70Rs=A80358)
6.Sparegunmetalbezel(A80354)
7.Mountingxingsx4
Unpackyouproductcarefullytopreventdamageor
lossofparts,checktheboxcontentsagainstthelist
above.Retainthepackaginganddocumentationfor
futurereference.
16
p70s/p70Rs

 Loading...